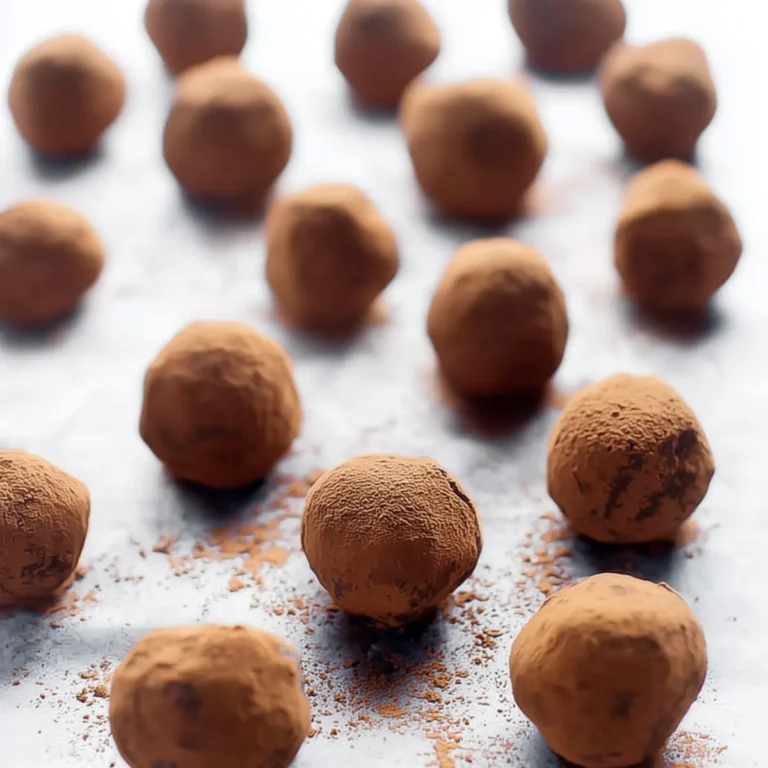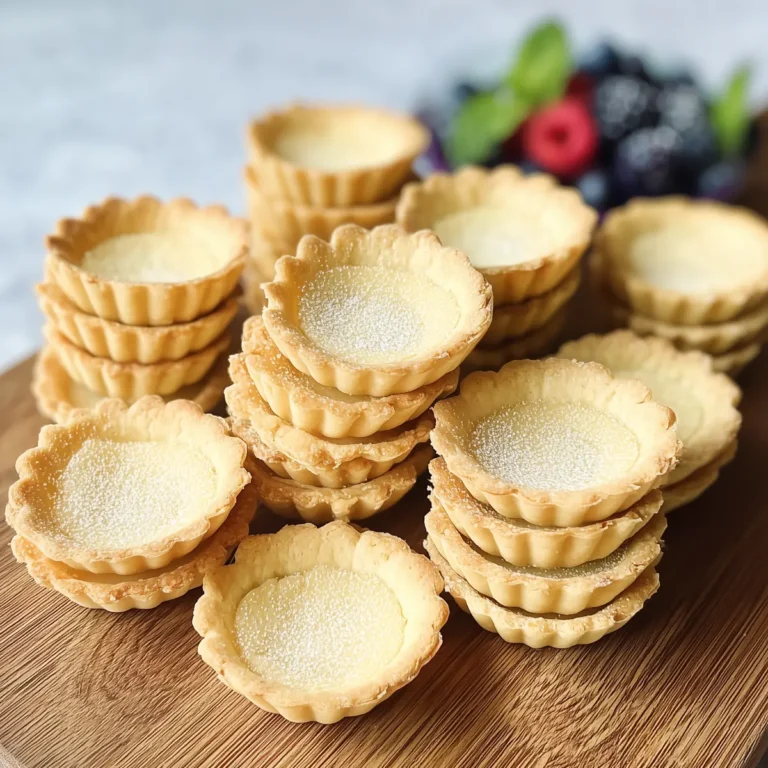
It’s hard not to sneak a taste when you’re working with silky ganache and that buttery dough. Mini Chocolate Tarts might sound fancy, but you really don’t need any special equipment—your regular muffin pan will transform them into gorgeous little treats. The glossy chocolate filling, crisp pastry, and cloud of whipped cream always make me pause to admire before I dive in for that first rich bite.
Whether you need a make-ahead dessert for a party or want to indulge your inner chocolate lover, these mini chocolate tarts deliver big on both flavor and ease. The process is straightforward, with lots of room for creativity in toppings, and the payoff is an elegant little dessert that’s as satisfying as it is pretty.
Mini Chocolate Tarts: Chocolate Lover’s Dream in a Bite
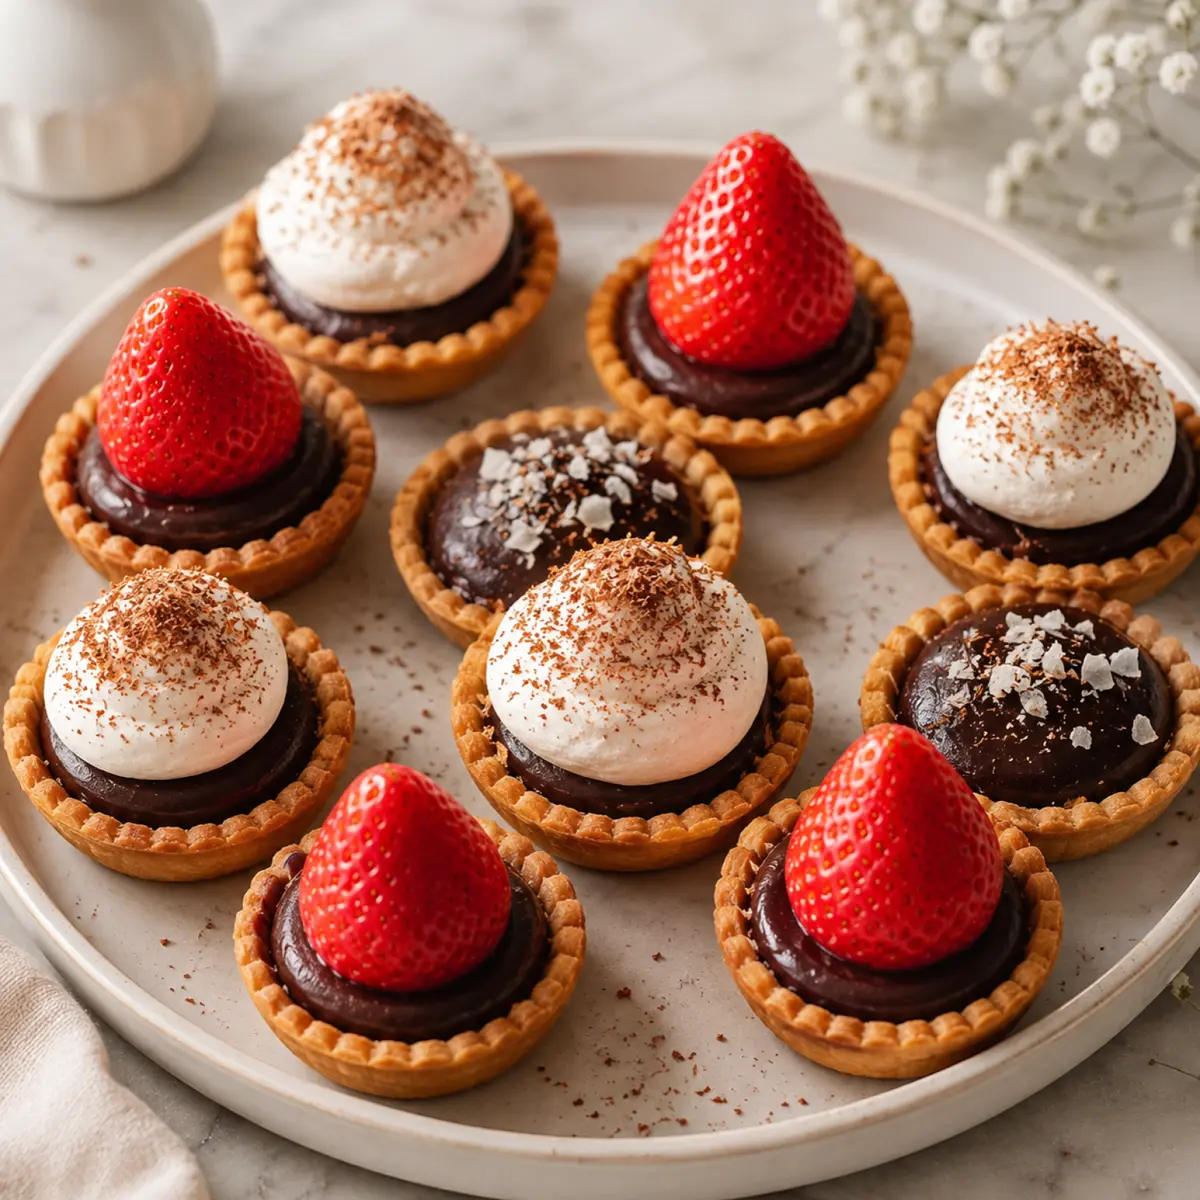
If you adore the mix of crisp pastry and smooth chocolate, mini chocolate tarts should jump to the top of your dessert list. Each tart delivers a burst of chocolatey richness, offset by a buttery shell that snaps just right as you bite in. They look refined yet feel approachable—with the ease of a muffin pan, you don’t need special tart molds or fancy gadgets.What really seals the deal is the versatility; you can keep them classic, top with fruit, or add a sprinkle of salt to take the flavor up a notch. The vibrant fruit or fluffy whipped cream looks beautiful and adds balance to the intense ganache. These minis are the perfect make-ahead dessert for gatherings, yet feel like a treat-for-one you might savor with an afternoon coffee.
Key Ingredients for Mini Chocolate Tarts
The foundational ingredients in these mini chocolate tarts keep things simple while letting the chocolate and tender crust shine. Here’s what you’ll need:- Butter – brings richness and that classic melt-in-your-mouth pastry texture.
- Powdered sugar – creates a smooth, meltaway crust and sweetens the whipped cream.
- Egg – binds the dough, adding a bit of chew and golden color.
- All-purpose flour – provides structure for the shortcrust shell; keeps the tart crisp and tender.
- Salt – balances sweetness and enhances the flavors throughout.
- Dark or semi-sweet chocolate – the star of the filling, giving deep cocoa notes and a luscious finish.
- Heavy cream – includes double use for both silky ganache and whipped topping.
- Whipping cream – a suitable swap for heavy cream in the topping, if you prefer lighter texture.
- Vanilla extract – adds subtle warmth to the whipped cream.
- Fresh strawberries (or other fruits) – add color and a fresh, tart contrast to the rich chocolate.
- Flaky salt – heightens the chocolate flavor and brings out complexity.
See the recipe card below for the full list of ingredients and measurements.
Ingredient Swaps and Notes
Powdered sugar in the pastry and topping keeps things light, but you could substitute superfine sugar in a pinch. Semi-sweet or bittersweet chocolate both work, so choose based on your sweet tooth. If you don’t have fresh strawberries, try raspberries, blackberries, or even orange zest. You’ll want a muffin pan for shaping your shells and a rolling pin for the dough—easy tools, big results.How to Make Mini Chocolate Tarts Step by Step
Making these tarts is surprisingly approachable, with a dough that comes together fast and a ganache filling that practically makes itself. Here’s how the process unfolds from start to finish:- Stir together the flour and salt in a medium bowl; set aside.
- In a large mixing bowl, cream the softened butter using an electric mixer until smooth. Add the powdered sugar and continue beating until light and fluffy.
- Add the egg to the butter mixture and beat until everything comes together smoothly.
- Pour in the flour mixture and mix on low speed just until you have a crumbly, soft dough.
- Press the dough gently into a flat disc, wrap it in plastic wrap, and chill in the fridge for a couple of hours or overnight for best results.
- On a floured surface, roll out the chilled dough until thin. Use a scalloped cookie cutter to cut out rounds for your tart shells.
- Place each dough round over a muffin pan cavity and, using your knuckle, gently press the dough down so it lines the sides and bottom of each cup. Patch any tears with a bit more dough.
- Chill the filled muffin pan again while the oven preheats. This helps the shells keep their shape.
- Line the dough shells with muffin liners and add baking weights or uncooked rice to help keep the shape. Bake until the edges are golden brown.
- After baking, remove the liners and let tart shells cool in the pan briefly before transferring them to a rack to cool fully.
- For the filling, add chopped chocolate to a heat-safe bowl. Warm the cream until just simmering, then pour it over the chocolate. Let it sit briefly, then stir until you have a smooth ganache.
- Allow the ganache to cool slightly so it thickens but stays pourable. Spoon or pipe the ganache into each cooled tart shell, filling about three-quarters full.
- To make the whipped cream topping, beat together heavy cream, powdered sugar, and vanilla extract until it forms firm peaks—the texture should hold its shape and look billowy.
- Pipe a generous dollop of whipped cream on some of the tarts for classic creaminess.
- Top remaining tarts with fresh fruits or finish with a sprinkle of flaky salt for a sweet-salty bite.
Tart Success: Tips, Texture Cues, and Troubleshooting
Nailing the perfect mini chocolate tart is all about a few practical details. Here are some pointers for confident, delicious results every time:- Chill the dough twice—before rolling and before baking—to help stop shrinkage and give you clean edges.
- If the dough tears while lining the muffin pan, just patch it gently; a little extra dough blends right in.
- Watch for golden-brown edges on the shells, not pale or overbaked. They’ll continue to firm up as they cool.
- Let the ganache cool to just thick enough to pipe. Too warm and it’ll run, too cold and it’ll clump.
- Firm peaks in your whipped cream signal it’s ready—look for ridges that hold their shape and a smooth, not grainy texture.
If tart shells stick, carefully twist them out after cooling slightly. Ganache too runny? Let it sit a few more minutes or set the filled tarts briefly in the fridge. If your whipped cream looks curdled or thin, try starting with colder cream and using clean beaters. It’s all fixable, and each batch gets easier.
Fun Variations, Pairings, and Serving Ideas
Once you have the basic mini chocolate tarts down, it’s easy to mix it up for different moods or guests. Top with slices of fresh strawberries for vibrant color and a hint of tartness—raspberries, blueberries, or pomegranate seeds also shine. Swirl a bit of orange zest, a sprinkle of toasted nuts, or edible gold flakes over the ganache if you want something fancy.Pair these tarts with espresso if you’re serving them as an after-dinner treat, or offer alongside a scoop of vanilla ice cream for a luxe dessert plate. Serve the tarts on a pretty platter and let everyone choose their favorite toppings. They’re a hit at parties, bake sales, or even as a make-ahead treat to stash for those “just need chocolate” moments.
Storing and Making Ahead for Mini Chocolate Tarts
Mini chocolate tarts are excellent for making ahead. Store filled and cooled tarts (without whipped cream or fruit) in an airtight container at room temperature for a day, or in the fridge for a few days. Add whipped cream and fruit just before serving for the freshest look and taste.If you’d like to prep further in advance, you can freeze the baked (unfilled) tart shells. Let them cool fully, then store in a well-sealed container—just thaw before filling. Leftover tarts keep best chilled, and you can let them sit at room temperature for a bit before eating to bring back the best texture.
FAQs about Mini Chocolate Tarts
Can I use milk chocolate instead of dark chocolate in mini chocolate tarts?
Yes, you can use milk chocolate for a sweeter and creamier filling. Just know it will have a lighter chocolate flavor and a softer set than dark chocolate.
How do I keep the tart shells from shrinking or losing their shape?
Chill the dough before and after shaping to help the shells retain their form. Using baking weights or uncooked rice in liners helps prevent puffing during baking.
What’s the best way to store leftover mini chocolate tarts?
Keep any leftover mini chocolate tarts in the fridge for up to three days. Add fresh fruit or whipped cream toppings just before serving for best texture.
Can I make mini chocolate tarts ahead and freeze them?
Yes, the unfilled tart shells freeze well for a few weeks. Cool them completely, store airtight, and thaw before filling with ganache and toppings.
Finishing Touch: A Decadent Bite Every Time
There’s just something irresistible about biting through a crisp shell into the glossy chocolate core of a mini chocolate tart. Whether you’re hosting a party, making a batch for friends, or treating yourself after a long day, these little tarts bring a bit of celebration to any moment. Serve them piled high on a platter, adorned with fruit or whipped cream, and savor the perfect marriage of pastry and chocolate in every bite.What To Try Next
If you enjoyed these mini chocolate tarts, here are a few sweet and savory ideas to explore next.
- St Patricks Day Chocolate Guinness Bundt Cake With Stout Glaze — another rich chocolate dessert with a festive twist.
- St Paddys Mint Cheesecake Cups — a creamy, refreshing dessert perfect for the same occasion or season.
- Smores Cookie Bars — a chewy and crunchy treat that contrasts beautifully with the smooth tart texture.
Recommended Equipment
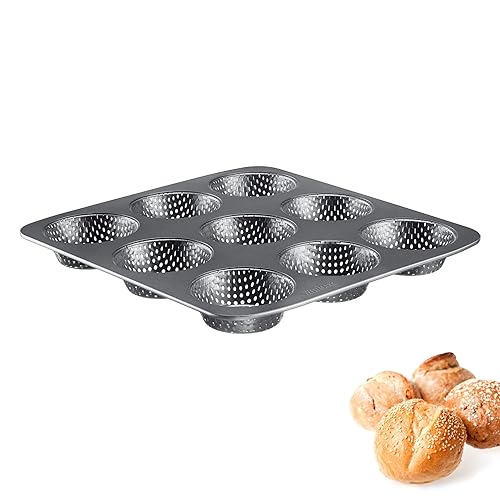
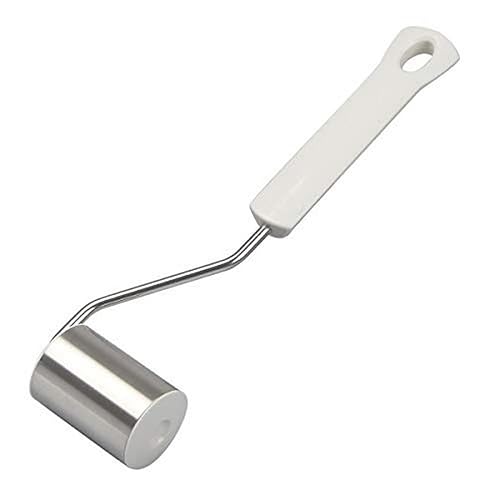
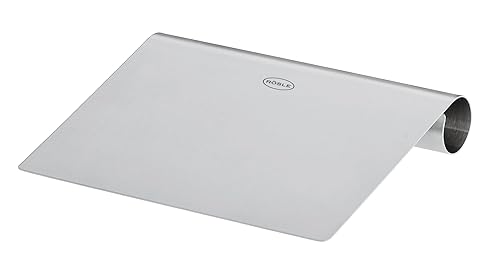
* As an Amazon Associate, I earn from qualifying purchases. There is no extra cost to you.

Mini Chocolate Tarts
Ingredients
Equipment
Method
- Stir together the flour and salt in a medium bowl; set aside.
- In a large mixing bowl, cream the softened butter using an electric mixer until smooth. Add the powdered sugar and continue beating until light and fluffy.
- Add the egg to the butter mixture and beat until everything comes together smoothly.
- Pour in the flour mixture and mix on low speed just until you have a crumbly, soft dough.
- Press the dough gently into a flat disc, wrap it in plastic wrap, and chill in the fridge for a couple of hours or overnight for best results.
- On a floured surface, roll out the chilled dough until thin. Use a scalloped cookie cutter to cut out rounds for your tart shells.
- Place each dough round over a muffin pan cavity and, using your knuckle, gently press the dough down so it lines the sides and bottom of each cup. Patch any tears with a bit more dough.
- Chill the filled muffin pan again while the oven preheats. This helps the shells keep their shape.
- Line the dough shells with muffin liners and add baking weights or uncooked rice to help keep the shape. Bake until the edges are golden brown.
- After baking, remove the liners and let tart shells cool in the pan briefly before transferring them to a rack to cool fully.
- For the filling, add chopped chocolate to a heat-safe bowl. Warm the cream until just simmering, then pour it over the chocolate. Let it sit briefly, then stir until you have a smooth ganache.
- Allow the ganache to cool slightly so it thickens but stays pourable. Spoon or pipe the ganache into each cooled tart shell, filling about three-quarters full.
- To make the whipped cream topping, beat together heavy cream, powdered sugar, and vanilla extract until it forms firm peaks—the texture should hold its shape and look billowy.
- Pipe a generous dollop of whipped cream on some of the tarts for classic creaminess.
- Top remaining tarts with fresh fruits or finish with a sprinkle of flaky salt for a sweet-salty bite.