
I used to think homemade bread meant hours of kneading, special gadgets, and ingredients I’d never keep in my pantry. My kitchen would be dusted in flour, and I’d end up with a dense loaf that barely resembled anything from a bakery. If you’ve ever wanted that rustic, crunchy crust and pillowy center without the fuss, this artisan bread will change everything. With just a bowl, a spoon, and three pantry staples, you get a bakery-worthy loaf you can pull off even on a lazy weeknight.
This artisan bread isn’t just easy—it’s the kind of recipe that turns your kitchen into a cozy, warm haven. When you cut into the golden, crackling crust and steam floats up from that soft, chewy crumb inside, you’ll wonder why you ever settled for store-bought. Let’s talk about the little secrets that make this bread unbelievably simple and totally irresistible.
Why This Artisan Bread Stands Out
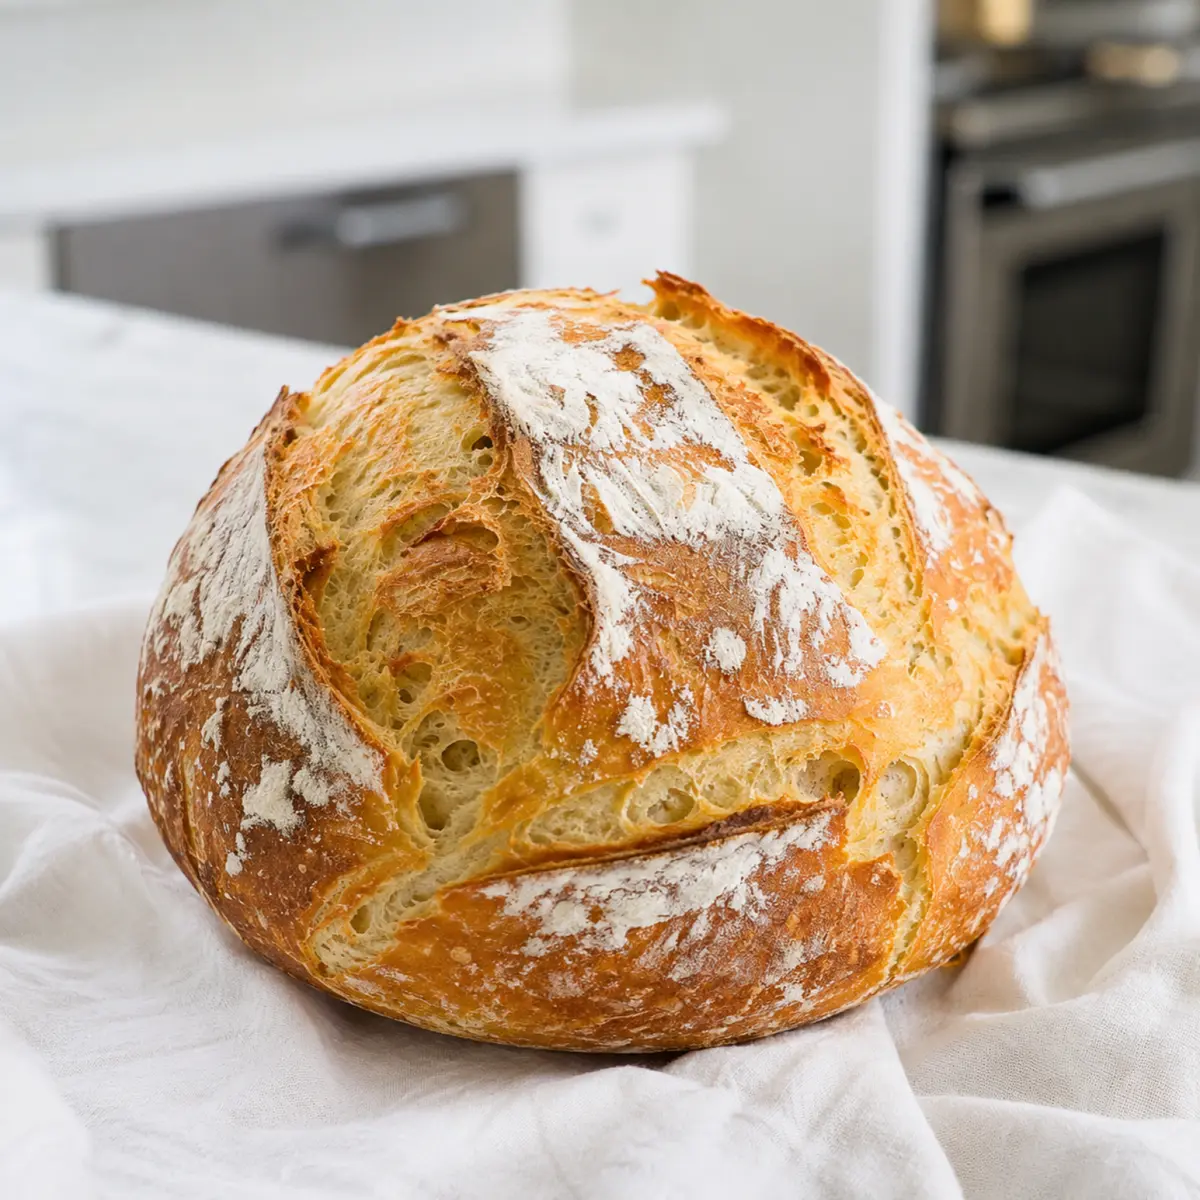
This artisan bread recipe is proof that simple really can be spectacular. You don’t need fancy equipment or advanced skills—just a couple of minutes of hands-on time is enough. When it emerges from the oven, you get that classic, satisfying crackle as you cut through the crust, unveiling a tender, airy inside you’ll want to tear into immediately. One of the best things about this bread is its adaptability. Whether you’re a first-time baker or just craving a loaf with minimal effort, the forgiving dough welcomes everyone to the bread-making party.It’s also the ideal blank canvas for breakfast toast, lunchtime sandwiches, or mopping up rich sauces at dinner. Each time, you’re rewarded with that slow-fermented flavor and crowd-pleasing texture that can make even an ordinary weeknight meal feel a bit special.
Simple Ingredients for Bakery-Quality Bread
With just three straightforward ingredients (plus water), you’ll be amazed at the transformation. Here’s what goes into your artisan bread—and why each one matters:- Flour – Provides structure and chew. You can use all-purpose for a lighter crumb or bread flour for more chew and structure.
- Kosher salt – Enhances the flavor, balancing and bringing out the best in the bread’s natural wheat taste.
- Instant or active dry yeast – Gives the loaf its signature rise and slightly tangy, bakery-style flavor. Either type works well.
- Warm water – Activates the yeast and hydrates the dough to make it sticky (in a good way!), ensuring a good crumb.
See the recipe card below for the full list of ingredients and measurements.
How to Make Artisan Bread at Home
Crafting artisan bread is more about patience than hard work. Here’s how it all comes together:- Combine the flour, salt, and yeast in a large mixing bowl so everything is evenly distributed.
- Pour in the warm water and stir with a sturdy spoon until you’ve got a sticky, shaggy dough that still holds together. Don’t worry about lumps or dry patches—they’ll even out during the rise.
- Cover the bowl with a clean towel or plastic wrap and let the dough rest at room temperature. Let it rise for several hours or up to overnight; you’ll notice it expands and bubbles as the yeast works its magic.
- Once the dough is airy and doubled in size, wet your hands, tip it out onto a lightly floured surface, and gently fold the edges toward the center. Form it into a round loaf or split it into two if you prefer smaller loaves, tucking the edges underneath for a smooth top.
- Place your shaped dough on a piece of parchment paper. Dust the top with a bit more flour for that rustic finish, then use a sharp bread knife to score the surface—this helps control how the bread expands in the oven and gives it that artisan look. Let the loaf rest while the oven heats up.
- Preheat your oven with a Dutch oven, baking stone, pizza stone, or heavy skillet inside. The pan should be piping hot—you want that oven spring and crispy bottom.
- Lift the dough (with the parchment) and slide it onto the preheated surface. To get a seriously crisp crust, add a cup of hot water or a few ice cubes to the oven floor and shut the door quickly—it’ll steam up and work wonders.
- Bake until the loaf is deep golden and crusty. The kitchen will start to smell rich and toasty, and you may hear gentle crackling as the crust develops.
- Transfer the bread to a rack and let it cool for at least half an hour. It’s hard to wait, but this helps set the crumb and keeps it from getting gummy when you slice in.
- If you’re storing leftovers, keep the bread in a paper bag to maintain that crisp, delightful crust.
Mastering the Artisan Bread: Texture and Troubleshooting
Getting the perfect loaf is all about those little details. The dough should start out sticky; resist the urge to add more flour. If it feels loose or rough, that’s actually a good sign—it bakes up light and airy, not dense. If your bread seems pale, extend baking time by a couple of minutes. Too dark? Check your oven temp or move your pan to a higher rack for the last few minutes.- For extra crunch, don’t skip the steam in the oven—it creates a shatteringly crisp crust.
- Use a sharp knife or bread lame for scoring. Shallow, confident slashes let the loaf expand without tearing irregularly.
- Allowing the bread to cool fully on a rack makes a big difference in crumb texture.
- Be gentle when handling the risen dough; rough handling makes it collapse and lose airiness.
If your dough seems overly wet or sticky, dust your hands and countertop lightly with flour, but avoid overworking. Sometimes, humid weather or flour brand affects stickiness—just adjust with a tiny sprinkle, not a hefty addition.
Creative Variations and Perfect Pairings
Artisan bread is delicious in its purest form, but don’t be afraid to mix things up! Fold in some chopped rosemary, roasted garlic, or shredded cheese before shaping the loaf for different flavors. Sprinkle seeds like sesame or poppy on top before baking for extra crunch and visual appeal.This loaf shines alongside hearty soups and stews, serves as an unbeatable base for avocado toast, or upgrades any sandwich. For breakfast, try a thick slice slathered with butter and jam, or simply dip the warm bread in good olive oil and sea salt for a true bakery experience at home.
Storing and Reheating Your Artisan Bread
Leftover artisan bread can be kept on the counter in a paper bag, which protects that crisp crust better than plastic wrap. If you need to keep it longer, wrap it loosely and freeze slices—just reheat in a toaster or oven to bring back the crunch.To refresh a whole loaf, sprinkle lightly with water and warm in the oven for several minutes. Avoid microwaving, since it softens the crust and can make the crumb rubbery. Enjoy your bread within a couple of days for the best texture and flavor.
FAQs about Artisan Bread
Can I use whole wheat flour for artisan bread?
Yes, you can swap half of the all-purpose flour for whole wheat flour. Expect a denser, earthier loaf and consider adding a splash more water if the dough seems dry.
What should I do if my artisan bread isn’t rising?
If your artisan bread dough doesn’t rise, check your yeast—it might be expired or water was too hot/cold. A longer rise or warmer spot can often help the dough expand.
What’s the best way to store leftover artisan bread?
Keep your artisan bread in a paper bag at room temperature for up to two days. This keeps the crust crisp and the interior soft without trapping extra moisture.
Do I need a Dutch oven to make artisan bread?
No, a Dutch oven is great but not necessary. You can use a baking stone, pizza stone, or even an iron skillet for excellent results with crusty bread.
Bringing Bakery Magic Home
Artisan bread has a way of making any kitchen feel like a small-town bakery. From the moment you cut through its golden crackling crust to the soft, warm middle, it’s satisfaction you can smell and taste. Whether you bake it for the first time or make it part of your weekly routine, you’ll love the rustic reward of a loaf made almost effortlessly—and a little bit of flour on your countertop is a small price to pay for that kind of homemade comfort.What To Try Next
If you enjoy baking bread, these recipes offer great new dishes to try alongside your artisan creation.
- Raspberry Swirl Brioche Loaf — another bread-focused recipe with a sweet, fruity twist to expand your baking skills.
- Ham Egg and Cheese Breakfast Quesadillas — a tasty hearty breakfast idea to enjoy with freshly baked bread.
- Stuffed Tomatoes — a light and fresh option that pairs perfectly for a balanced meal with your artisan bread.
Recommended Equipment
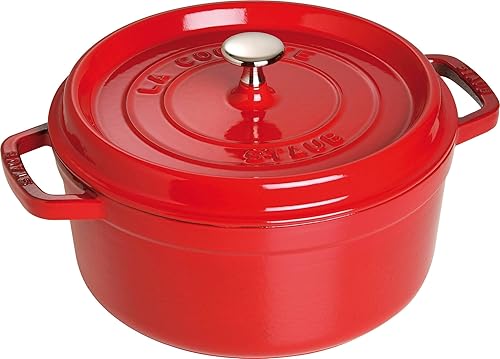
Staub Round Cocotte Cast Iron Roaster – Cherry
Essential for baking crusty artisan bread
View on Amazon
Wildone Stainless Steel Mixing Bowls with Lids and Measuring Set
Ideal for mixing and proofing bread dough
View on Amazon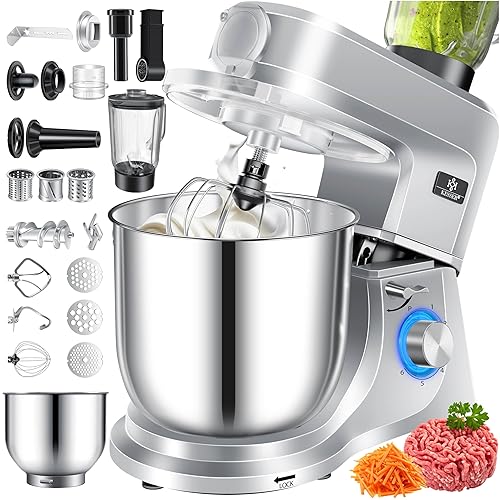
KESSER Food Processor 3-in-1 with Meat Grinder & Mixer
Mixes and kneads dough for artisan bread
View on Amazon* As an Amazon Associate, I earn from qualifying purchases. There is no extra cost to you.

Artisan Bread Recipe
Ingredients
Equipment
Method
- In a large bowl, combine flour, salt, and yeast.
- Pour warm water over dry ingredients and mix until combined. Dough should be sticky but manageable.
- Cover bowl with towel or plastic wrap and let rise at room temperature for 2 to 10 hours or overnight for best flavor.
- Wet your hands and turn dough onto lightly floured surface. Gently fold edges into center to form a round loaf or divide into two loaves, tucking ends underneath.
- Place dough on parchment paper, dust top with flour, score 1 to 4 lines with a bread knife, and let rest 20 to 30 minutes.
- Preheat oven to 450°F with a baking stone, pizza stone, Dutch oven, or iron skillet inside.
- Slide dough with parchment onto hot surface. Add 1 cup hot water or 5 ice cubes to oven bottom to create steam for crustier loaf, then close oven quickly.
- Bake for 25 to 30 minutes until golden brown and crusty.
- Cool on a rack for at least 30 minutes before slicing.
- Store bread in a paper bag to maintain crust crispness.