Every so often, you crave a breakfast treat that’s both playful and nostalgic—something that puts a smile on everyone’s face the moment it comes out of the oven. That’s exactly where the Homemade Strawberry Sheet Pan Pop Tart comes in, with its golden, crisp edges, sweet strawberry scent, and shower of colorful sprinkles. If you’ve ever wanted to make a giant, shareable pop tart for a crowd, this is the answer.
You don’t need any fancy pastry moves or complicated fillings; just some ready-made pie crusts, a jar of good strawberry preserves, and your favorite icing. The beauty of this recipe is how the flaky pastry, gooey berry center, and vanilla icing create a treat perfect for birthdays, brunches, or just brightening up an ordinary weekend.
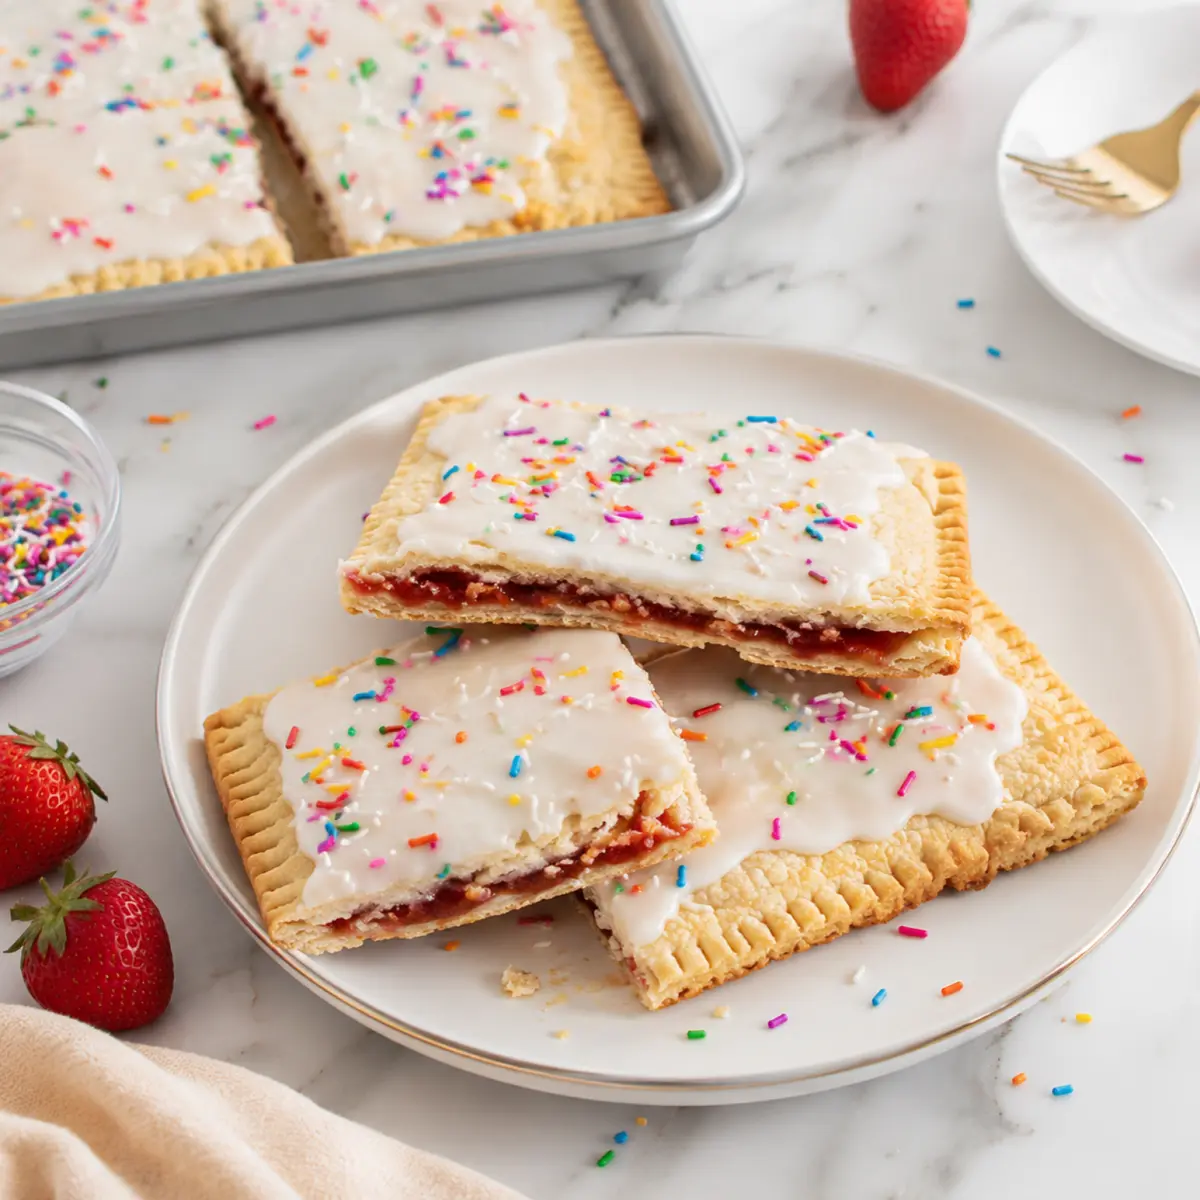
The Magic of a Homemade Strawberry Sheet Pan Pop Tart
There’s something undeniably fun about a dessert that’s both giant and familiar. This Homemade Strawberry Sheet Pan Pop Tart gives you everything you loved about toaster pastries as a kid, only bigger and fresher. Tearing into that flaky pastry with a fork, discovering the sweet, gooey strawberry layer inside, and licking icing off your fingers—it’s pure breakfast nostalgia.This recipe is a total crowd-pleaser for kids’ sleepovers, birthday breakfasts, or brunches with friends. The strawberry filling bubbles ever so slightly under a blanket of golden crust, and the sugary glaze with sprinkles brings that classic pop tart look. It’s the ultimate shareable treat: one slice and you’re hooked, especially when it’s still just a touch warm from the oven.
Gathering Ingredients for the Perfect Sheet Pan Pop Tart
Simple pantry ingredients make this recipe approachable and quick to pull together. Here’s what you’ll need to create a show-stopping Homemade Strawberry Sheet Pan Pop Tart:- Ready-to-bake pie crusts – Classic, buttery, and tender, these form the base and top of your pop tart, holding all that delicious filling.
- Strawberry preserves – The star of the filling, strawberry preserves create that gooey, fruity burst in every bite.
- Butter – Brushing softened butter over the top helps the crust turn golden and flavorful.
- Powdered sugar – Essential for making a smooth, classic icing.
- Milk – Just a splash brings the powdered sugar together into a creamy glaze.
- Sprinkles – For that authentic pop tart look and a fun punch of color.
See the recipe card below for the full list of ingredients and measurements.
Step-by-Step: How to Make Your Homemade Strawberry Sheet Pan Pop Tart
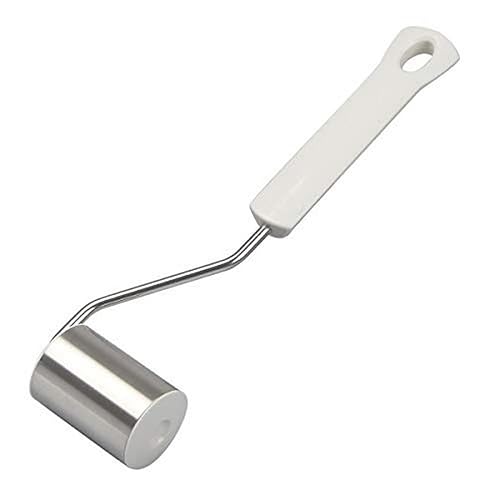
Ready to whip up the ultimate pop tart? A rimmed sheet pan makes things easy, and a rolling pin helps shape the pastry. Here’s the rundown:- Preheat your oven, getting it ready for a crisp, golden bake.
- On a large cutting board, stack and roll out two pie crusts until they meld into one smooth rectangle sized for your sheet pan.
- Gently roll up the crust and lay it flat on a greased sheet pan.
- Spread the strawberry preserves in the center, leaving a border so the jam doesn’t leak.
- Repeat the rolling and trimming with the remaining two pie crusts, making sure it matches the size of your bottom crust.
- Lay your top crust over the jam layer, matching the corners as closely as possible.
- Pinch the edges together all around the pop tart, then press with a fork to seal the filling inside—listen for that soft crimping sound.
- Use a toothpick to poke holes across the top—this allows steam to escape and keeps the crust flaky.
- Brush butter over the entire top and edges for that golden finish.
- Bake until the pastry is golden brown and the kitchen smells like pure strawberry heaven. If you notice jam seeping, use a rimmed pan or a backup tray underneath to catch any drips.
- Let the pop tart cool on the pan; this makes it easier to ice and slice cleanly.
- In a small bowl, whisk the powdered sugar and milk together until you have a velvety icing.
- Spread the icing over the top, keeping those crimped edges exposed for a true pop tart look. Shower with sprinkles while the icing is still sticky.
- Slice into big squares or rectangles and serve. The interior should be jammy and the bottom crisp.
Crisp Crusts and Jammy Centers: Texture Cues and Troubleshooting
Getting the right texture in your Homemade Strawberry Sheet Pan Pop Tart is all about the details. Watch for the edges turning golden and the top feeling firm to the touch. The crust should be crisp, not soggy, and hold together as you slice into it. If you’re worried about jam leakage, use a rimmed sheet pan or place a larger tray underneath to catch drips.A few helpful tips:
- Crimp those edges well—double check with a fork so no jam escapes during baking.
- If the crust browns too quickly, tent loosely with foil to prevent burning.
- Allow the baked pop tart to cool before you ice it—this prevents the glaze from melting straight off.
- The icing should be thick enough to spread but not runny for those perfectly drippy edges.
Ways to Serve and Variations for Your Pop Tart Masterpiece
While classic strawberry is always a hit, there are plenty of fun ways to personalize your homemade sheet pan pop tart. Try swapping in your favorite fruit preserves—apricot, raspberry, or even a tart cherry jam work beautifully. You could add a touch of citrus zest to the icing or stir a bit of vanilla extract into the glaze for more depth.For serving, cut the pop tart into generous squares and enjoy while slightly warm or at room temperature. It’s fantastic alongside a cup of coffee, fresh fruit, or a dollop of whipped cream. For parties, set out bowls of extra sprinkles or drizzle with melted chocolate for a kid-approved breakfast bar vibe. This sheet pan pop tart is also a wonderful brunch centerpiece, giving everyone a reason to linger around the table.
Storing and Reheating Your Homemade Strawberry Sheet Pan Pop Tart
If you have leftovers (a rare miracle!), keep your pop tart covered at room temperature for up to a day. For longer storage, refrigerate slices in an airtight container to maintain the crust’s texture. To reheat, warm slabs gently in a low oven until the pastry becomes crisp and the filling softens—avoid microwaving, since that can soften the crust too much.While this pop tart is best enjoyed fresh, you can also prepare it a day in advance and glaze before serving. Freezing isn’t recommended for finished pop tarts due to the icing, but you could freeze unbaked, assembled pop tart (without icing) tightly wrapped, then bake and glaze fresh when ready.
FAQs about Homemade Strawberry Sheet Pan Pop Tart
Can I use homemade pie crust instead of store-bought for this pop tart?
Yes, homemade pie crust works well if you prefer a from-scratch approach. Make sure to chill and roll it thin enough for easy handling and assembly.
How do I prevent the jam from seeping out of my Homemade Strawberry Sheet Pan Pop Tart?
Seal the edges thoroughly with your fingers, then crimp firmly with a fork. Using a rimmed sheet pan or placing a baking tray underneath also helps catch any leaks.
How long will leftovers of this strawberry pop tart keep?
Leftovers will stay fresh for about one day at room temperature or several days in the fridge. Store covered to keep the pastry from drying out.
Can I make this Homemade Strawberry Sheet Pan Pop Tart ahead of time?
Absolutely, you can assemble the pop tart ahead and store in the fridge unbaked. Add icing and sprinkles after baking and cooling for the freshest result.
Baked Joy: Bright Mornings with Strawberry Sheet Pan Pop Tart
There’s just something about slicing into a massive, icing-draped pop tart straight from your own oven that never fails to spark joy. With its flaky crust, jammy strawberry center, and playful sprinkles, the Homemade Strawberry Sheet Pan Pop Tart is sure to bring people together around your breakfast table. Don’t be surprised if it disappears faster than you expect—it’s the kind of treat that makes mornings a little brighter, one sweet bite at a time.What To Try Next
If you loved making homemade strawberry pop tarts, these recipes will keep your baking fun and fresh.
- Strawberry Danish — another tasty way to enjoy strawberries in a flaky pastry.
- Raspberry Chia Jam Thumbprint Cookies — a sweet treat with a bright berry twist, perfect for a snack or dessert.
- Artisan Bread — try your hand at rustic bread for a fresh-baked staple to pair with your sweet creations.
Recommended Equipment

Baking Frame Rectangular Adjustable Decorating
Perfect for making rectangular sheet pan pop tarts
View on Amazon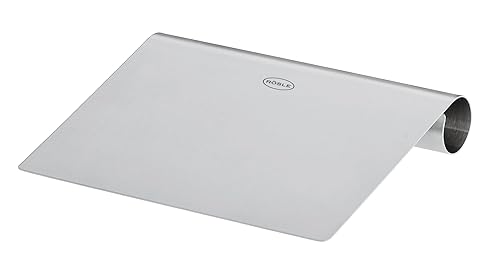
* As an Amazon Associate, I earn from qualifying purchases. There is no extra cost to you.

Homemade Strawberry Sheet Pan Pop Tart
Ingredients
Equipment
Method
- Preheat oven to 375°F.
- On a large cutting board, roll two of the ready-to-bake pie crusts together. Use a pastry wheel or sharp knife to cut the combined crusts to measure a rectangle that is 12×16-inches or the best size that will fit your sheet pan.
- Gently roll the crust up and transfer it to a large sheet pan that has been sprayed with non-stick cooking spray.
- Spread the strawberry jam on the center of the pie crust leaving a 1-inch border around the edges.
- On the same large cutting board, roll the other two ready-to-bake pie crusts together and trim so that it is the same size rectangle you have already on the sheet pan. Gently roll the top crust up and transfer it to lay evenly over the top of the strawberry jam topped crust on the sheet pan.
- Using your fingers, pinch together the two crusts all around the edges of the pop tart. Then use a fork to gently press and seal the edges together to seal the jam in.
- Use a toothpick to poke holes all over the top of the center of the pop tart.
- Brush all over the top and edges of the pop tart with the softened butter.
- Bake for about 25 minutes or until the crust is golden brown, rotating the sheet pan halfway through the baking time.
- If the jam starts to seep out of the edges and you’re not using a rimmed sheet pan, either place a larger pan underneath the pan in the oven so the jam doesn’t drip into your oven or remove the pop tart and scoop the jam from the pan and then return it to the oven to continue baking.
- Remove the pop tart from the oven and let cool while you make the icing.
- In a small mixing bowl, whisk together the powdered sugar and milk until smooth and of spreading consistency.
- Spread icing on top of the center of the pop tart leaving the crimped edges showing. Immediately sprinkle with sprinkles.
- Slice and serve.