The pull of nostalgia hits the moment you catch that buttery-sweet scent drifting from the pot—the kind that makes you think of old-time boardwalks and sticky fingers. That’s the magic woven into homemade saltwater taffy: it’s vibrant in both flavor and personality, and making it is just as joyful as eating it. There’s something wonderfully old-fashioned about stretching glossy ropes of taffy until they turn satin-smooth, only to cut them into soft, chewy jewels for your candy jar (or, let’s be real, straight to your mouth). Making saltwater taffy at home isn’t just baking—it’s an edible craft, and every batch brings a new combination of color and flavor to share with family or friends.
What Makes This Homemade Saltwater Taffy So Irresistible
You can’t help but smile at the bright colors and silky texture of homemade saltwater taffy. The appeal goes far beyond looks, though: this taffy is soft, chewy, and just the right amount of sweet, melting down to a creamy finish you don’t get from store-bought candy. Each piece can be tailored with your favorite flavor and color, making every batch a chance to play—perfect for birthday parties, gifts, or just digging into a jar after dinner with the family. There’s a hands-on ritual to pulling the taffy that gets everyone huddled around the counter, trading off as the candy transforms under your fingers. If you love treats that stir up a sense of playfulness and tradition, this recipe delivers all that and more.
The Ingredients That Make These Taffy Bites Shine
- Sugar – the sweet backbone of taffy, giving structure, shine, and that unmistakable candy-shop taste.
- Corn starch – keeps the taffy smooth and prevents it from crystallizing, so every bite stays tender.
- Salt (sea salt or kosher) – enhances all the flavors and balances the sweetness, making the finished candy more vibrant.
- Butter – adds a faint creamy richness, softening the chew and making pulling a little easier.
- Light corn syrup – crucial for a glossy finish and that signature “pull,” helping the sugars stay smooth as they boil.
- Water – dissolves everything together and sets the stage for taffy magic on the stove.
- Food coloring – your chance to pick any color you love, from pastel pinks to neon blues. Mix and match for a rainbow batch.
- Concentrated flavoring oil or extract – delivers the punch of flavor, whether classic vanilla, citrus, berry, or something more adventurous.
- Butter for greasing – keeps things from sticking, both on the baking sheet and your hands during the pulling process.
See the recipe card below for the full list of ingredients and measurements.
Bringing This Saltwater Taffy Together Step by Step
There’s a rhythm to making saltwater taffy—measured, but playful. Here’s how to capture that old-school candy magic in your own kitchen.
- Start by generously buttering a baking sheet and setting it aside. This makes sure your finished taffy will slip right off when it’s ready.
- In a medium saucepan, combine your sugar, corn starch, salt, butter, corn syrup, and water. Give it a gentle stir as you bring the mixture up over medium heat—the scent of melting butter and sweet syrup is always a sign you’re on the right path.
- Stir until the mixture fully dissolves and comes to a rolling boil. At this point, stop stirring and attach a candy thermometer to the side of the pan. Let the bubbling mix cook undisturbed, watching carefully until it reaches between 121°C and 123°C (that sweet spot provides the classic chewy texture).
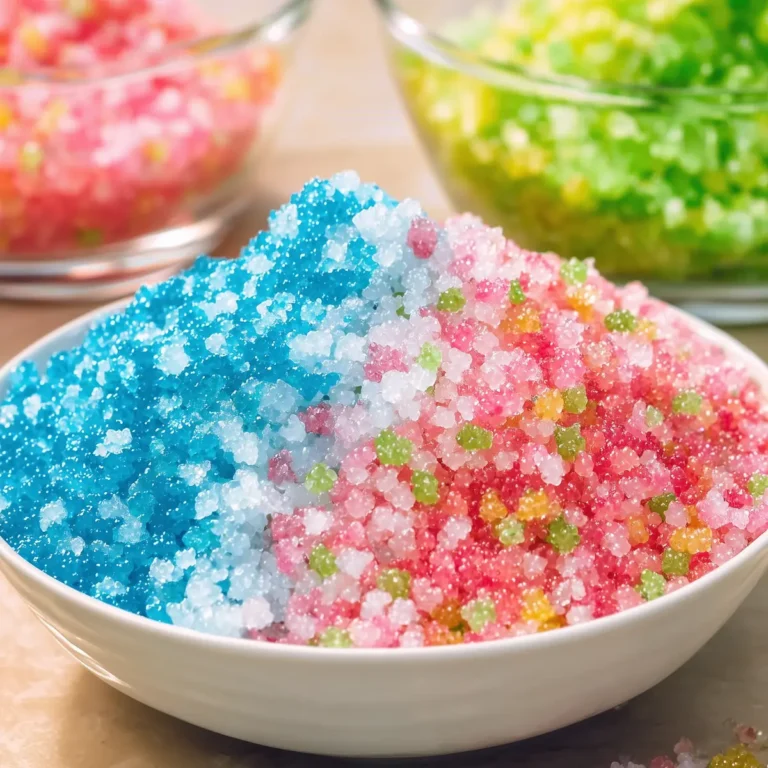
- Once it’s at temperature, pull the pan off the heat immediately. Working quickly, add a few drops of your chosen food coloring and flavoring, then stir until combined. The color will ripple through the glossy syrup—this never fails to look mesmerizing.
- Carefully pour the hot taffy onto your buttered baking sheet. Let it cool just enough to handle; it should be warm, pliable, but not scorching hot.
- Butter your hands (or pop on some buttered gloves), scoop up the mass, and gather it into a ball. Now comes the most hands-on part: start pulling the taffy, stretching and folding it back upon itself again and again. After several minutes, you’ll see the taffy shift from glassy and dark to a beautiful, lighter satin gloss.
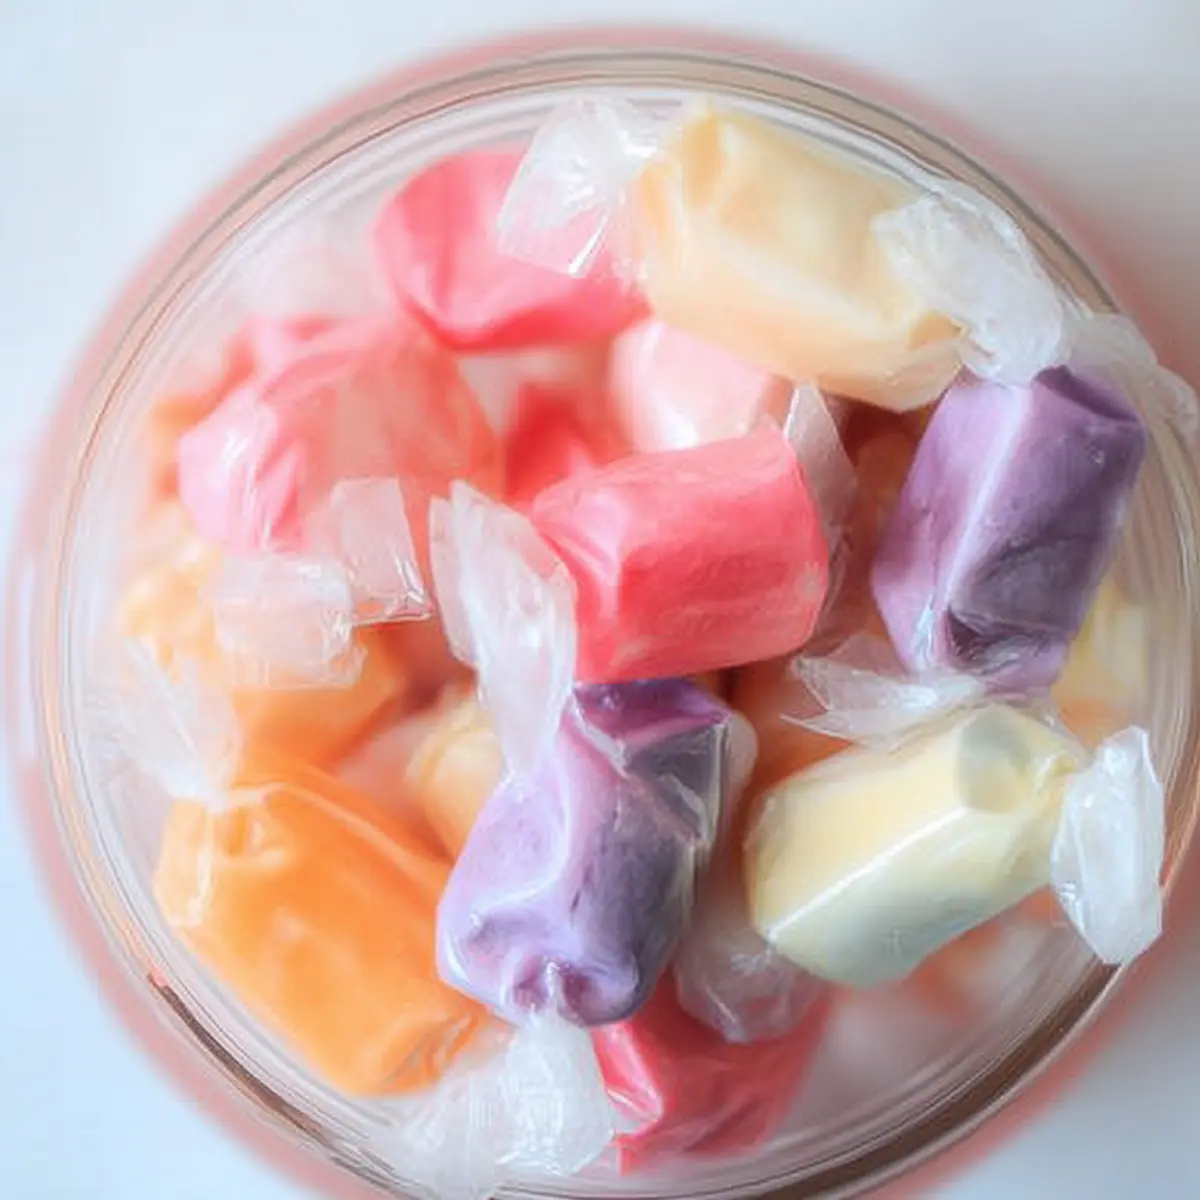
- Once it feels stiffer and cooler but still flexible, roll the taffy into a thick rope on your work surface. Snip off bite-sized pieces with buttered scissors or a greased knife, then wrap each piece in wax paper as you go to keep them from sticking together.
As you work, you might find the kitchen a little sticky and the air sweet, but that’s the charm. Every piece reflects the care that goes into old-fashioned confections.
Nailing That Perfect Chewy Stretch
The most crucial step of homemade saltwater taffy is the pull—it’s what transforms the syrup into that silky, chewy treat you crave. Timing is everything: if you start too early, the taffy will cling stubbornly to your hands and baking sheet, never quite reaching the right consistency. Wait until it’s warm but manageable; then pull aggressively and with confidence, stretching and folding until your arms tire or the shine softens to a faint satin glow. That’s when the sugars have aerated just enough to create that signature bite—soft but with satisfying resistance. If you’re making taffy with kids or friends, swap off and make a game of it; the more hands, the merrier, and you’ll get a better stretch with teamwork.
Tips for Flavor Variations and DIY Taffy Success
- If you don’t have flavoring oils on hand, a teaspoon of any baking extract will work. Classic vanilla, almond, orange, or lemon are all great choices, and you can split one batch into several colors and flavors for variety.
- Be cautious with coloring and flavors—start with a few drops, then add more if you want a richer hue or bolder taste.
- Don’t rush the cooling; let the taffy rest just until it’s warm enough to handle, but not hot. Too cool and it won’t stretch; too hot and it’s a burn risk.
- Butter everything: your hands, gloves, scissors, and even your knife, to keep things from sticking and to make the work more manageable.
- If you’re out of corn syrup, glucose syrup is a close alternative, but don’t skip it altogether—it helps prevent crystallization and gives the taffy its characteristic sheen.
- Leftover bits stuck to the pan are a sweet bonus—just dissolve them in hot water for a little homemade syrup to drizzle over popcorn or ice cream.
Serving and Storing Homemade Saltwater Taffy
Wrapped in wax paper, these little jewels make for crowd-pleasing gifts, party favors, or a cheerful treat stashed away in your pantry. To keep your homemade saltwater taffy soft and fresh, store it in an airtight container at room temperature—avoid the fridge, which can make the texture too hard. On particularly warm days, you might find the pieces become extra soft, but a quick chill (just a few minutes) in the fridge can firm them back up before eating. If you’re planning ahead, the taffy can be made a few days in advance for parties or holiday tins and will keep its delightful chew for over a week when properly wrapped. Serve them after dinner, tuck some into lunchboxes, or line a candy jar for old-school, anytime joy.
FAQs about Homemade Saltwater Taffy
Can I use margarine instead of butter for saltwater taffy?
Yes, margarine works as a straightforward substitute for butter in this recipe. The taste may be slightly less creamy, but the texture remains just as soft and chewy. Many home cooks swap them with good results, especially for those avoiding dairy.
How long does homemade saltwater taffy stay fresh?
When wrapped tightly in wax paper and stored in a sealed container at room temperature, homemade saltwater taffy keeps its chewy bite for up to 10 days. If you notice it softening too much, a short time in the fridge helps restore the texture.
Can I freeze homemade saltwater taffy for longer storage?
Yes, you can freeze saltwater taffy. Place wrapped pieces in a freezer-safe bag, squeezing out any extra air. Let them come to room temperature for a few hours before unwrapping and eating to prevent any stickiness or tough bites.
What flavors work best for homemade saltwater taffy?
Nearly any concentrated baking flavor or extract goes well: vanilla, citrus oils, almond, licorice, and berry flavors are all classics. Mixing small batches with different flavors lets you create a rainbow variety for parties or gifting.
Why isn’t my homemade saltwater taffy stretchy enough?
Stretchiness depends on reaching the proper cooking temperature and starting the pulling while the taffy is still pliable. If it cools too much before you begin, it can become stiff and difficult to pull, which leads to a crumblier texture.
After a little patience and a lot of pulling, you’re rewarded with a bowlful of homemade saltwater taffy that’s soft, chewy, and bursting with your favorite flavors. There’s nothing quite like twisting those glossy strips and savoring the childhood delight in every bite—proof that sometimes the simplest treats, made by hand, bring the biggest smiles.
More Tasty Ideas
- St. Patrick’s Day Chocolate Guinness Bundt Cake with Stout Glaze: This rich and decadent cake combines a playful spirit with classic flavors, similar to the fun of making saltwater taffy.
- St. Patrick’s Day Brownie Trifle: With its layers of sweetness, this dessert is perfect for gatherings, just like the festive atmosphere of taffy making.
- St. Patrick’s Day Lucky Chow: This colorful treat mirrors the vibrant nature of saltwater taffy, making it a great companion for sweet celebrations.
Homemade Saltwater Taffy
Ingredients
Equipment
Method
- Butter a baking sheet. Set baking sheet aside.
- Combine sugar, corn starch, salt, butter, corn syrup and water in medium saucepan.
- Heat on medium heat, stirring, until mixture comes to a boil.
- Add candy thermometer to pan and cook, without stirring, until mixture reaches 250-253 degrees (see notes about cooking temp).
- Pull pan off of heat and add 3-4 drops of food coloring and flavoring oil. Stir.
- Imediately pour mixture onto buttered baking sheet. Allow to cool until you can handle it. Mixture should be warm when you begin to pull the taffy, not hot.
- Spread a small amount of butter onto your hands, or onto your food gloves (I like using gloves) then remove taffy from baking sheet, form into a ball and begin to pull taffy.
- Taffy will start out looking glassy and darker in color, but will change to a satin texture and lighter in color.
- It will change from soft and stringy to stiff and smooth.
- This can take anywhere from 5-15 minutes.
- Roll taffy into a rope.
- Cut taffy, with buttered scissors, into bite sized pieces.
- Wrap taffy in small squares of wax paper.
- This recipe makes 30-40 pieces of taffy, depending on the size you cut the pieces.