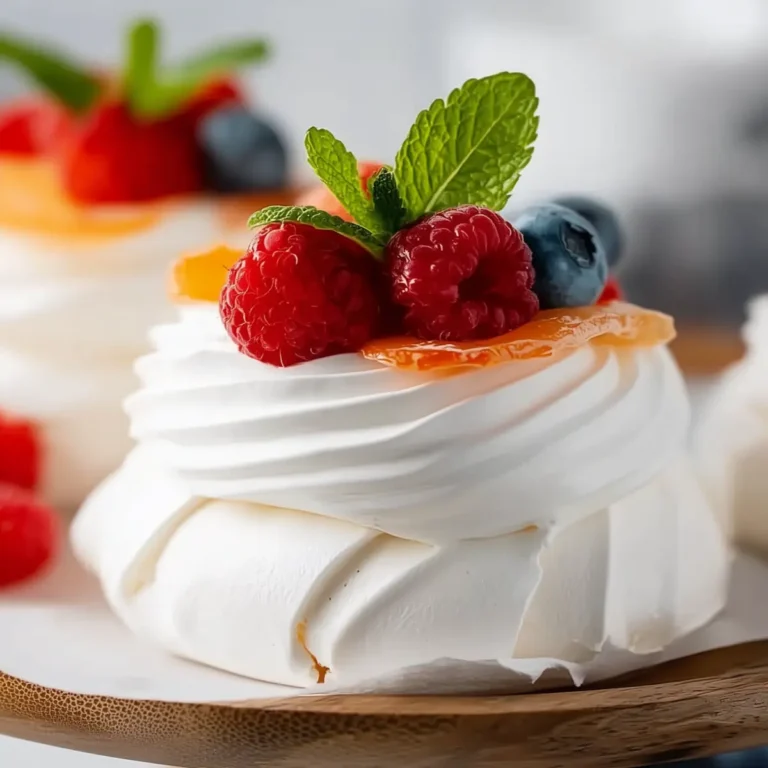
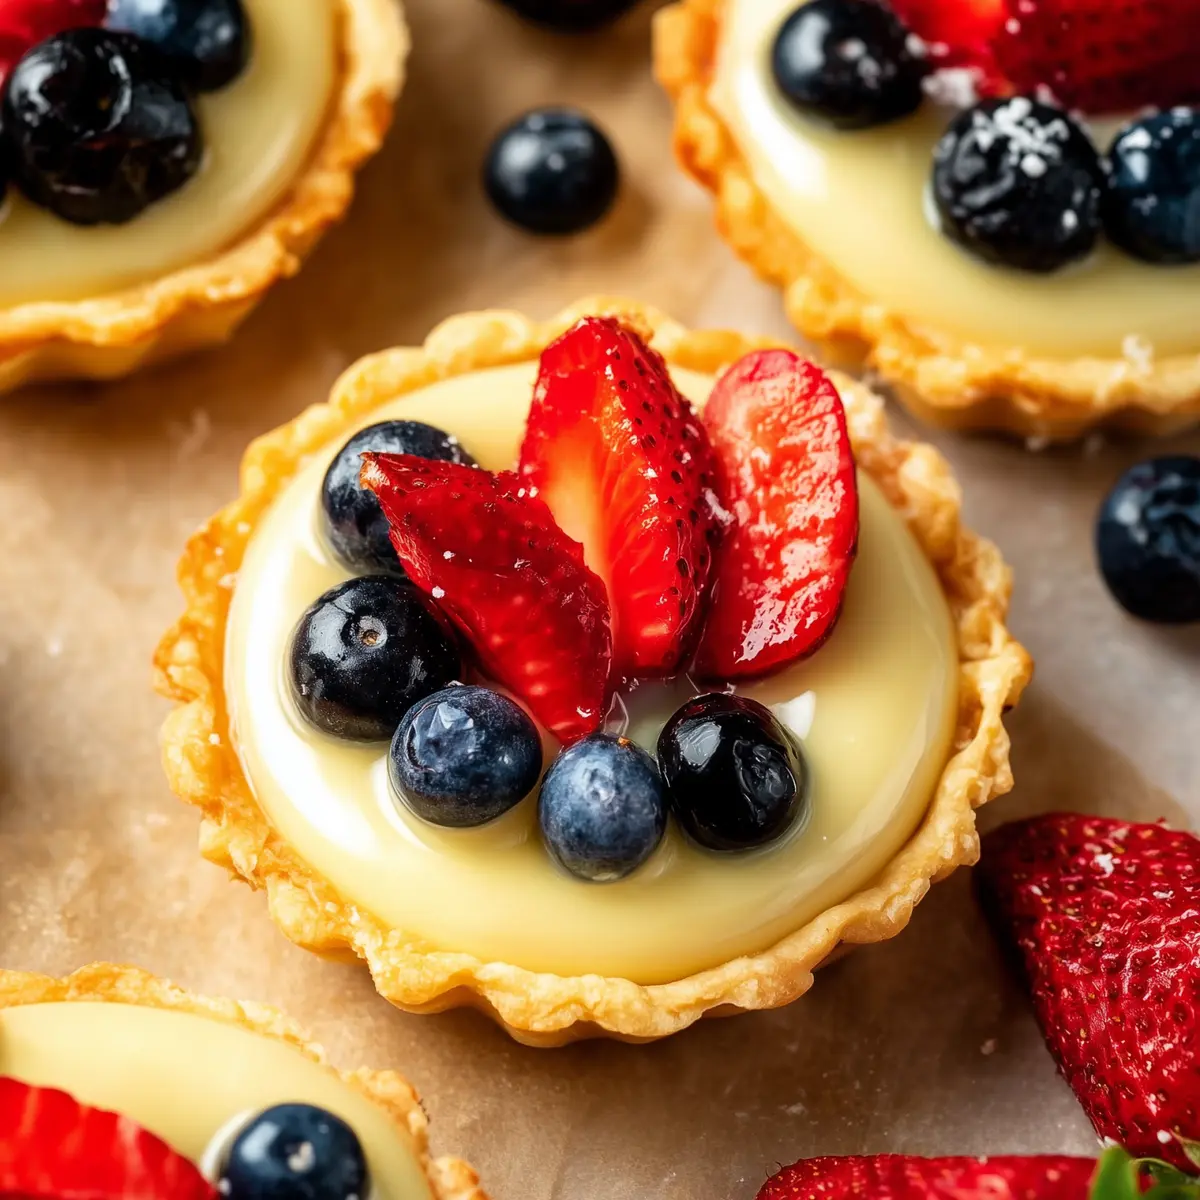
If you’ve been craving that mix of crisp, buttery pastry, silky creamy filling, and juicy bursts of fresh berries—these mini fruit tarts with pastry cream are about to become your new favorite treat. The kind of dessert that makes you feel fancy without needing a pastry chef degree (or even a piping bag, to be honest).
I still remember the first time I brought a batch of these to a summer gathering. I nearly didn’t make it out the door with any left—my family snagged “just one for the road” again and again. There’s just something so addictive about that tender shell and vanilla pastry cream topped with glistening fruit.
Why You’ll Love These Mini Fruit Tarts
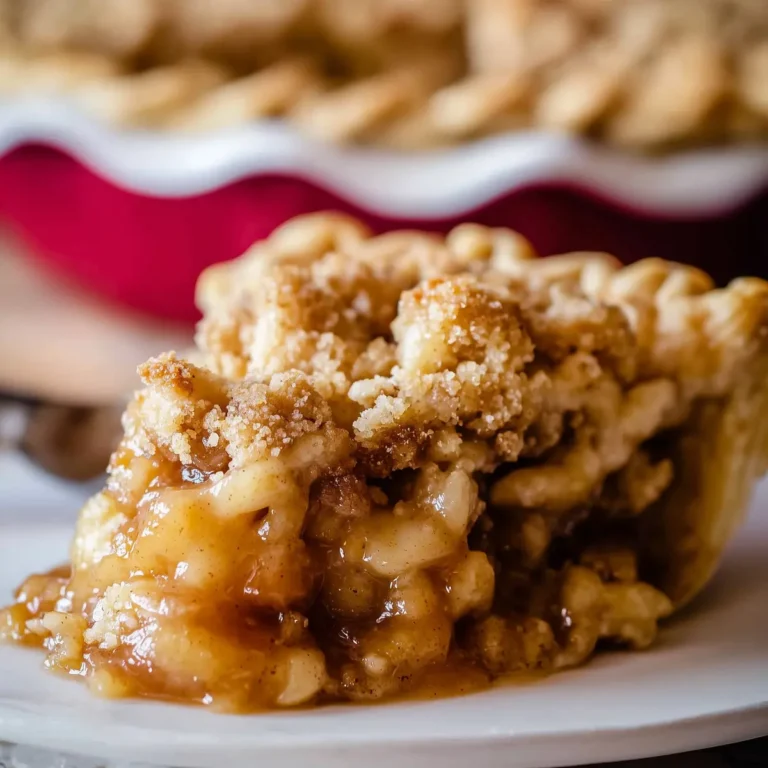
These homemade mini fruit tarts with pastry cream are the definition of a crowd-pleasing dessert. You get that perfect mix of textures: crisp, almost shortbread-like shells, a thick vanilla custard that’s creamy without being too rich, and the burst of fresh, tart-sweet fruit on top.
What I adore about this recipe is how easy it actually is. Each step is totally doable—even if pastry usually intimidates you, take a breath, and trust the process! Plus, these are totally customizable and show off whatever fruit is in season. Each tart makes you look like a bakery wizard, but all you need is a good playlist and a bit of fridge time.
They work for celebrations, birthdays, date nights at home, brunch tables, or anytime you feel like showing off a little (no judgment). Bonus: Because they’re individually portioned, you don’t have to mess around with slicing and serving.
Let’s Talk About the Ingredients for Mini Fruit Tarts With Pastry Cream
- Butter: brings that classic rich, melt-in-your-mouth texture to your tart shells.
- Egg: binds the tart dough and gives a little loft and color.
- Vanilla extract: infuses deep flavor into both the pastry cream and the crust.
- Powdered sugar: sweetens and softens the tart dough so it’s never chalky.
- Kosher salt: a pinch here makes everything pop and prevents sweetness overload.
- Flour: creates structure for your shells—use all-purpose for classic pastry results.
- Milk: the base for your creamy pastry filling, giving it that silky backbone.
- Egg yolks: these magically transform the custard into something truly dreamy.
- Granulated sugar: ensures your pastry cream is just the right kind of sweet.
- Cornstarch: thickens the pastry cream without giving it a gloopy texture.
- Strawberries: fresh, vibrant, and juicy—classic tart toppers.
- Blueberries: sweet, tangy, and beautiful for color contrast.
- Apricot jam: for that glossy bakery-style finish on top.
- Water: just a splash to thin out your glaze and get it brushable.
See the recipe card below for the full list of ingredients and measurements.
Ingredient Swaps and Customizations for Perfect Mini Tartlets
Not in the mood for berries? Try mango, kiwi, thin peach slices, or even pitted cherries for a summer twist. You can swap the pastry cream for lemon curd if you want a brighter, more citrusy mini fruit tartlet.
No cornstarch? Potato starch usually works just as well to thicken pastry cream. If you need a dairy-free version, swap in your favorite plant milk and use a dairy-free butter alternative for the shell—just remember, the flavor and texture will shift a bit, but it’ll still be delicious.
Any combination of fruit works: go monochrome with all raspberries or mix and match whatever fruit is in your fridge. As far as jam for glaze goes—apricot gives you that classic neutral shine, but you can swap for apple or peach depending on your fruit choice.
How to Make Mini Fruit Tarts With Pastry Cream From Scratch
Making mini fruit tarts at home isn’t as tricky as it seems, especially when you break it down into steps. The key is keeping things cool as you handle your dough and giving your pastry cream time to truly chill. Here’s how I like to get these bakery-worthy treats on the table:
- Start by making your tart dough. Pulse flour, powdered sugar, and salt together until well combined—if you’re doing this by hand, use a strong whisk or a fork.
- Add chilled butter and blend until the mixture looks like coarse crumbs—think pea-sized pieces. If using your hands, work fast so the butter stays cold and the dough turns out tender.
- Mix in your egg and a splash of vanilla extract. Stop as soon as the dough comes together, so it stays delicate.
- Flatten your dough and wrap it up. Pop it in the fridge so it firms up before rolling out—this helps keep your shells from shrinking in the oven.
- Roll out the dough on a floured surface. Cut rounds slightly bigger than your tart pans, then gently nestle them in and press into all the crevices. A little overhang is normal—just trim it off.
- Dock the bottoms with a fork and slide the pans into the freezer. This prevents the crust from puffing up, even without pie weights.
- Bake until lightly golden and crisp. Let the shells cool completely—don’t rush this part or you’ll get steamy pastry cream puddles.
- While the shells cool, make your pastry cream. Heat milk and vanilla just until steaming and fragrant, then set aside a small bit for tempering.
- Whisk sugar and cornstarch together. Mix in the egg yolks—a thick, fudgy yellow base should form.
- Slowly add some hot milk to your yolk mixture, whisking the whole time. This is crucial for smoothly blending without scrambled eggs.
- Combine the tempered yolk mixture with the remaining hot milk. Cook gently, stirring constantly, until the custard thickens into a pudding-like texture. Don’t crank the heat—pastry cream loves patience!
- Chill the pastry cream with plastic pressed right against the surface to prevent a skin. Once it’s cold, transfer it to a piping bag or spoon it into the shells.
- Fill the cooled tart shells with generous dollops of pastry cream. Top with washed and thoroughly dried fruit, arranging slices or berries any way you like.
- If you want that bakery finish, whisk together the jam and water. Brush a thin layer over the fruit for an irresistible, glossy sheen.
Pro Tips for Showstopping Mini Fruit Tarts
Keep your ingredients cold when making the dough—this one trick keeps your shell super tender. If you don’t have mini tart pans, go for a muffin tin (just make sure to grease it well and use strips of parchment to help lift out the shells).
Let the pastry cream completely chill before filling the shells or you’ll risk soggy bottoms. When prepping fruit, dry it thoroughly with paper towels so no extra moisture seeps into the custard. For the prettiest finish, slice fruit right before serving and use a variety of colors.
If you made your tarts ahead, store them in the fridge. They keep best unfilled (just shells and pastry cream in separate containers), but leftovers already assembled are still delightful the next day—though the crust may be a bit softer.
Serving Ideas & Delicious Variations
Serve your mini fruit tarts with a cup of strong coffee or a fruity iced tea for afternoon gatherings. They make an excellent dessert at brunches or as the centerpiece for a special birthday.
For a little twist, try brushing the tart shells with melted chocolate before adding the cream. It adds a fun crunch and keeps the pastry from absorbing extra moisture—especially good if you’re using really juicy fruit.
Feeling adventurous? Layer in thin slices of citrus, sprinkle with toasted slivered almonds, or use a dollop of lemon or berry curd instead of classic pastry cream.
These tarts also freeze well unfilled—just thaw the shells, fill, and top with fruit on the day you want to serve.
FAQs about Mini Fruit Tarts With Pastry Cream
Can I make mini fruit tarts with pastry cream ahead of time?
Yes, you can prepare the tart shells and pastry cream in advance. Keep the cream stored separately in the fridge and assemble just before serving for the crispiest texture.
How do I prevent soggy tart shells?
To avoid soggy bottoms, let the tart shells cool completely before filling and ensure your fruit is dry. You can also brush the shells lightly with melted chocolate as a barrier.
What fruit works best for mini fruit tarts?
Firm, fresh fruit like berries, kiwi, mandarin segments, or thinly sliced stone fruit work best. Softer or extra juicy fruit may release too much moisture and soften the cream.
Can I use store-bought pastry crust or filling?
Store-bought pastry crust or custard can save time and works in a pinch, but homemade versions have more flavor and a much better texture. If using premade crust, watch out for added sugar content.
Final Thoughts on Mini Fruit Tarts With Pastry Cream
These mini fruit tarts with pastry cream are proof that a classic French-style dessert can be simple, playful, and utterly rewarding to make at home. Every bite is a mix of crisp, creamy, and juicy—gorgeous to look at, and even better to share.
Whether you dress them up with glossy fruit or keep it rustic with whatever produce is lingering in your fridge, they’re bound to steal the show at your next gathering. Give them a try, and don’t be surprised if you’re asked for the recipe on repeat.
More Delicious Recipes
- Green Velvet Cupcakes with Cream Cheese Frosting: These festive cupcakes offer a delightful creaminess that pairs well with fresh fruit toppings, making for a fun dessert experience.
- St. Patrick’s Day Brownie Trifle: This layered dessert combines rich chocolate with light textures, similar to the pastry cream in tarts.
- St. Patrick’s Day Lucky Chow: A crunchy and sweet snack that adds a playful touch to any dessert spread, complementing the freshness of fruit tarts.
Mini Fruit Tarts With Pastry Cream
Ingredients
Equipment
Method
- Start by making the tart dough. In a food processor, add the flour, powdered sugar, and salt, and mix until combined.
- Add the cold cubed butter, and blend until there are pea-sized pieces of butter. If you don't have a food processor, you can do it by hand, mixing the cold butter into the flour mixture. Make sure that your hands are cold.
- Then, add the egg, and the vanilla extract and mix until a dough forms. Try not to overmix the dough.
- Cover the dough with plastic wrap and let it chill in the fridge for at least an hour.
- Transfer the dough onto a clean floured surface and roll it with a rolling pin into a rectangle.
- Use a cookie cutter or a round bowl (1 inch larger than the mini tart pans) and cut small rounds of the pastry.
- Place the pastry inside the mini tart pans and press it down using your clean hands.
- Cut off the extra edges. Make holes in the bottom of the pan with a fork and place them in the freezer for at least 20 minutes.
- Bake in a 180c (350f) preheated oven for about 20 minutes or until the crust is a light golden brown color. Remove from the oven and let it cool while making the filling.