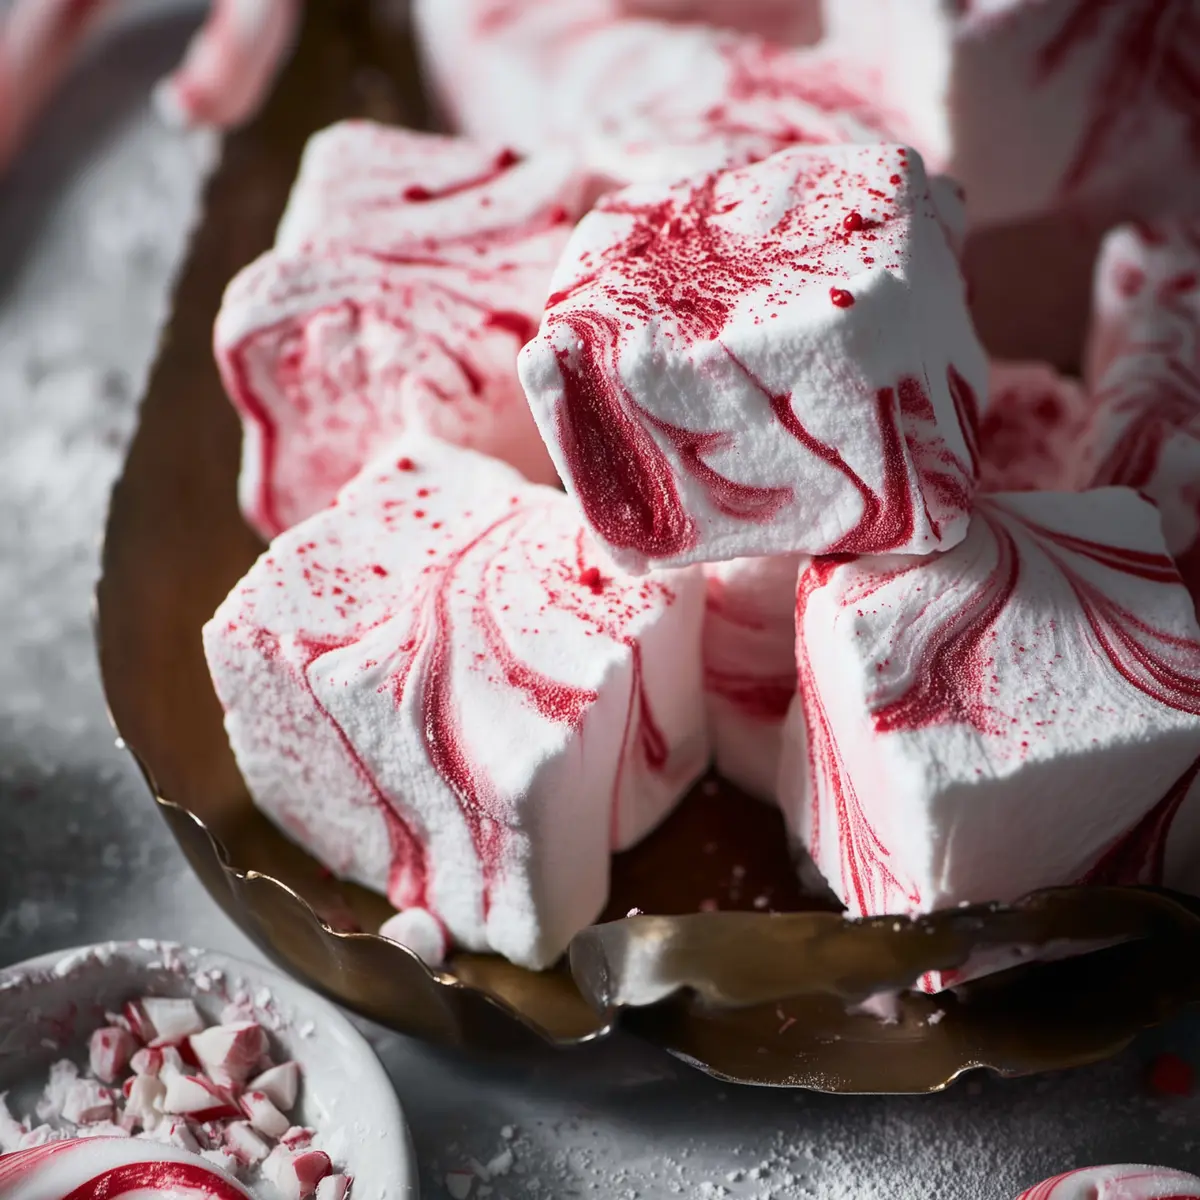
Nothing marks the holiday season quite like the sweet, nostalgic taste of peppermint. If you’re looking for a festive treat that’ll make everyone at your table smile, Candy Cane Marshmallows are the way to go. With their fluffy texture and bright swirls of red, these marshmallows make hot cocoa magical and bring a playful, homemade twist to any cookie box or dessert platter.
There’s something oddly satisfying about swirling the red food coloring through the pillowy base, watching the candy cane stripes come to life. They’re easier than you’d think—no candy cane-crushing mess, just a clean peppermint flavor paired with the softest homemade marshmallow you’ll ever try.
Why Homemade Candy Cane Marshmallows Are Worth It
You might wonder, are homemade marshmallows really that much better? Absolutely. Candy Cane Marshmallows are melt-in-your-mouth soft with pure, bright peppermint flavor (no fake or stale aftertaste here). The swirled red stripes make every piece charming and festive—so much prettier than plain store-bought squares.
There’s a joy in making your own, from pouring the glossy mixture into the pan to swirling the color by hand. These marshmallows are also a thoughtful homemade gift—slide them into cookie tins or pile high in a mug for a holiday party treat. Once you see how just a handful of basic ingredients turn into these puffy, seasonal beauties, you’ll see why they deserve a spot in your annual traditions.
Kitchen Tools You Need for Marshmallow Magic
If you’ve never made homemade marshmallows before, don’t stress—the required equipment might already be in your kitchen. Here’s what you’ll need to bring Candy Cane Marshmallows to life:
- 9×9-inch baking pan – For setting the marshmallows and giving them their signature pillow shape.
- Cooking spray – Prevents sticking so marshmallows release easily out of the pan and from your hands.
- Stand mixer – Essential for whipping the marshmallow mixture until stiff and fluffy. If you’re an avid baker, this tool will be your best friend.
- Medium saucepan – For dissolving and boiling the sugar and corn syrup.
- Candy thermometer – Critical for hitting the perfect temperature (about 116°C) so your marshmallows set up just right.
- Spatula – For spreading the sticky marshmallow mixture into the pan and swirling colors to perfection.
- Toothpick or skewer – Swirls the red food coloring into those cheerful candy cane stripes.
- Butter knife and sharp knife – To loosen, release, and cut marshmallows into neat, generous squares for serving and sharing.
- Paper towel (optional) – Handy for dabbing away any excess cooking spray from your finished marshmallows.
Every Ingredient in These Festive Marshmallows
Every square of these Candy Cane Marshmallows is crafted from a short list of everyday pantry staples and one burst of holiday color. Here’s what goes inside, with quick tips on why each ingredient matters:
- Water – Hydrates the gelatin and keeps the marshmallows fluffy and airy.
- Unflavored, powdered gelatin – The secret to those soft, chewy pillows and classic marshmallow bounce.
- sugar – Brings essential sweetness and structure, making that familiar marshmallow snap as you pull pieces apart.
- Light corn syrup – Prevents the sugar from crystallizing and helps achieve a smooth, glossy finish.
- Peppermint extract – That bright, cool holiday flavor that gives these marshmallows their unmistakable candy cane vibe.
- Kosher salt – Just a pinch to balance sweetness and intensify the peppermint aroma.
- Red food coloring – For swirling in festive color, bringing those iconic red candy cane stripes to life.
- Powdered sugar or cornstarch (for rolling) – Ensures the marshmallow pieces don’t stick to one another (or your fingers) once set and cut.
See the recipe card below for the full list of ingredients and measurements.
How to Make Candy Cane Marshmallows Step-by-Step
Making homemade Candy Cane Marshmallows is easier than you think! It’s a tactile, hands-on process—just follow these steps, watch for the cues, and you’ll have a batch of cloud-like, pepperminty treats ready to impress:
- Prepare your pan: Grease a 23×23 cm (9×9-inch) baking pan thoroughly with cooking spray so nothing sticks later.
- Bloom the gelatin: In your stand mixer bowl, pour in about half your cold water. Sprinkle the powdered gelatin evenly over the water and let it sit until completely bloomed and absorbed. You’ll see it swell and become slightly opaque.
- Dissolve and cook the sugar: In a medium saucepan over medium-high heat, combine granulated sugar, corn syrup, and the remaining water. Stir constantly until the sugar is dissolved—listen for silence as the crystals melt away. Bring the mixture to a boil, swirling the pan gently now and then. Cook until the mixture hits exactly 116°C (240°F) on your candy thermometer, about 10–12 minutes. Immediately remove from the heat.
- Whisk hot syrup into gelatin: With your stand mixer on low, slowly and carefully pour the hot syrup into the bloomed gelatin. Add in the peppermint extract and salt. Don’t rush—steady pouring helps everything come together smoothly.
- Whip to stiff peaks: Once combined, increase the mixer speed gradually to high. Let it whip for about 10–12 minutes, until the mixture becomes thick, fluffy, and brilliantly white. You’ll know it’s ready when stiff peaks form and hold for a few seconds before softly folding back into the mix. The mixture should look glossy and doubled in volume.
- Spread and swirl: Using a spatula, quickly spread the marshmallow mixture evenly into your prepared pan. While it’s still warm, add drops of red food coloring over the surface. Grab a toothpick or skewer and swirl the coloring through the marshmallow to create vibrant candy cane stripes—have fun with the patterns! Work quickly so the stripes don’t set before you’ve had your fun.
- Let them set: Leave the marshmallows to firm up for at least 4 hours at room temperature—or speed things up by refrigerating for 2 hours. They should feel bouncy, not tacky, when fully set.
- Cut and finish: Dust your work surface with powdered sugar or cornstarch. Run a butter knife around the edges of the pan to release, then flip the marshmallow slab onto the work surface. Use a sharp knife (coated with a bit of cooking spray for best results) to cut into at least 16 squares. If any marshmallow pieces are a little greasy from the cooking spray, gently dab them with a paper towel.
- Roll and enjoy: Roll each marshmallow square in powdered sugar or cornstarch so they stay separate and pillowy. Serve right away or tuck them into your favorite holiday box or mug!
Tips, Troubleshooting, and Common Marshmallow Pitfalls
Making marshmallows at home feels a little magical, but a few practical tips can help you nail that perfect batch. Here’s how to avoid the most common pitfalls:
- Gelatin blooming: Don’t rush this! Let the gelatin soak until it’s fully bloomed for the best texture—underdone gelatin gives a rubbery or gritty finish.
- The right temperature matters: Use a reliable candy thermometer and pull the sugar syrup off the heat at exactly 116°C (240°F). Below that, your marshmallows might be too soft; above it, they can turn chewy.
- Whipping to stiff peaks: You want the mixture thick, shiny, and able to hold its shape. Under-whipping makes marshmallows limp, while over-whipping can dry them out or make them tough to spread.
- Work quickly after whipping: Marshmallow sets fast as it cools, so move fast when pouring into the pan and swirling in color. If your spatula sticks too much, a tiny spritz of cooking spray on the tool helps.
- Sticky cutting? Spray your knife lightly with cooking spray and wipe it clean often. Dusting your surface generously with powdered sugar or cornstarch makes handling (and cleanup) easier.
- Storing leftovers: Finished marshmallows love a cool, dry spot. Store them in an airtight container; avoid stacking or crowding, as they can stick if handled roughly.
Pairing Ideas and Clever Variations for Candy Cane Marshmallows
Candy Cane Marshmallows pair beautifully with anything warm and cozy. Toss them on top of hot cocoa, swirl into your morning coffee, or serve alongside chocolate-dipped cookies for double the holiday cheer. They’re right at home in a cookie box, perched on dessert platters, or tucked inside a gift tin.
Want a twist? Try using green food coloring for a red-and-green holiday effect, or swap out peppermint extract for vanilla or almond for a flavor change that’s still seasonal. For extra crunch, dust the top with crushed peppermint candies just after swirling on the color. If you want to make them a little milder, cut the peppermint amount in half—kids especially love a marshmallow that’s sweet with just a hint of mint.
FAQs about Candy Cane Marshmallows
Can I make Candy Cane Marshmallows in advance?
Absolutely—you can make these marshmallows a day or two before you plan to serve them. They’ll stay wonderfully fluffy for several days if kept in an airtight container at room temperature. Just be sure to coat them well with powdered sugar or cornstarch so they don’t stick together.
What’s the best way to store leftover Candy Cane Marshmallows?
Store your Candy Cane Marshmallows in a single layer or with parchment between layers in a tightly sealed container. Keep them in a cool, dry place at room temperature. Avoid the fridge unless it’s humid in your kitchen—too much moisture makes them sticky.
Can I freeze homemade marshmallows for later?
It’s possible to freeze marshmallows, but they may lose a bit of their signature fluff. If you need to store them longer than a week, place the marshmallows in a freezer-safe bag with plenty of powdered sugar or cornstarch, squeeze out extra air, and freeze. Let them come to room temperature in the bag before opening so condensation won’t make them wet or sticky.
Sweet Ending: Each Batch of Candy Cane Marshmallows
There’s a simple delight in biting into a fresh, homemade Candy Cane Marshmallow: that soft give, the bold peppermint, and a playful swirl of color that feels pure holiday. Every batch is a little celebration, whether it’s topping a hot drink, shared around a fire, or packaged to sweeten someone’s day. Go ahead and enjoy your new favorite winter treat—these marshmallows are proof you don’t have to be a pro candy maker to create something truly magical and festive.
More Delicious Recipes
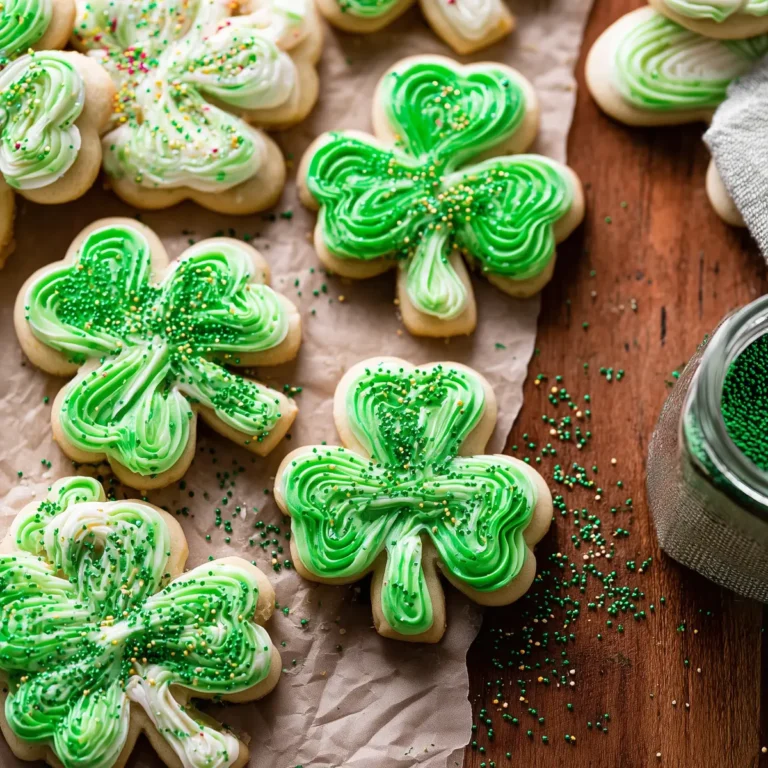
- St. Patrick’s Day Mint Blossom Cookies: These cookies feature mint flavors that complement the peppermint in your marshmallows.
- Italian Cream Bombs: A festive treat that makes for a delightful dessert option alongside homemade marshmallows.
- St. Patrick’s Day Chocolate Guinness Bundt Cake with Stout Glaze: This rich cake pairs well with the light texture of candy cane marshmallows for a perfect dessert combination.
Candy Cane Marshmallows
Ingredients
Equipment
Method
- Grease a 9x9-inch baking pan with cooking spray and set aside.
- In the bowl of a stand mixer, add ⅔ cup cold water. Sprinkle gelatin on top and let bloom.
- In a medium saucepan over medium-high heat, combine granulated sugar, corn syrup and ⅔ cup water. Stir until sugar is dissolved. Bring the mixture to a boil, swirling the pan occasionally, until the mixture reaches exactly 240°F on a candy thermometer, about 10-12 minutes. Immediately remove from heat.
- With the stand mixer on low speed, slowly and carefully pour the melted sugar mixture into the gelatin mixture. Add the peppermint extract and salt.
- Slowly (to avoid splashes) increase the speed to high and whip until the mixture is stiff and white, about 10-12 minutes. When you remove the whisk, stiff peaks should form that take a few seconds until they fall back into the marshmallow mixture. Working quickly, pour the mixture into the prepared baking pan and use a spatula to help spread evenly.
- While the marshmallows are warm, add droplets of red food coloring to the top. Use a toothpick or skewer to swirl the food coloring throughout the marshmallows.
- Let the marshmallows sit and firm for at least 4 hours at room temperature or 2 hours in the refrigerator.
- Dust your work surface with powdered sugar or cornstarch. Use a butter knife to slice around the edges of the pan, then turn the marshmallow out onto the work surface. You may need to pry it out at a corner. Use a sharp knife to cut the marshmallow into (at least) 16 pieces. If needed, spray the knife with cooking spray to help prevent sticking. If there is excess cooking spray on your marshmallow, dab with a paper towel to remove.
- Roll each marshmallow in powdered sugar or cornstarch on each side to prevent sticking, then serve.