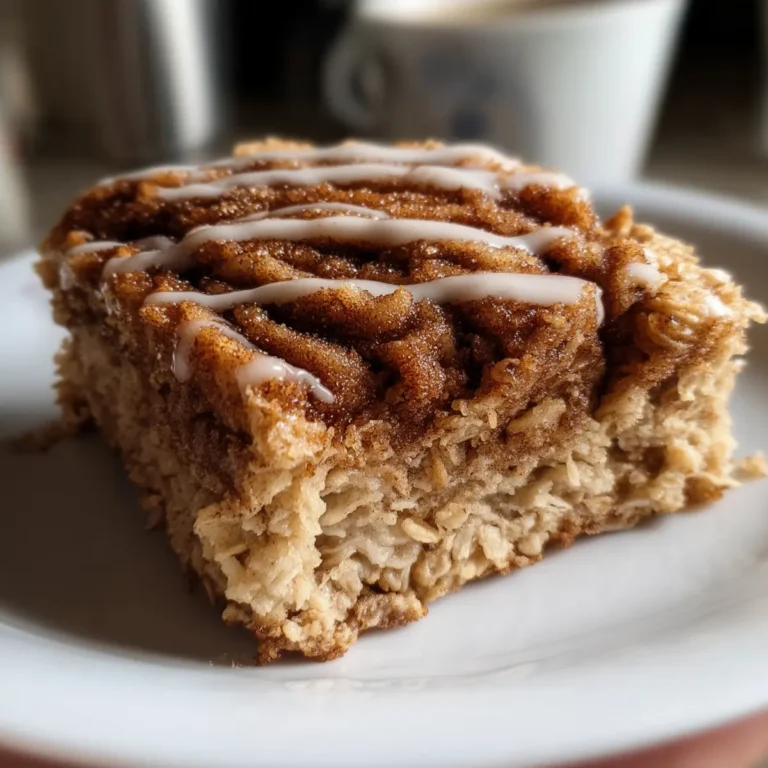
There’s nothing better than pulling a tray of warm Chocolate Chip Scones from the oven, their golden tops barely cooled before you can break off a soft, chocolate-studded wedge. These scones are just the right balance of flaky and tender – sweet but not cloying, making them perfect for breakfast, brunch, or a simple afternoon treat. Whether you’re after a cozy morning bake or want something crowd-pleasing for your next get-together, these easy Chocolate Chip Scones deliver comfort and just a hint of indulgence.
If you’ve never made scones before, this is the perfect place to start: the dough comes together by hand, and it’s all about simple, real ingredients and gentle technique. Plus, you can riff on the flavors, but nothing beats those gooey pools of chocolate nestled inside a buttery crumb.

Gear to make your scones simple and fun
- Large mixing bowl – For whisking your dry ingredients and bringing the dough together.
- Pastry cutter or your hands – A pastry cutter helps rub in the butter, but clean fingers work too for that rustic feel.
- Baking sheet – A sturdy baking sheet is where the magic happens as your scones bake up golden.
- Parchment paper – Keeps your scones from sticking and makes cleanup a breeze.
- Cooling rack – For allowing the scones to finish setting while maintaining their tender texture.
Ingredients that bring Chocolate Chip Scones to life
- flour – The sturdy base for your scones, giving them just the right crumb.
- Granulated sugar – Adds a touch of sweetness, balancing out the rich chocolate.
- Baking powder – Helps the scones rise so they’re fluffy and light.
- Baking soda – Gives an extra lift and helps with browning for that golden crust.
- Salted butter (cold, cut in cubes) – The secret to those characteristic flaky layers. Must be cold!
- Buttermilk or regular milk – Adds moisture and helps bring the dough together; buttermilk gives a gentle tang.
- Vanilla extract – Infuses the scone with a subtle warmth and depth.
- Chocolate chips – The star of the show, melting into gooey puddles in every bite.
See the recipe card below for the full list of ingredients and measurements.
Step-by-step: how to bake these Chocolate Chip Scones
- Preheat and prep: Preheat your oven to 190°C and line a baking sheet with parchment paper so the scones lift off easily after baking.
- Mix the dry ingredients: In a large bowl, whisk together the flour, granulated sugar, baking powder, and baking soda. It’ll look soft and pillowy – the perfect starting point.
- Cut in the butter: Add the cold, cubed butter. Use a pastry cutter or your fingers to rub it into the flour mix until it resembles tiny pebbles or coarse breadcrumbs. The mixture should still feel cool to the touch and look a bit uneven – that means flakier scones!
- Add the wet ingredients: Pour in the milk and vanilla extract. Stir gently. The mixture will look a bit dry and crumbly at first. When most of the flour is moistened, use your hands to gently bring it together into a dough. Don’t overwork it; just press it until it holds together.
- Fold in the chocolate chips: Sprinkle in the chocolate chips and fold them into the dough with your hands, being extra gentle so you don’t overmix. The chips should be nestled throughout but don’t worry if the dough isn’t perfectly smooth.
- Shape and cut: Plop the dough onto your lined baking sheet. Pat it into a thick 20cm circle (about 2cm tall). Use a sharp knife to cut the round into 8 triangles, then space them 5cm apart so the edges crisp up as they bake.
- Bake: Bake for 15–18 minutes (start checking at 15). The scones are ready when the edges look golden brown and the tops spring back lightly when tapped. If they need more time (especially for thicker pieces), bake up to 25 minutes but keep a close eye on color.
- Cool: Transfer your scones to a cooling rack and let them cool completely. The aroma floating through your kitchen will be incredible!
Troubleshooting tips for perfectly tender scones every time
Even the simplest scone recipes can trip you up if you’re not gentle. Here’s what to watch for:
- Butter got too soft? Cold butter is what makes scones flaky. If your kitchen is warm or you worked the dough too much, pop the mixture in the fridge for 10 minutes before shaping and baking.
- Dough too sticky? Scone dough should be sticky but not wet. Lightly flour your hands if needed, but avoid adding extra flour to the dough unless it’s truly impossible to handle.
- Scones not rising? Make sure your baking powder and baking soda are fresh. Old leaveners lose their oomph and your scones will turn out flat.
- Scones spreading too much? If they’re running together on the tray, your butter may have melted or the dough may have been too warm. Always start with cold ingredients and get the dough in the oven quickly.
- Dry or crumbly texture? Overmixing can make scones tough, so handle the dough as little as possible. Stop mixing as soon as everything just holds together.
One kitchen truth: scone dough will never look perfect. A little messiness makes for the best texture!
Pairing ideas and ways to switch up your scones
Chocolate Chip Scones are a treat on their own, but they get even better when shared with a hot mug of coffee or tea. Here are some fun pairings and flavor spins:
- Hot drinks: Serve scones with a frothy cappuccino, rich hot chocolate, or a soothing black tea.
- Fruit sides: Fresh berries, sliced oranges, or a fruit salad make a refreshing balance for the rich chocolate.
- Brunch spreads: Tuck scones into a big brunch board with other mini pastries, yogurt, and jam.
- Add-ins and swaps: Try swapping chocolate chips for dried fruit (like cranberries or cherries), chopped nuts, or white/dark chocolate chunks.
- Festive touches: Sprinkle coarse sugar on top before baking for a bit of crunch, or drizzle with a simple glaze once cooled for bakery-level appeal.
- Dairy-free option: Use your favorite dairy-free butter and milk alternatives—the dough still comes together beautifully according to reviewers.
- Egg-free naturally: This recipe doesn’t call for eggs, making it a great pick for anyone with egg allergies.
FAQs about Chocolate Chip Scones
How do I store leftover Chocolate Chip Scones?
Let your scones cool completely, then store them in an airtight container at room temperature for up to 2 days. If you want them to last longer, you can refrigerate them but warm them briefly before eating for best texture.
Can I freeze Chocolate Chip Scones for later?
Absolutely! Once baked and cooled, arrange the scones in a single layer and freeze until solid. Place them in a freezer bag or container for up to 2 months. When ready to eat, thaw at room temperature or heat in a low oven until warmed through.
Can I substitute the chocolate chips for other flavors?
You can swap chocolate chips for chopped nuts, dried berries, or even leave them out for a classic plain scone. Reviewers rave about using mini chocolate chips, and fruit add-ins like berries work beautifully too—just fold them in gently to avoid overmixing.
Cozy finishes for your Chocolate Chip Scones
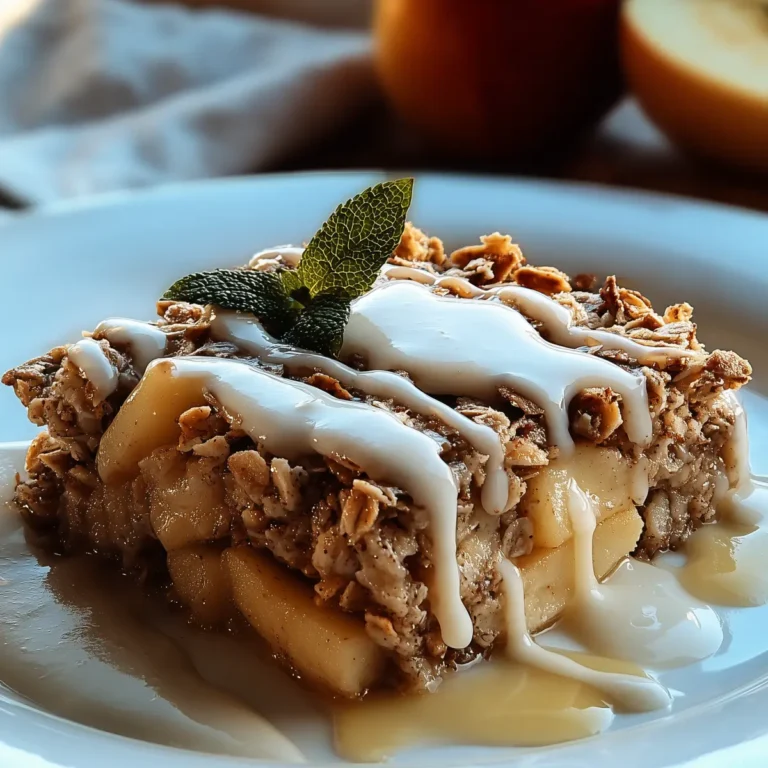
There’s something so inviting about breaking open a freshly baked Chocolate Chip Scone—the steam rises, chocolate melts into the crumb, and that first bite is equal parts comforting and decadent. Whether you go classic or try a new variation, these scones are all about simple joy. Serve them warm with your favorite drink and soak up those sweet, cozy bakery vibes right at home.
More Delicious Recipes
- St. Patrick’s Day Chocolate Guinness Bundt Cake with Stout Glaze: This cake incorporates chocolate in a moist and rich bundt, perfect for any chocolate lover.
- Italian Cream Bombs: These delightful treats are filled with creamy goodness, offering a sweet and indulgent option to enjoy alongside your scones.
- Cream Cheese Salami Roll-Ups: A savory dish that contrasts beautifully with the sweetness of scones, making it a great snack for gatherings.
Chocolate Chip Scones
Ingredients
Equipment
Method
- Preheat oven to 375 F. Line a baking sheet with parchment paper and set aside.
- In a large bowl, whisk together the all purpose flour, granulated sugar, baking powder and baking soda.
- Add in the butter and use a pastry cutter or your fingers to break apart the pieces until they form small crumbs.
- Add in the milk and vanilla extract. First it will come together but still be crumbly and clumps. Next, use your hands to gently form into a dough. Gently mix together just until combined.
- Fold the chocolate chips gently into the dough using your hands. Be gentle and do not overmix here!
- Now add the dough onto the baking sheet. Form it into an 8” circle with your hands. Cut it into 8 triangles and spread each piece 2” apart from eachother.
- Bake for 15-18 (or 20-25?) minutes, or until edges begin to turn golden brown. Transfer to a cooling rack to cool completely.