There’s something pretty magical about watching—well, listening!—as those classic Pop Rocks crackle and fizz on your tongue. If you’ve ever wished you could bottle up that playful, nostalgic sensation (with your favorite flavors or colors), you’re in for a treat. Homemade Pop Rocks bring that same fizzy, popping fun right into your kitchen, and you won’t believe how simple or customizable they are to make.
My first batch felt a bit like a science experiment and a sweet treat all rolled into one. The moment I poured the bubbling candy onto parchment and heard it cool and harden, I was instantly transported back to lazy afternoons at the corner shop. Whether you’re making these to share, to surprise your family, or to simply relive some childhood delight, this recipe is a true conversation starter.
Setting up for snap, crackle, pop candy success
Before you dive into your first batch of Homemade Pop Rocks, you’ll need to gather up a few kitchen basics and maybe one or two not-so-everyday tools. Don’t worry—no need for fancy equipment, but you’ll definitely want to have these handy for smooth candy making:
- Medium saucepan – For heating and dissolving the sugar and syrup mixture evenly.
- Candy thermometer – This is important for getting the right “hard crack” stage, which gives the candy its signature crunch and pop.
- Heat-resistant spatula – Perfect for stirring your molten candy safely and thoroughly.
- Baking sheet lined with parchment paper – For pouring out and cooling the hot candy mixture without a sticky mess.
- Hammer or mallet (and a towel) – For breaking the cooled candy into fun, bite-sized crackle pieces.
- Measuring spoons – For those tiny but essential additions: flavor, color, and fizz.
- Airtight container – To keep your finished Pop Rocks lively and fresh.
Pro tip: Lay everything out before you start. Once your bubbling syrup hits 150°C, things move quickly!
The essential ingredients for fizzy Homemade Pop Rocks
- sugar – The star for sweetness and perfect glassy crunch in every single piece.
- Corn syrup – Adds glossy texture and helps give a snappy bite, preventing crystallization.
- Baking soda – Kicks off the fizz factor that makes these candies unique and surprising.
- Flavored extract (like fruit or mint) – Customizes your Pop Rocks flavor—cherry, lime, or anything you love!
- Citric acid – Brings out that telltale tangy fizz and completes the popping sensation.
- Food coloring (optional) – For adding bright pops of color to match the flavors or occasion.
- Powdered sugar (for dusting) – Keeps everything from getting sticky and clumpy once cooled.
- Candy thermometer – Ensures you hit the exact stage for maximum crackle (a non-negotiable for candy success).
- Heat-resistant spatula – So you can stir in all that fizzy goodness safely while the mixture’s scorching hot.
- Baking sheet lined with parchment paper – Makes for utterly easy cleanup and prevents sticking.
See the recipe card below for the full list of ingredients and measurements.
How to make Pop Rocks at home, step by step
- Prepare your workspace by clearing off a clean spot in your kitchen and lining a baking sheet with parchment paper. Trust me, this is not a mess you want to be cleaning up after!
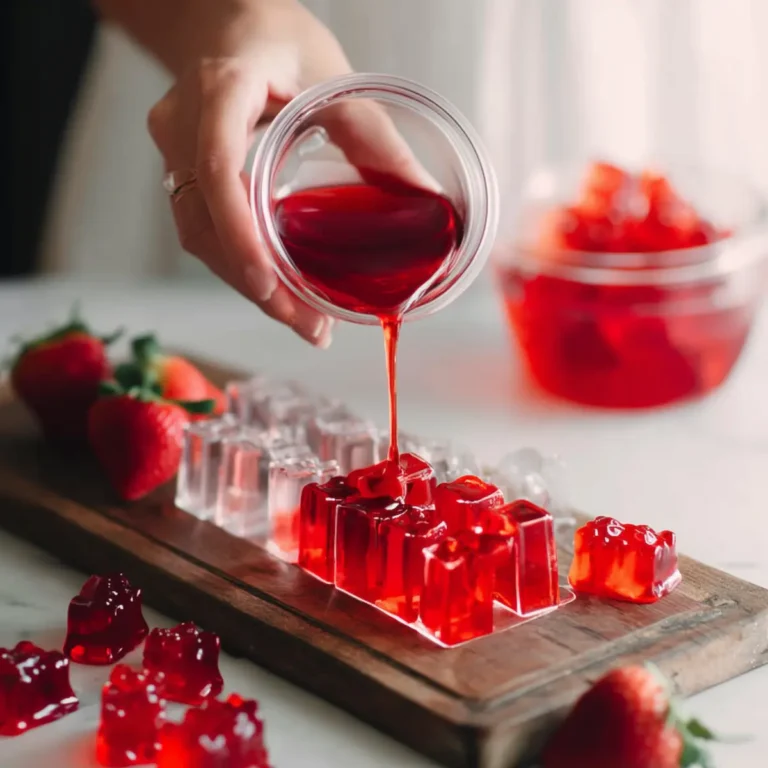
- Combine sugar and corn syrup in a medium saucepan set over medium heat. Stir constantly with your spatula until you feel the sugar completely dissolve and the mixture becomes glossy and clear.
- Heat to hard crack stage: Insert your candy thermometer. Wait patiently (and watch closely) as the mixture heats to 150°C. The boiling will sound rapid and look glassy—don’t walk away.
- Stir in the magic: As soon as it hits the right temperature, remove the pan from the heat. Work fast to stir in the baking soda, flavored extract, citric acid, and a few drops of food coloring if you’re using it. The candy will foam and lighten; that’s your fizz happening!
- Pour and cool: Immediately pour the frothy mixture onto your prepared baking sheet. Spread gently, then let it cool down at room temp until the surface hardens and the candy is gorgeously glassy and crisp.
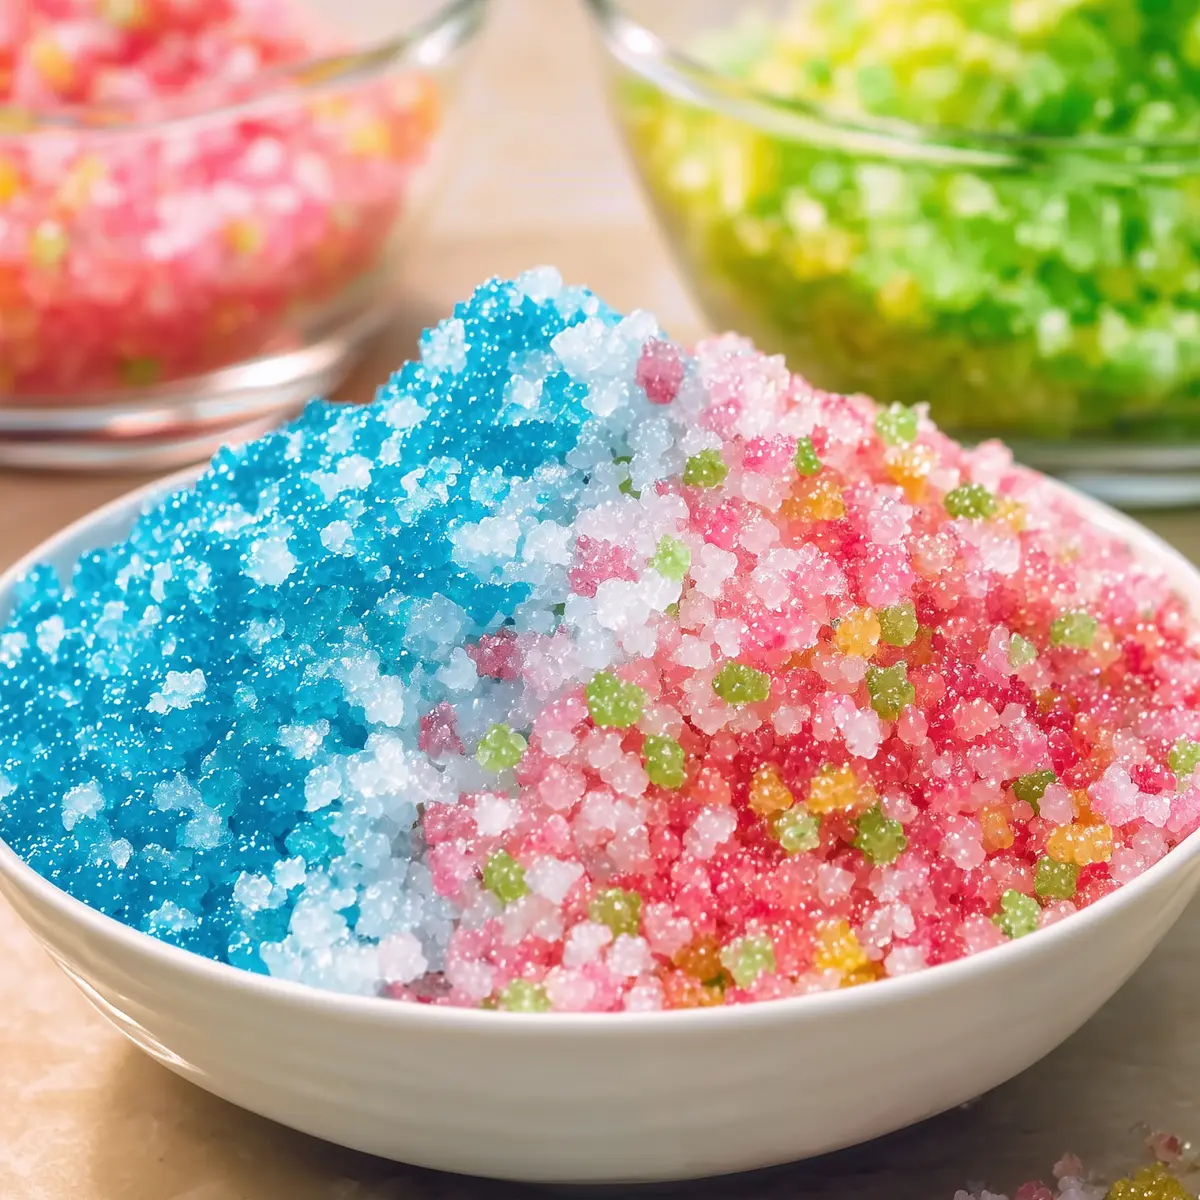
- Break it up: Once cool, drape a towel over the candy and gently tap with your hammer or mallet until it cracks into fun, poppable little pieces. Dust lightly with powdered sugar so they don’t stick together.
- Store for freshness: Transfer your finished Pop Rocks to an airtight container so the fizz and snap stays locked in for days to come.
Tips, troubleshooting, and common Pop Rocks candy mistakes
Candy-making can feel a little tricky, but once you’ve tackled a batch or two, it’s so worth it. Here are a few tried-and-true tips and troubleshooting tricks to keep your Homemade Pop Rocks snappy, not soggy:
- Temperature is everything: If you don’t heat to exactly 150°C (hard crack stage), your candy will turn out chewy or sticky instead of crisp. Use the candy thermometer and don’t guess!
- Don’t walk away once your mixture starts bubbling. Sugar syrup can go from perfect to burned in moments. Stay close and keep stirring until it’s ready.
- Stir fast after removing from heat: Baking soda and citric acid react quickly. Waiting too long will make the mixture thicken before it fizzes, so have everything by your side and work swiftly.
- Humidity is the enemy: On a damp day, your Pop Rocks may soften or even weep. Always cool and store them in an airtight container right after breaking them up.
- Trouble with sticking? Dust extra powdered sugar over the cracks—this acts like a little candy armor and keeps pieces separate.
- Cracked glassy candy too large? Keep breaking gently under a towel with the hammer until the pieces are just the right size for popping.
If things do go sideways, don’t stress. Sometimes it’s in the “uh-oh” moments where you discover the most memorable kitchen lessons (and the crunchiest bits).
Pairings and creativity with Homemade Pop Rocks
Homemade Pop Rocks are made for sharing and surprising. Once you’ve made your first batch, possibilities open right up. Here are a few ways to play with your candy:
- Dessert topper: Sprinkle them over cupcakes, frosted cakes, or even a bowl of vanilla ice cream for a sparkling finish and a signature crackle in every bite.
- Cocktail rim: Dip the rim of a glass in simple syrup, then into a bowl of colorful Pop Rocks for a burst of fancy fun in adult beverages or mocktails.
- Kid-friendly snack bags: Divide into little bags and tuck inside birthday party favors or lunch boxes for sweet, surprising fun.
- Flavor swaps: Try citrus (lemon, lime), berry flavor extracts, or even coffee for grown-up vibes. Just swap out the extract to match your mood or occasion.
- Seasonal versions: Color the candy with a few drops of food dye to fit any holiday—red and green for Christmas, pastels for spring, or bold orange for Halloween.
- Double the tang: Add a tiny pinch more citric acid if you crave that tangier, lip-smacking finish.
However you use them, one thing’s for sure—Homemade Pop Rocks never fail to bring a little extra joy and a lot of playful nostalgia.
FAQs about Homemade Pop Rocks
How should I store Homemade Pop Rocks to keep them fresh?
After your candy has completely cooled and you’ve broken it into pieces, store your Homemade Pop Rocks in an airtight container at room temperature. Keeping them sealed tightly will help preserve the signature fizz and texture for days.
Can I swap ingredients to make different flavors or colors of Homemade Pop Rocks?
Absolutely! Use any flavored extract you love—think blueberry, lemon, or even coconut. Food coloring is totally optional but adds a fun visual twist. Just stick to the core ingredients for the right bubbly texture.
Is it safe to freeze or refrigerate leftover Homemade Pop Rocks?
It’s not recommended. Cold, damp environments like the fridge or freezer introduce moisture, which ruins the crisp texture and can make the candy sticky or dull. Always choose a dry, airtight container at room temperature for best results.
Ending on a high fizz: why you’ll love them
Homemade Pop Rocks are pure candy magic—sweet, tangy, and bursting with a fizzy energy that’s impossible to resist. There’s real joy in watching your own batch set up, in the playful sound that comes with each bite, and in the smiles these colorful little crystals spark at the table. Whip up a batch, grab a handful, and let yourself savor the gentle crackle and bold flavors—all made by you, right at home.
More Tasty Ideas
- St. Patrick’s Day Sweet Treats: These festive treats are perfect for adding a touch of celebration, just like your homemade Pop Rocks.
- St. Patrick’s Day Lucky Chow: A fun snack that mirrors the playful, crunchy texture of Pop Rocks, making it another entertaining treat.
- St. Patrick’s Day Chocolate Guinness Bundt Cake with Stout Glaze: This rich dessert can be a great companion to your fizzy treats, adding a sweet and chocolatey counterpoint.
Homemade Pop Rocks
Ingredients
Equipment
Method
- Prepare your workspace by clearing a clean area in the kitchen and gathering all materials.
- In a medium saucepan over medium heat, combine granulated sugar and corn syrup, stirring continuously until the sugar dissolves completely.
- Insert the candy thermometer into the mixture and wait until it reaches 300°F (hard crack stage).
- Immediately remove from heat and quickly stir in the baking soda, flavored extract, citric acid, and food coloring if using.
- Carefully pour the mixture onto the lined baking sheet and allow it to cool completely at room temperature.
- Once cooled, use a hammer or mallet (with a towel over) to gently break the candy into smaller pieces and dust with powdered sugar to prevent sticking.
- Store in an airtight container to maintain its fizz.