The buttery scent that fills my kitchen when I bake a tray of mini tart shells always takes me right back to family gatherings, where every platter held endless possibility. There’s something magical about bite-sized pastry—crisp, delicate, golden. Mini tart shells are perfect for spontaneous desserts, elegant appetizers, or even those “just because” moments when you want something special but simple. Whether you fill them with lemon curd, chocolate mousse, or a classic custard, each shell is a canvas that turns any gathering into a celebration.
What makes these mini tart shells so irresistible
Nothing compares to the crisp, tender bite of a homemade mini tart shell—it shatters delicately, then lingers with a buttery finish that beckons for another. What I love most about making mini tart shells is how they turn the simplest filling into an occasion, elevating both sweet and savory sides of your table. They’re subtle yet flavorful, with just enough salt and a hint of sweetness that plays well with anything you choose to add. I’ve found these shells make every gathering more memorable because guests love food that’s easy to pick up and impossible to resist.
The ingredients that give mini tart shells their flaky texture
Every ingredient in this recipe is working towards one goal: crisp, golden perfection with minimal fuss. Here’s what makes the difference:
- flour – forms the backbone of the dough, giving just enough structure while keeping things tender.
- Sugar – a touch sweetens the base without overpowering, balancing out any savory or tangy fillings.
- Salt – wakes up all the flavors and keeps the shells from tasting flat.
- Softened butter – the real magic-maker, lending flakiness and that rich finish you crave in every crumb.
- Egg yolks (or whole eggs) – yolks create a tender, luxurious dough. You can use whole eggs for a bit more structure, especially if you want extra sturdy shells for hearty fillings.
- Milk (room temperature) – helps the dough come together smoothly, ensuring everything mixes evenly.
See the recipe card below for the full list of ingredients and measurements.
Bringing mini tart shells to life in your own kitchen
For these mini tart shells, the process is simple and oddly soothing—there’s something undeniably satisfying in feeling the dough transform under your hands. Here’s how I like to do it:
- Blend the egg yolks and milk first, just until they’re smooth and golden. This mixture will give your dough its rich, almost custardy backbone.
- In the bowl of your stand mixer, whisk together the flour, sugar, and salt. Let the dry ingredients mingle before adding the star of the show: softened butter. Mix until you see sandy crumbs forming—the sign of good things ahead.
- Drizzle in the egg-milk mixture on low speed, and watch the dough come together in moments, soft and pliable but never sticky.
- Turn it out onto your work surface, knead it gently for about a minute, then divide the dough in half. I like to cover one half with plastic wrap (it keeps perfectly until you need it), while I roll out the other half between sheets of parchment or a silicone mat.
- Roll to about 0.5 cm thickness. Use a round cutter just slightly larger than your tart molds—this ensures every shell gets those beautifully scalloped edges after baking. Nestle each dough circle into a mold, pressing gently with your thumbs so it hugs the sides evenly.
- Remove any excess dough, cover both the shaped shells and extra dough with plastic wrap, and keep rolling and pressing until you’ve filled every mold.
- Pierce the bottom of each tart shell with a fork. This step stops bubbles from puffing up and keeps the base delicately even.
- Chill the shells for about 15–20 minutes while you heat the oven to 175°C. Bake until they turn from pale to glowing gold—usually between 15 and 20 minutes. The aroma alone is worth any effort!
- Let the shells cool for a few minutes in the molds, then gently tap them out onto a rack to finish cooling. They should sound hollow and feel feather-light in your palm.
Keys to perfectly crisp and tender tarts every time
I used to think tart shells were fussy, but this dough is forgiving—especially if you work quickly and keep the butter soft, not melted. Kneading just enough builds structure but never toughness. Chilling before baking is your secret weapon; it prevents shrinkage, locks in those defined edges, and promises the distinct “snap” that makes tiny tarts so much fun to eat. Pricking the base with a fork is your insurance policy: it stops bubbles from forming, so you get a flat, even canvas ready for filling.
If your kitchen runs warm, pop the dough back in the fridge as you work. And don’t skip cooling the shells in the molds—they set up perfectly, releasing with a light twist.
Serving ideas, creative uses, and storage for mini tart shells
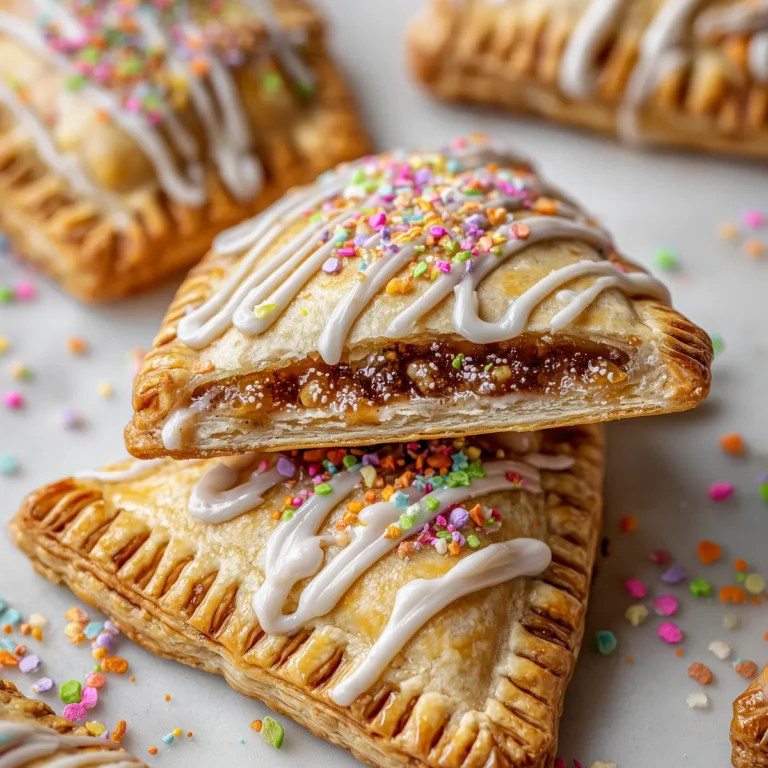
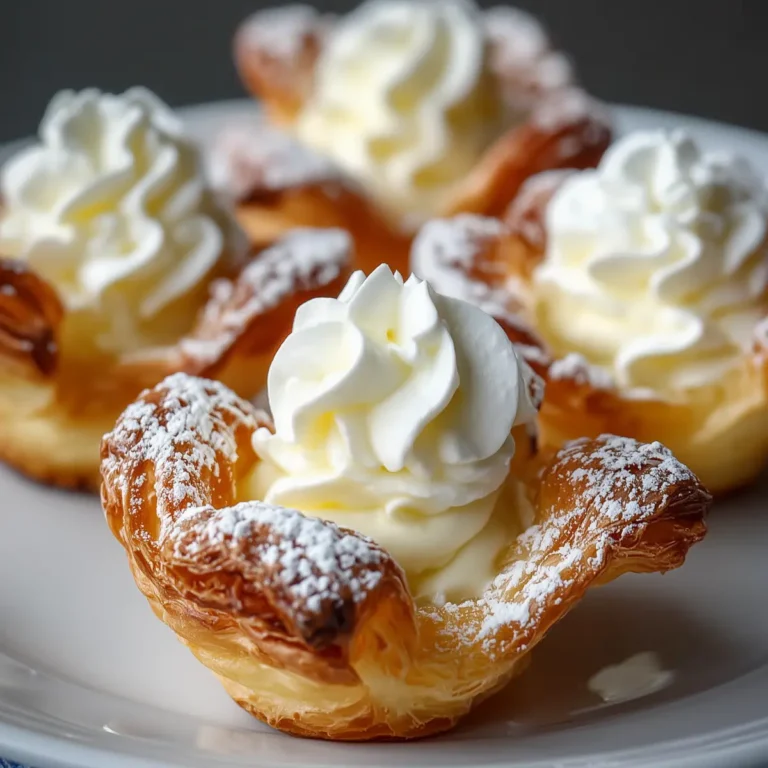
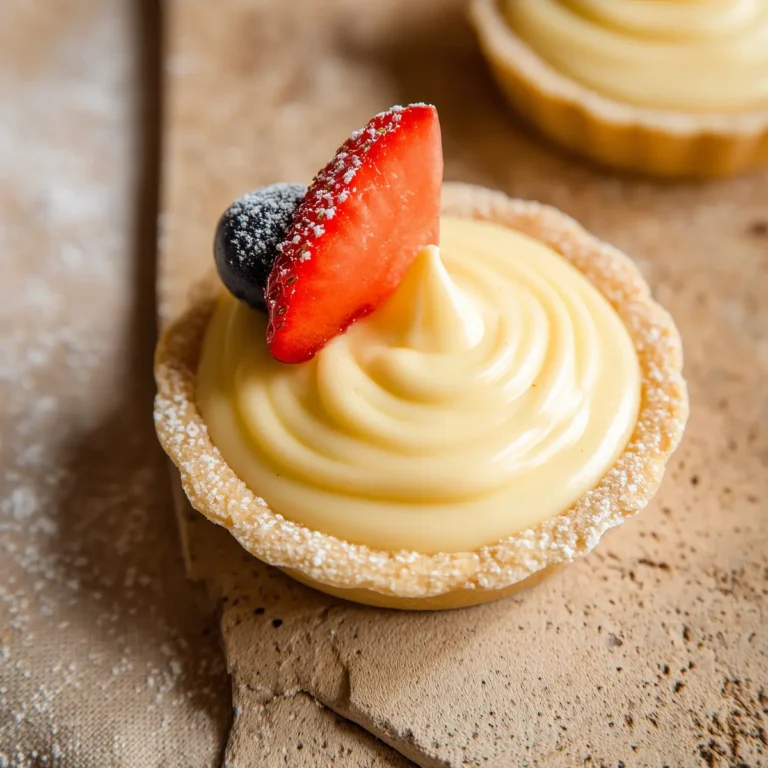
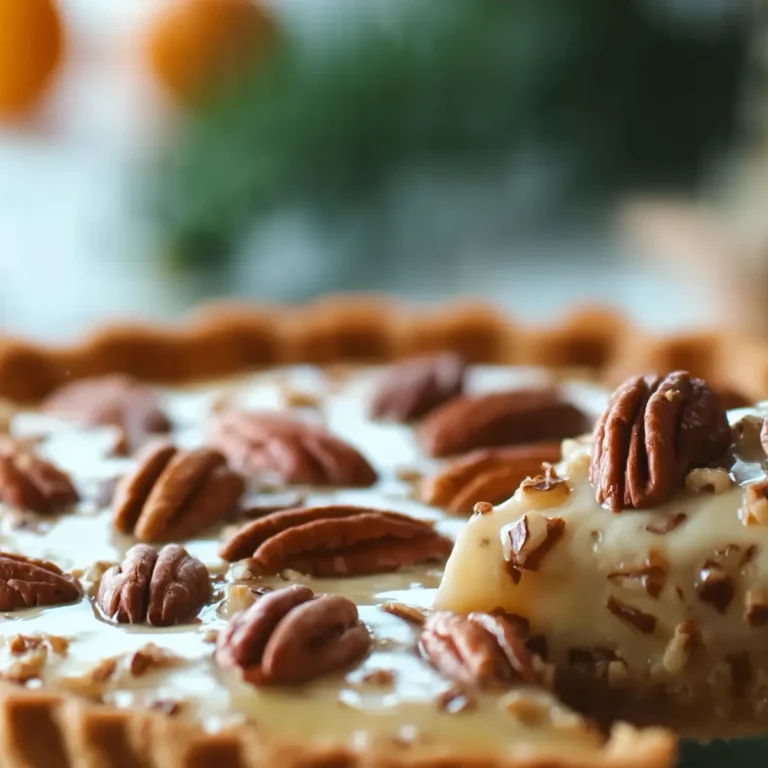
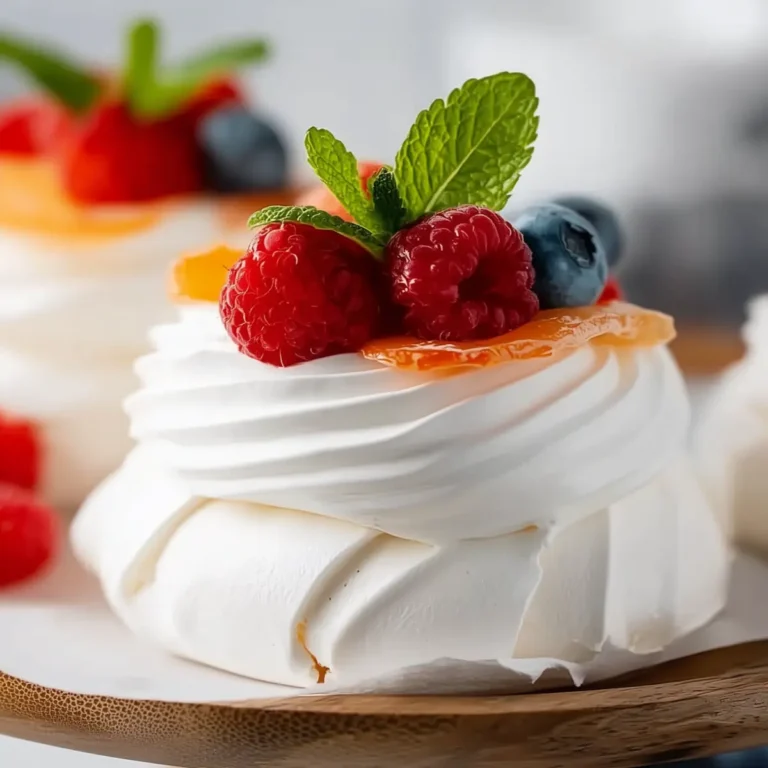
There’s no end to the ways you can fill and serve these mini tart shells. They’re stunning with whipped ganache and fresh berries, or a simple spoonful of lemon curd crowned with a raspberry. For savory versions, consider silky quiche fillings, garlic-roasted mushrooms, or whipped cheese flecked with herbs.
Store cooled shells in an airtight tin at room temperature for several days, or freeze unfilled shells if you want to get ahead for a party; just thaw and crisp them briefly in a hot oven to bring back that fresh-baked crunch. I love prepping batches ahead, then pulling out what I need for a low-effort but high-impact treat. From elegant dessert spreads to brunch buffets or last-minute snacks, these shells turn every moment just a little bit special.
FAQs about Mini Tart Shells
Can I make mini tart shells without eggs?
Yes, you can substitute eggs with a flaxseed or chia “egg” (mix ground flaxseed or chia with water until thickened), though the shells may be slightly less tender. The texture will change a bit, but they’ll still hold up nicely for most fillings.
How far in advance can I prepare mini tart shells?
You can make mini tart shells up to three days ahead and keep them in an airtight container at room temperature. They also freeze well for up to a month, so they’re perfect for prepping ahead.
What’s the best way to keep mini tart shells crisp after baking?
After baking, let the shells cool completely before storing. Always keep them in an airtight container away from moisture, and if they soften, re-crisp them in a hot oven for a few minutes before filling.
Can I use store-bought pie crust for mini tart shells?
If you’re short on time, store-bought pie crust can be used in place of homemade dough. The flavor and flakiness might not be quite the same, but it will still work beautifully for easy appetizers or desserts.
What fillings work best in mini tart shells?
Mini tart shells are wonderfully versatile. Use sweet fillings like pastry cream, chocolate, or lemon curd, or go savory with things like whipped cheese, quiche mix, or roasted vegetables. Make sure the filling isn’t too wet, as excess moisture can make the shells soggy.
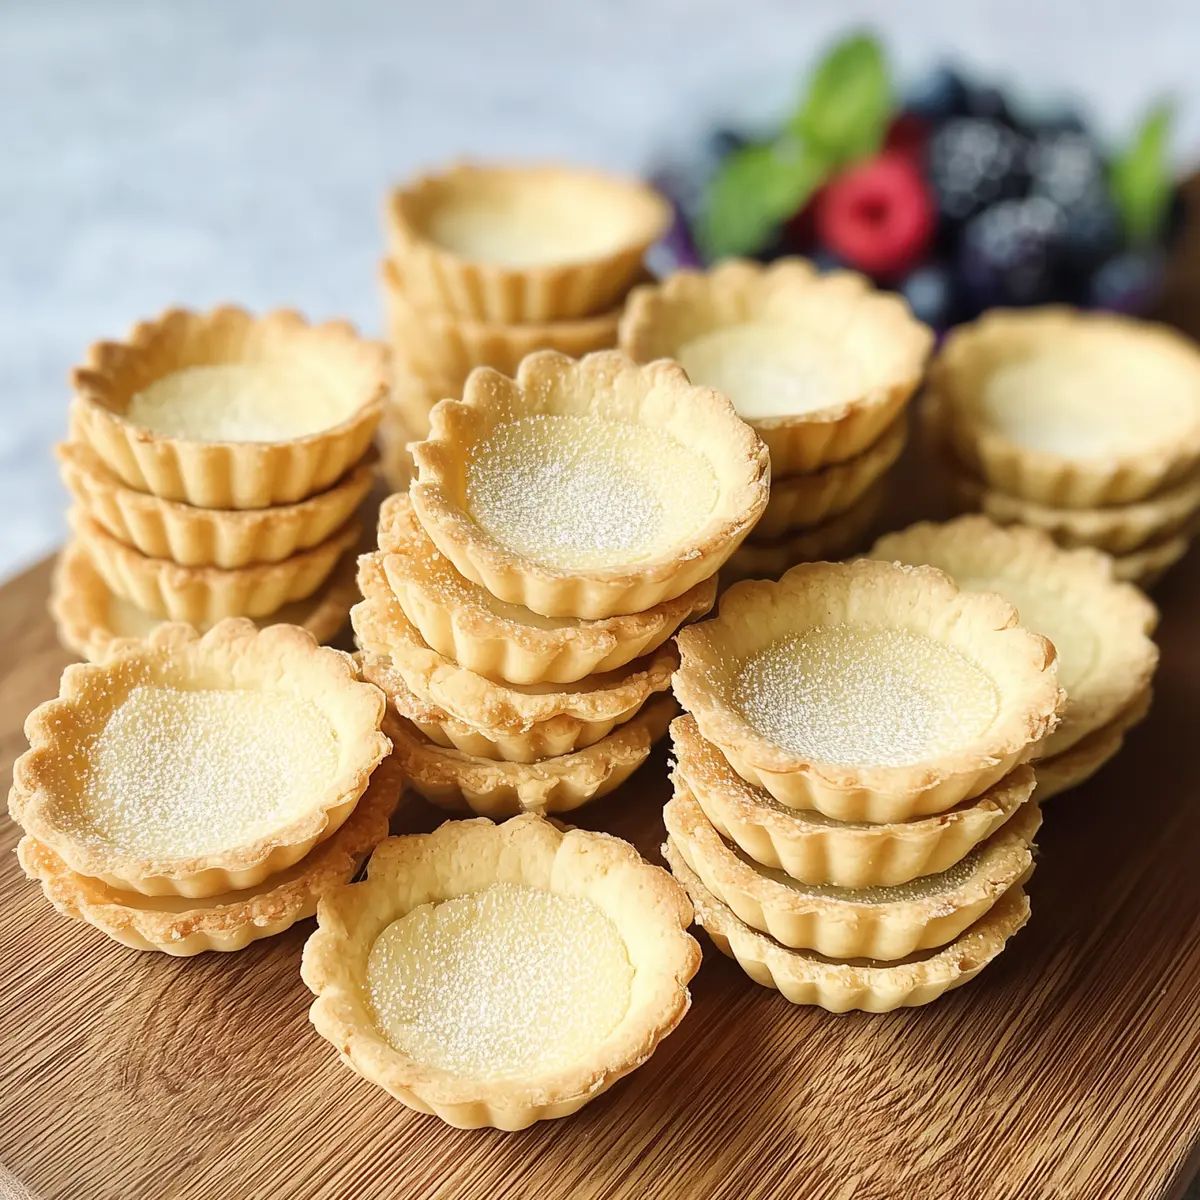
There’s something so inviting about a tray of crisp mini tart shells, ready to be filled with whatever your heart—and pantry—desire. Every bite is a fresh start: buttery, golden, and delicately crisp. Whether you pack them with sweet or savory, simple or bold, these mini tart shells quietly steal the show and make every bite feel like a celebration.
More Delicious Recipes
- St Patrick’s Day Brownie Trifle: This layered dessert highlights rich flavors similar to the sweet fillings for your mini tart shells.
- Crispy Irish Bacon Potato Skillet: A savory option that complements the versatility of tart shells for a delightful brunch spread.
- Cream Cheese Salami Roll-Ups: These easy appetizers pair perfectly with mini tarts, offering delicious savory options to your gatherings.
Mini Tart Shells
Ingredients
Method
- Start by mixing the egg yolks with milk and set it aside. In a stand mixer bowl combine the flour, sugar and salt and give it a quick whisk.
- Add the soften butter and mix again until it turns into crumbs. Add the mixture of egg yolks and milk while continuing to mix on the low speed of your mixer. The dough will come together very quickly.
- Transfer the dough onto your work surface, knead it for a minute and divide it into two pieces. Cover one-piece with plastic wrap and put it aside. Cover the second piece with parchment paper or Teflon mat and roll it out until it’s ¼ of an inch thick.To make the tart shells I use tart molds that are 2 and three quarters of an inch across at the widest opening and a round cookie cutter that is about 3 and a quarter of an inch. Using a cookie cutter, cut as many circles of dough as you can.
- Place the round dough into the tart mold and push down gently with your thumbs, so the dough is distributed evenly all around. Cut off the excess dough if necessary. You don’t need to grease the molds with oil spray, because the dough contains a lot of butter.Don’t forget to cover the dough and the ready tart shells with plastic wrap to prevent it from drying out. Collect all the remaining dough into a ball and roll it again. Repeat the process with the remaining dough.
- Don’t miss the next step! To prevent the crust from bubbling up during baking, use a fork to prick the bottom of each tart crust! Cover the tart shells with plastic wrap and let them chill for 15-20 minutes.In the meantime, preheat the oven to 350 F degrees and bake the mini tart shells for 15-20 minutes or until they have a golden-brown color. Let them cool for a couple of minutes and take them out of the mold.