
Ingredients
Equipment
Method
Instructions
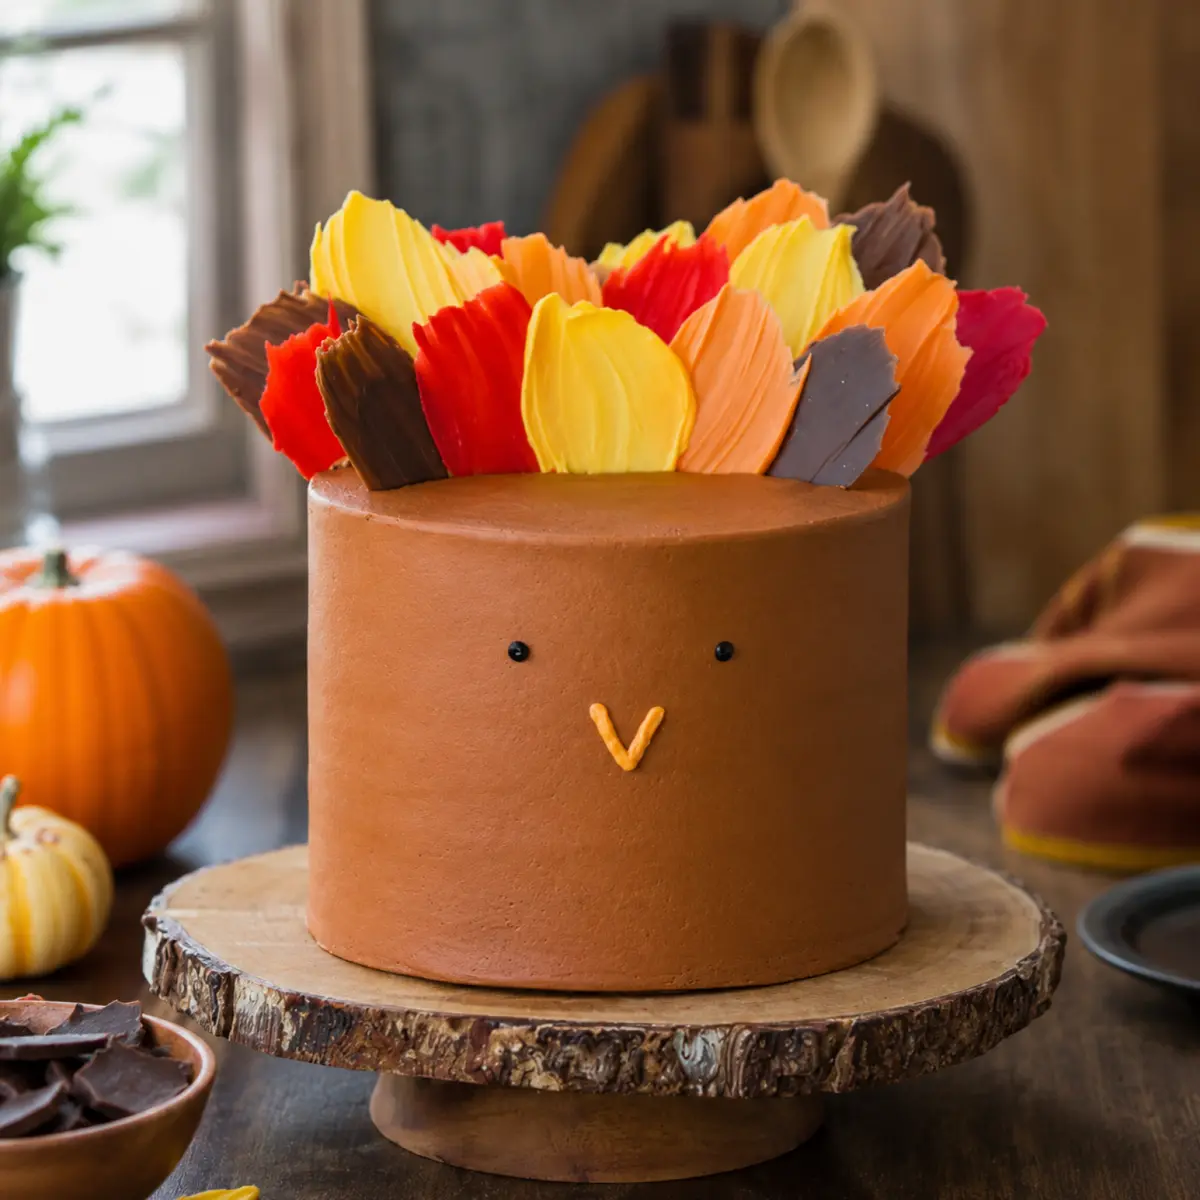
- Start with a perfectly crumb-coated cake. Cover the cake using brown buttercream icing piped from a decorating bag fitted with a cake icer. Use a cake spatula to smooth the sides and top so your “turkey” has a neat, even base. Set the cake aside to rest.
- Melt red, yellow, orange, and brown candy melts in separate microwave-safe bowls. Heat each in short spurts at low power, stirring between intervals until the melts are creamy and smooth.
- Dip a 1-inch paintbrush into each melted color and paint a variety of bold, feather-like strokes—about 5–7 centimeters long—onto sheets of parchment paper. Let the painted brushstrokes dry completely, so they peel off easily.
- Begin assembling “feathers” on the cake: starting at the back edge, gently press the dried brushstroke feathers into the top of the cake. Alternate colors as you go, rotating reds, yellows, oranges, and browns for extra depth.
- Work forward with a second, then a third row of feathers, letting each new layer overlap slightly in front of the last. Your turkey’s tail will fill out and fan beautifully as you build.
- With black and orange icing in decorating bags fitted with #2 tips, add the finishing touches—pipe a tiny beak and bright, cheerful eyes on the cake front.
- Once the cake is fully decorated, move it to the refrigerator to chill until you’re ready to serve.
Notes
This cake should be stored in the refrigerator to keep the buttercream firm and the candy feathers crisp.