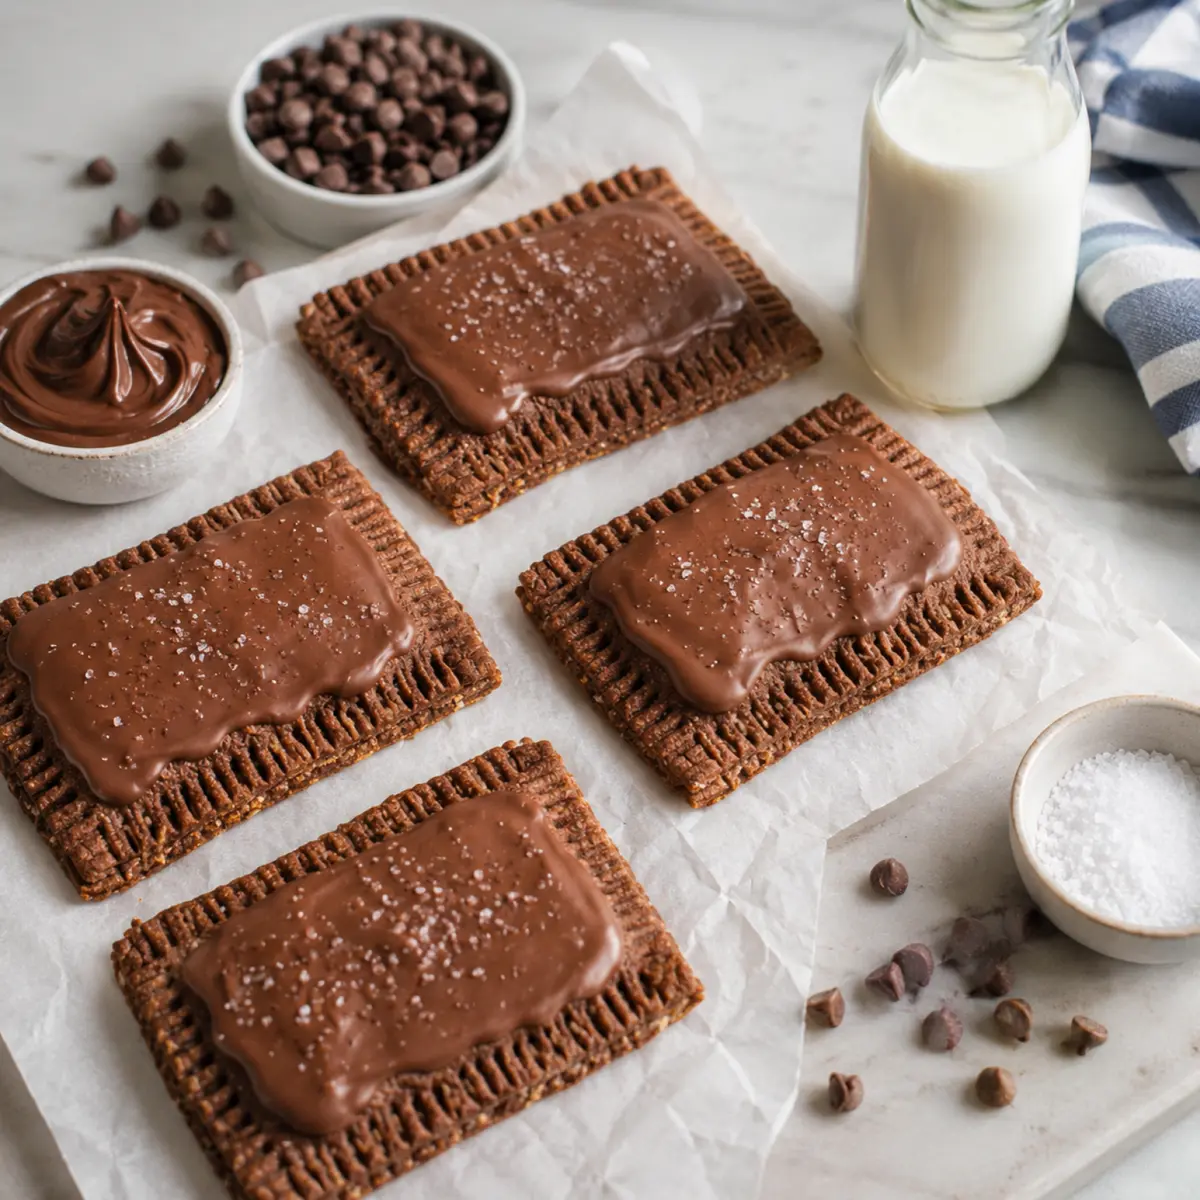
There’s just something unbeatable about biting into a homemade Chocolate Pop Tart, still slightly warm from the oven with a perfectly fudgy chocolate center and a glossy layer of icing on top. If store-bought Pop Tarts take you back, wait until you get your hands on the from-scratch version—they’re rich, buttery, and deeply chocolatey, with a texture and flavor that puts the boxed ones to shame.
You can whip up a batch of these Chocolate Pop Tarts in your own kitchen without any fancy techniques. I love making these on a weekend morning, the scent of cocoa rising as the pastry bakes and the glaze sets. Whether you glam them up with coarse sugar or a little flaky salt, this recipe is all about maximum chocolate comfort.
Why Homemade Chocolate Pop Tarts Are Irresistible
What really sets these Chocolate Pop Tarts apart is the combination of buttery, melt-in-your-mouth pastry and a luscious chocolate fudge filling that stays gooey even after baking. Each bite offers that crisp snap from the crust, followed by ribbons of rich, creamy chocolate inside—plus a shimmering chocolate glaze that hardens just enough to crackle as you bite.Making them from scratch means you control the quality and can load them up with real chocolate flavor. Whether you’re looking to create a nostalgic treat for brunch, satisfy serious chocolate cravings, or surprise your family with a unique dessert, these pop tarts deliver every single time. They’re as fun to eat as they are to make, and impossible to resist from the very first whiff of cocoa in the air.
The Essential Ingredients for Chocolate Pop Tarts
To capture that iconic flavor and texture, you’ll need just a few basic ingredients—most of which you probably have on hand already. Here’s what goes into each crave-worthy component:- cocoa powder – Delivers deep chocolate flavor to both the dough and the filling; essential for that intense, fudgy bite.
- Heavy cream – Adds richness and helps melt the chocolate for a smooth filling.
- Semi-sweet chocolate chips – Make the fudge center extra melty and decadent.
- Salted butter – Contributes a melt-in-your-mouth feel for both pastry and filling, balancing the sweetness.
- Vanilla extract – Rounds out the chocolate flavors and brings a bakery-quality aroma.
- All-purpose flour – Provides structure to the pastry, ensuring it bakes up tender yet sturdy enough to hold in the filling.
- Granulated sugar – Adds just enough sweetness to the dough.
- Egg (beaten, for brushing) – Helps seal the edges and achieve a golden, glossy finish.
- Confectioner’s sugar – Used in the icing for a silky-smooth, set glaze.
- Milk chocolate (melted) – Blends into the icing for an extra chocolatey boost.
- Coarse salt or sugar – Sprinkled on top to add crunch and a finishing touch—you choose your favorite.
See the recipe card below for the full list of ingredients and measurements.
Step-by-Step: How to Make Chocolate Pop Tarts at Home
Here’s how you’ll pull off perfect Chocolate Pop Tarts in your own kitchen, no pastry chef skills required:- Start the chocolate fudge filling: In a small saucepan, mix cocoa powder, cream, and some chocolate chips together over gentle heat. Stir constantly until everything melts into a glossy, thick sauce.
- Finish the filling: Take the pan off the heat. Add the rest of the chocolate chips, cubed butter, and vanilla. Stir until smooth. Chill it in the fridge until thick enough to scoop and spread—it should hold its shape.
- Make the chocolate pastry dough: Combine flour, cocoa powder, sugar, and cold cubed butter in a food processor. Pulse until it forms little pea-sized crumbs. If you don’t have a food processor, use your fingertips to rub the butter in by hand.
- Bring the dough together: Add cold water gradually until the dough gathers and holds together easily. If it feels too dry, a splash more water will fix it.
- Roll and cut: On a floured surface, roll the chocolate dough out thin. Cut into even rectangles—the classic Pop Tart shape.
- Add the filling: Place a rounded spoonful of your chilled fudge onto half the rectangles, leaving a small border for sealing.
- Seal the pop tarts: Brush the edges with beaten egg. Place a plain rectangle on top and seal the edges firmly with the back of a fork. You want a tight crimp to keep the filling from leaking (though a little is normal).
- Chill: Arrange pop tarts on a parchment-lined baking sheet. Cover and chill in the fridge or freezer to help them hold their shape in the oven.
- Bake: Slide into a hot oven and bake until the pastry is firm and just beginning to color at the edges. Let them cool completely on the baking sheet before adding icing.
- Prepare the icing: In a bowl, whisk together confectioner’s sugar, cocoa powder, vanilla, and water until smooth. Stir in the melted milk chocolate for extra richness. Thin as needed for a spreadable glaze.
- Frost the cooled pop tarts: Spread a thin layer of icing over each pastry and let it firm up for a few minutes. Finish with a sprinkle of coarse salt or sugar for that bakery-style look and crunch.
- Let them set: Allow the iced pop tarts to rest uncovered, so the icing hardens to a gentle shell. They’re ready to eat when the glaze is dry to the touch.
Kitchen Tips, Texture Cues, and Troubleshooting
Chocolate Pop Tarts are the kind of treat that rewards attention to detail—but aren’t fussy. Here’s how to get them just right, and what to do if things go sideways:- Cold dough is key: Keep your butter and water cold for a tender, flaky pastry. Chilling the assembled pop tarts before baking helps them keep their shape and prevents spreading.
- Texture watch: Properly cooked pop tarts will have firm, crisp edges but retain a soft, slightly chewy center. The filling should stay gooey, not runny.
- Sealing matters: Press the edges together with the back of a fork so the fudge filling doesn’t ooze out (though a small leak is totally fine—and kind of appealing).
- Icing consistency: If your chocolate icing is too thick, add a splash of water; too thin, add a touch more confectioner’s sugar until it feels spreadable and sets with a glossy finish.
- Bake on parchment: This helps with easy removal and makes cleanup a breeze if any chocolate does escape.
Fun Variations and Serving Ideas for Chocolate Pop Tarts
Chocolate Pop Tarts are undeniably good straight from the baking tray, but there are plenty of ways to personalize or serve them for different occasions:- Salted vs sweet: Top the glaze with a tiny pinch of flaky sea salt for a grown-up contrast, or opt for sparkling coarse sugar for classic kid appeal.
- Double chocolate: Swirl a bit of melted dark chocolate on top of the glaze for extra intensity (or to make a marbled effect).
- Fruity twist: Add a spoonful of raspberry jam or sliced strawberries inside the pop tarts before sealing for a chocolate-berry mashup.
- Breakfast or dessert: Pair your Chocolate Pop Tarts with cold milk for a nostalgic breakfast, or serve warmly with a scoop of vanilla ice cream for an indulgent dessert.
- Party treats: Cut the dough into smaller shapes to make bite-sized pop tart snacks—ideal for gatherings or lunchbox surprises.
Storing, Reheating, and Making Ahead
If you’re lucky enough to have leftovers, Chocolate Pop Tarts store well. Once the glaze is completely hardened, layer them in an airtight container at room temperature for a couple of days, or in the fridge for extended freshness.To reheat, pop them in the oven for a few minutes to gently warm through—the filling will get a little gooier, and the crust will crisp up again. (The microwave works in a pinch, but you’ll lose a bit of that lovely edge.) Freezing is possible once the pastries are baked and cooled; just thaw and refresh in the oven as needed.
Planning ahead? You can assemble the pop tarts and freeze them unbaked. Bake directly from frozen, adding an extra minute or two in the oven.
FAQs about Chocolate Pop Tarts
Can I substitute different chocolate for the filling?
Yes, you can swap semi-sweet chocolate chips with dark or milk chocolate chips for the filling. The overall flavor will change slightly, but the process stays the same. Just make sure your chocolate is real chocolate, not candy melts. Adjust the sweetness to your taste if using darker chocolate.
How do I keep my Chocolate Pop Tarts from leaking in the oven?
Leaking can happen if there’s too much filling or the edges aren’t sealed well. Don’t overfill and always crimp the edges tightly with a fork. It’s normal to see a little fudge escape, which often gives that signature baked-chocolate look. Chilling assembled tarts before baking helps prevent excessive leakage.
Can I make Chocolate Pop Tarts ahead of time?
Absolutely—Chocolate Pop Tarts are great for making ahead. Once glazed and set, they keep well in a sealed container for a few days. You can also freeze unbaked tarts and bake them straight from frozen when you need them.
How should I reheat leftover Chocolate Pop Tarts?
Gently warm them in the oven to bring back their crisp texture and fudgy center. The microwave works for a quick fix, but the pastry stays crisper in the oven. Heat just until the filling is warm and the edges feel slightly crisp again.
Bring on the Chocolate Pop Tart Joy
Homemade Chocolate Pop Tarts are the kind of bakery treat you’ll want to come back to again and again. They’re golden and crisp at the edges, dreamy in the middle, and look beautiful crowned with a shimmer of sugar or salt. Every step fills your kitchen with the scent of real chocolate—a true invitation to slow down and savor the best version of a classics breakfast (or anytime) treat.What To Try Next
If you loved making chocolate pop tarts, these sweet treats will keep your baking fun going strong.
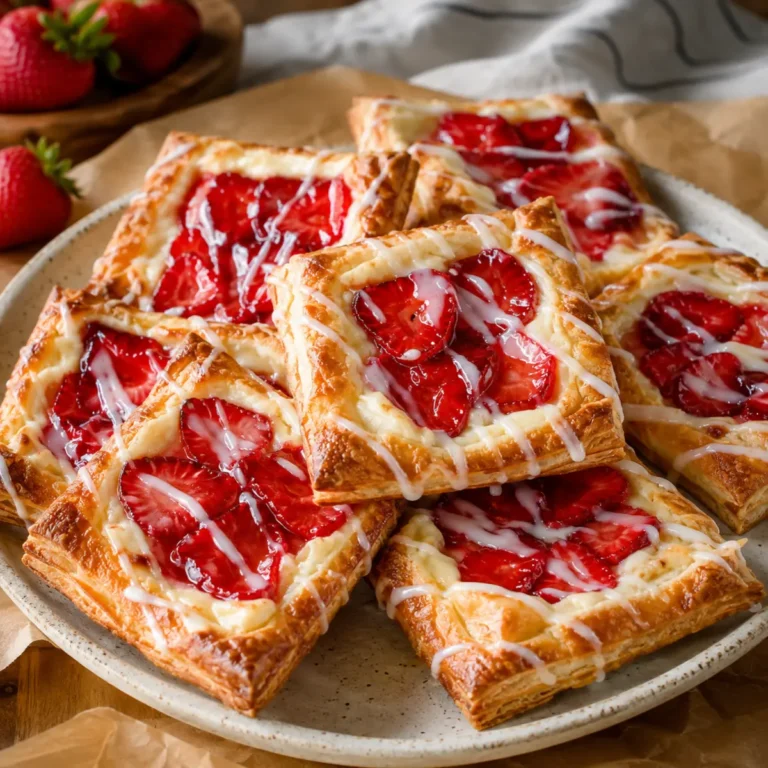
- Homemade Strawberry Sheet Pan Pop Tart — enjoy a fruity twist on a similar flaky, baked favorite.
- Tiramisu Cookies — perfect for a dessert occasion when you want a different yet indulgent bite.
- Berry Turnovers — try these flaky pastries that contrast the rich chocolate with fresh berries.
Recommended Equipment
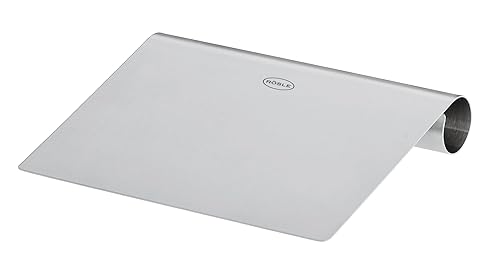
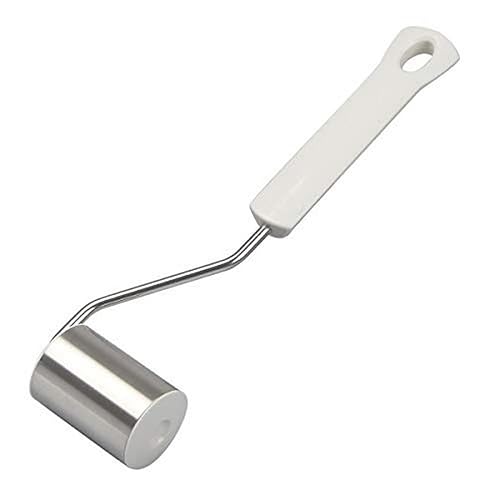
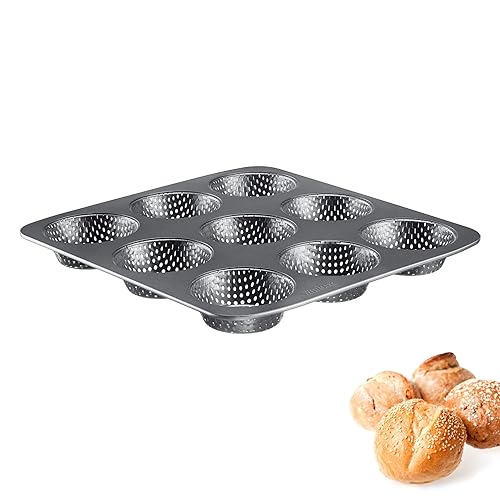
Westmark 32732260 Non-Stick Round Baking Pan
Even baking surface for perfect chocolate pop tarts
View on Amazon* As an Amazon Associate, I earn from qualifying purchases. There is no extra cost to you.

Chocolate Pop Tarts
Ingredients
Equipment
Method
- To make the chocolate fudge filling: In a small saucepan, stir together the cocoa powder, milk, and 3/4 cup chocolate chips.
- Set over medium heat and cook, stirring, for 5-8 minutes, until the chocolate is melted and the sauce has thickened slightly.
- Remove from heat, stir in the remaining 3/4 cup chocolate chips, the butter, and vanilla until smooth. Transfer to the fridge to cool and thicken, at least 30 minutes.
- Meanwhile, make the dough. In a food processor, combine the flour, cocoa powder, sugar, and butter.
- Pulse until the mix clumps together to forms pea-size balls.
- Add 1/2 cup cold water, 1 tablespoon at a time until the dough comes together and forms a ball. If the dough feels dry, add 1-2 tablespoons additional water.
- If you don’t have a food processor, you can also do this by hand. Just rub the butter into the dry ingredients using your fingers until you have pea-sized balls.
- Turn the dough out onto a floured surface. Roll out into a 1/8-inch thickness.
- Cut the dough into rectangles, about 4 x 3 inches.
- Place a tablespoon of the chilled chocolate fudge on one half of the rectangles, leaving a 1/4 inch border.
- Brush the edges with the beaten egg. Lay the other half of the dough over the filling and seal the edges by crimping with the back of a fork.
- Repeat until you've used all the dough, you will have leftover fudge.
- Place the pop tarts on parchment-lined baking sheets. Cover the baking sheets and place in the fridge for 1 hour or the freezer for 20 minutes.
- Preheat the oven to 400 degrees F. Bake the pop tarts for 15-20 minutes. The pop tarts will still leak a little. Cool completely before frosting.
- Make the frosting: In a medium bowl, whisk together the powdered sugar, cocoa powder, vanilla, and 3 tablespoons water until smooth. Stir in the melted chocolate. If your frosting is too thick, thin with 1-2 tablespoons additional water.
- Spoon a thin layer of the frosting on top of the cooled pop-tarts. Allow frosting to harden 10 minutes. Sprinkle with coarse sugar or salt.
- Place on a baking sheet and allow the pop tarts to harden, uncovered, about 2 hours.