It never really feels like the holidays in my kitchen until the scent of peanut butter and chocolate starts drifting from the oven. Classic Peanut Butter Blossoms have a special way of bringing everyone to the kitchen—especially when those warm, crackled cookies get their signature chocolate kiss right in the center. If you’re looking for that irresistible cookie with soft, chewy centers and just the right amount of sugary sparkle, you’re in the right place.
With their nostalgic flavor and playful look, Classic Peanut Butter Blossoms aren’t just a treat—they’re a tradition. Whether you’re baking for a cookie swap or just because, there’s something endlessly comforting about their combination of creamy peanut butter, crisp sugar coating, and melty chocolate.
Holiday Cookie Magic: Why These Classic Peanut Butter Blossoms Stand Out
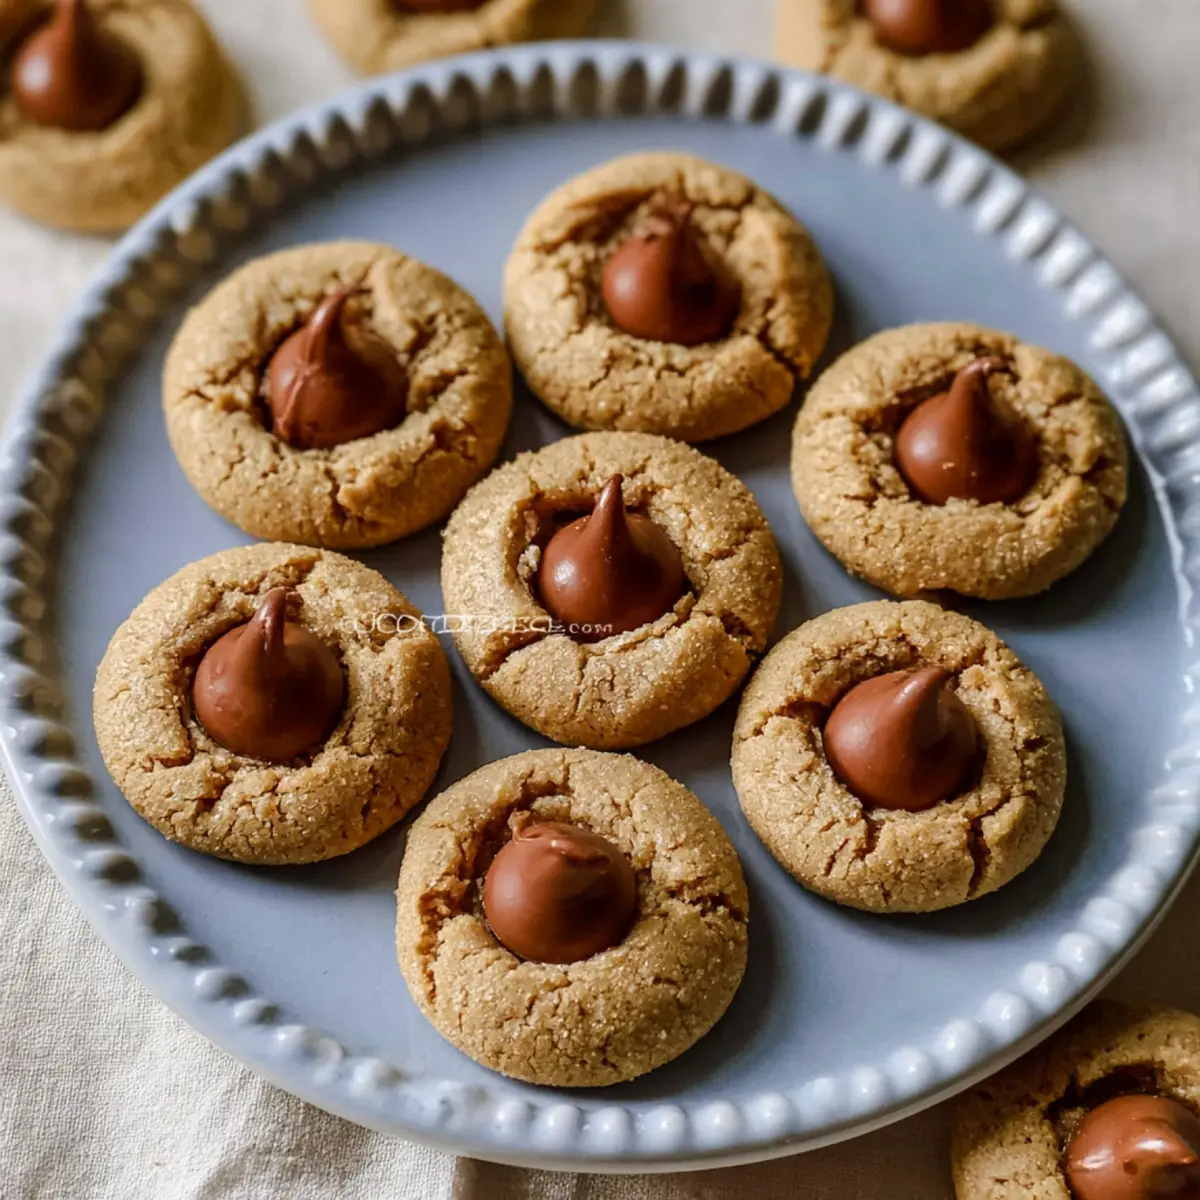
If you grew up with a cookie tin on the counter every December, Classic Peanut Butter Blossoms might take you right back to that first bite: warm, soft, and just a little bit melty from the chocolate. What really makes them special is their perfect balance—nutty richness from the peanut butter, a crisp sugary bite on the outside, and that iconic Hershey Kiss catching the spotlight.These are the cookies that look as good as they taste—crackled tops dusted in sugar with just enough golden color around the edges. They’re festive, easy to love, and downright hard to resist even before they’ve cooled down all the way. If you’re searching for a crowd-pleaser that brings smiles to cookie exchanges, lunch boxes, or late-night kitchen raids, this classic peanut butter blossoms recipe totally delivers.
Ingredient Notes for Classic Peanut Butter Blossoms
The beauty of Classic Peanut Butter Blossoms is in their simple, reliable ingredient list. Before you grab your favorite mixing bowl, take a look at what makes these cookies so craveable:- Flour – provides the cookie’s structure and helps achieve that tender, soft chew.
- Baking Soda – lifts and spreads the dough, giving those classic crackly tops.
- Salt – balances sweetness and boosts peanut butter flavor.
- Creamy Peanut Butter – brings rich, nutty flavor and soft texture.
- Unsalted Butter (room temperature) – adds richness and helps make the dough creamy.
- Granulated Sugar – both in the dough and coating, for sweetness and signature crunch.
- Light Brown Sugar (lightly packed) – offers a subtle caramel note and added moisture.
- Large Egg – binds everything together for the right chewiness.
- Milk – helps keep the cookies soft.
- Vanilla Extract – gives a warm, inviting aroma.
- Hershey Kisses – the sweet, chocolatey finishing touch.
See the recipe card below for the full list of ingredients and measurements.
How to Bake Peanut Butter Blossoms Like a Pro
Let’s break the process down step by step, so you’ll get cookies with chewy centers, sparkling tops, and that perfect chocolate crown every time:- Whisk together the flour, baking soda, and salt in a medium bowl for a light, even mix. Set aside and let your attention shift to all that creamy goodness.
- Cream the peanut butter, unsalted butter, granulated sugar, and light brown sugar using a hand mixer or stand mixer. When the mixture looks fluffy and smooth, you’re in business.
- Add the egg, milk, and vanilla extract right into the dough. Scrape the bowl’s sides so everything combines evenly and you don’t miss a drop of flavor.
- Turn the mixer to low and gradually add the dry ingredients until just incorporated. The dough should come together but never be overmixed.
- Chill the dough. Cover your mixing bowl tightly or transfer to a sealed container and let it rest in the fridge for at least an hour—this keeps the cookies thick and easy to shape.
- Line two baking sheets with parchment or silicone mats. While the oven preheats, move your rack to just above center for even browning.
- Shape the dough into small balls and roll each one in granulated sugar for that hallmark sparkle and subtle crunch. Place the balls a few centimeters apart on the baking sheets.
- Bake until the tops are soft and just barely set. Pull them out, press a Hershey Kiss gently into the center of each while they’re still hot—the sides will crack beautifully, and the chocolate will start to glisten.
- Pop the trays back in the oven for a couple of minutes. This lets the chocolate soften ever so slightly so it bonds perfectly with the cookie.
- Let the cookies cool on the baking sheets for several minutes before transferring to cooling racks. This keeps the cookies soft yet set, and stops the chocolate from sliding off.
- Once cool, store your blossoms in an airtight container with a slice of bread tucked in to help keep them pillowy soft for days.
Soft Edges, Crackly Tops: Tips for Cookie Success
Few things are as rewarding as biting into a peanut butter blossom that’s just the right mix of soft, chewy, and crisp. Here’s how to get that picture-perfect result every time:- Don’t skip chilling the dough: Cold dough ensures cookies don’t spread too quickly and helps hold their shape for those crackled tops.
- Roll evenly: Uniform cookie balls mean consistent baking and perfect presentation.
- Bake just until set: The cookies should look pale and a little underdone before adding the chocolate—the centers will finish setting as they cool.
- Press the chocolate gently: You want to see clean cracks form, not lose all the soft puffiness.
- Let the cookies rest on the tray: Moving them too soon can lead to misshapen cookies or melted chocolate kisses.
Fun Variations and What to Serve with Peanut Butter Blossoms
Classic Peanut Butter Blossoms are delicious just as they are, but it’s easy to have a little fun and put your own twist on things. Try swapping the chocolate kiss for a mini peanut butter cup or a dark chocolate version if you want to dial up the chocolate or add contrast. You can also experiment with crunchy peanut butter for added texture or colored sugars for a festive look.Serve these cookies on a holiday dessert platter alongside fudge, gingerbread, or sugar cookies. For a cozy pairing, pour yourself a glass of milk, a mug of hot chocolate, or enjoy them with coffee during an afternoon pick-me-up. Stack them up and watch how quickly they disappear at any gathering.
Keeping Your Cookies Fresh: Storage and Make-Ahead Tips
No one wants dry peanut butter blossoms, so keep them at their best by storing in an airtight container. A slice of bread tucked inside works wonders to maintain their soft texture. These cookies stay fresh for several days at room temperature, making them great for gifting or easy snacking.Want to get ahead? The dough can be made in advance and chilled—just wrap tightly or cover well. You can also freeze the dough balls (unbaked) and bake straight from the freezer with a couple of extra minutes in the oven. Once baked, allow cookies to cool thoroughly before freezing in a single layer to prevent sticking.
FAQs about Classic Peanut Butter Blossoms
Can I use natural peanut butter for classic peanut butter blossoms?
Natural peanut butter can be used, but may change the texture. If you use it, ensure it’s well-stirred and not too oily for best results. The cookies may be a bit more crumbly than with standard creamy peanut butter. Everyone’s texture preference is a little different, so experiment to see what you like.
How do I prevent the chocolate kiss from melting too much?
Add the chocolate kiss to each cookie right after baking, then return them briefly to the oven. This softens the chocolate just enough, but don’t overbake or the kiss will lose its shape. Allow cookies to cool on the tray so the kisses can set neatly.
What’s the best way to store classic peanut butter blossoms to keep them chewy?
The best way is in an airtight container with a slice of bread inside to maintain moisture. Avoid stacking them while warm to keep the chocolate topping intact. Keep the container at room temperature for optimal texture and freshness.
Can I freeze peanut butter blossom dough or finished cookies?
Yes, you can freeze both the dough and baked cookies. For dough, roll into balls before freezing to make baking easier later. Finished cookies should be completely cool before freezing in single layers to protect their shape and texture.
The Best of Both Worlds: Peanut Butter and Chocolate
Classic Peanut Butter Blossoms bring together two all-time favorites in every bite. Whether you’re baking with family or sneaking a midnight cookie, it’s hard to beat that golden, sugar-kissed exterior and the creamy chocolate center. Pour a glass of milk, line a plate with warm cookies, and watch them disappear—this is one holiday tradition that never gets old.What To Try Next
If you loved the warm, comforting taste of peanut butter cookies, these picks will keep your sweet tooth happy.
- Smores Cookie Bars — another fun twist on classic cookies with a melty, gooey texture you’ll enjoy.
- Cinnamon Roll Cake — perfect for cozy occasions and shares that lovely cinnamon warmth complementing peanut butter.
- Protein Pop Tarts With Strawberry Jam And Vanilla Glaze — a nostalgic treat with a fruity contrast that balances the peanut butter flavor nicely.
Recommended Equipment
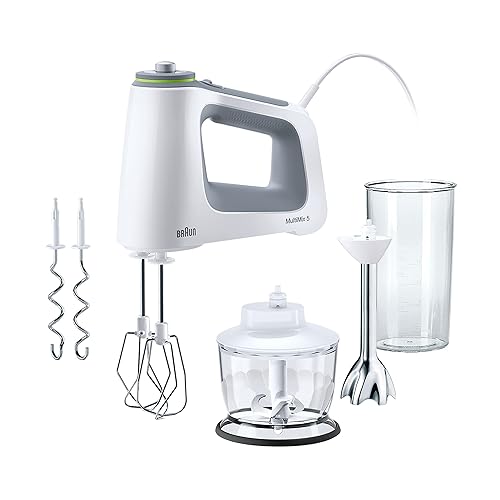

* As an Amazon Associate, I earn from qualifying purchases. There is no extra cost to you.

Classic Peanut Butter Blossoms
Ingredients
Equipment
Method
- In a medium bowl, whisk together the all-purpose flour, baking soda, and salt. Set aside.
- Using a hand mixer or stand mixer fitted with paddle attachment, cream together the peanut butter, unsalted butter, granulated sugar, and light brown sugar on medium-high speed until well blended.
- Add in the egg, milk, and vanilla extract. Scrape down the sides of the bowl as needed.
- Reduce the mixer speed, gradually adding in the dry mixture until completely blended.
- Place the cookie dough in a well sealed food container or tightly wrap the top of the mixing bowl with plastic wrap (or alternative) and chill the cookie dough for a minimum of 1 hour.
- After dough has chilled, line 2 baking sheets with parchment paper or silicone mats, adjust the oven rack to the 2nd level mark (just above center), and preheat the oven to 375°F.
- Using a spoon and your clean hands, shape the cookie dough into 1 inch balls, roll in granulated sugar, and place about 1 1/2 - 2 inches apart on lined baking sheets.
- Bake for 7-8 minutes, then remove from oven and place a milk chocolate kiss on each cookie, pressing down gently to create the crackly cookie edges.
- Return to the oven and bake for 2 minutes longer.
- Cool cookies on baking sheet for 5-10 minutes before transferring to a cooking rack to cool completely.
- Store cookies in an airtight container with a slice of bread for up to a week.