Some desserts seem to invite you into the kitchen with their simplicity. No-Bake Peanut Butter Bars are exactly that kind of treat—no oven, no fuss, just classic flavors and easy steps that anyone can tackle in an afternoon. If you’re craving a sweet bar that’s rich, creamy, and a pinch nostalgic, these bars might just become your new go-to.
No-bake recipes have a charm of their own: everything comes together quickly, and the hardest part is waiting for them to chill. The blend of buttery crust and soft, creamy layers in these No-Bake Peanut Butter Bars makes every slice a crowd-pleaser, whether you’re prepping ahead for a party or just looking for a treat to stash in the fridge for family snacking.
What Makes No-Bake Peanut Butter Bars Irresistible?
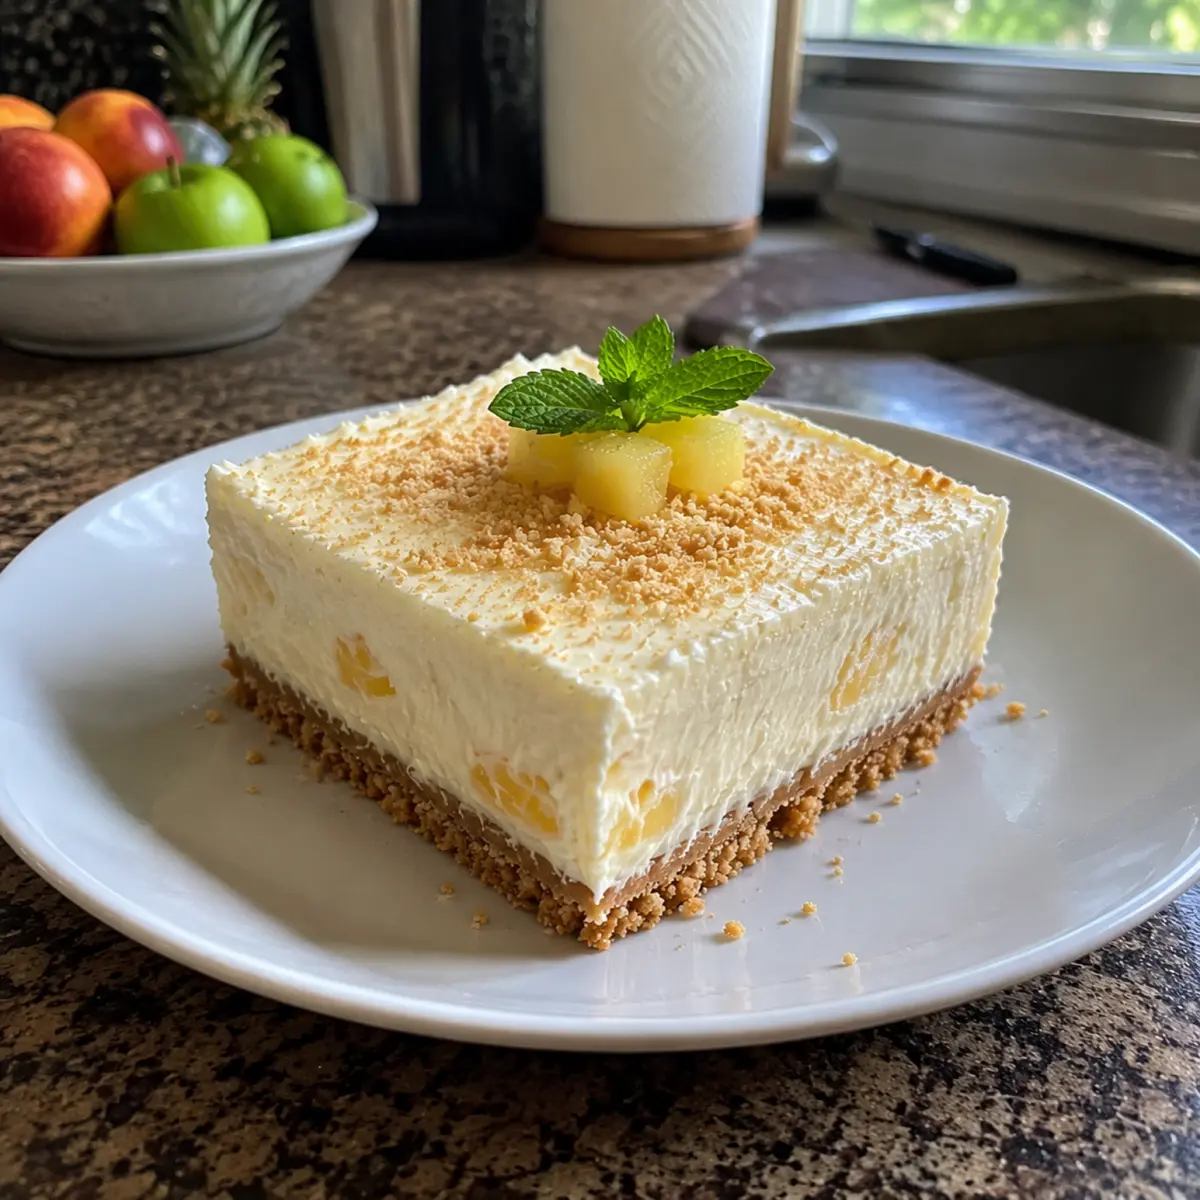
No-Bake Peanut Butter Bars hold a special place on the dessert table because they hit all the right notes—soft, creamy filling, a sweet and slightly salty edge from the peanut butter, and that iconic chocolate-peanut combo that’s hard to resist. Their simplicity means you don’t need to worry about oven timing or special pans, and you’re treated to a perfectly smooth texture that slices cleanly.Whether it’s the way the bars chill to set up their firm, decadent layers or the rush of nostalgia you get at the first bite, these no-bake bars are a comforting classic. The easy process attracts both baking newbies and busy kitchen pros alike. Each square delivers chewy, blissful bites that taste like home. They look striking on a plate too—nothing beats those even layers when you pull the pan from the fridge.
Essential Ingredients for No-Bake Peanut Butter Bars
Success with No-Bake Peanut Butter Bars really comes down to the right players in the mix. Each ingredient brings something special to the table, creating bars that turn out creamy, rich, and perfectly sweet.- Graham cracker crumbs – The essential base for that classic, slightly sweet crust with a hint of warmth and crunchiness.
- Unsalted butter, melted – Creates a rich, cohesive crust that holds everything together with a subtle buttery flavor.
- Granulated sugar – Adds structure and sweetness to the crust.
- Full-fat cream cheese, softened – Brings an ultra-creamy texture and slight tang to the filling.
- Powdered sugar – Blends effortlessly into the cream cheese for smooth sweetness and a cloud-like texture.
- Crushed pineapple, thoroughly drained – Breaks up the richness with brightness and tiny bits of sweet tropical flavor.
- Frozen whipped topping, thawed – Adds a light, fluffy finish to the filling and helps everything set up beautifully in the fridge.
See the recipe card below for the full list of ingredients and measurements.
Step-by-Step: How to Make No-Bake Peanut Butter Bars
Getting these bars started is easier than you think—no oven required, just a bit of mixing, layering, and waiting for that perfect chill. Here’s how it all comes together:- Combine the graham cracker crumbs with granulated sugar in a medium mixing bowl, then pour in the melted butter. Stir until every crumb is evenly coated and the mixture resembles damp sand.
- Press the crumb mixture into an even layer at the bottom of an 8×8-inch baking dish. Use the bottom of a measuring cup or a sturdy glass to firmly press and compact the crust. Place the pan in the fridge while you make the filling, so it starts to set.
- Drain the crushed pineapple thoroughly using a fine-mesh strainer, pressing firmly with the back of a spoon to squeeze out excess juice. Set this aside—the less liquid, the creamier your filling will be.
- Beat the softened cream cheese with a hand mixer until smooth and creamy, at least a minute or two. Add the powdered sugar and continue to beat until the mixture is completely lump-free.
- Gently fold in the drained crushed pineapple. Once combined, add the thawed whipped topping and fold everything together until you see no more white streaks—look for a smooth, fluffy filling.
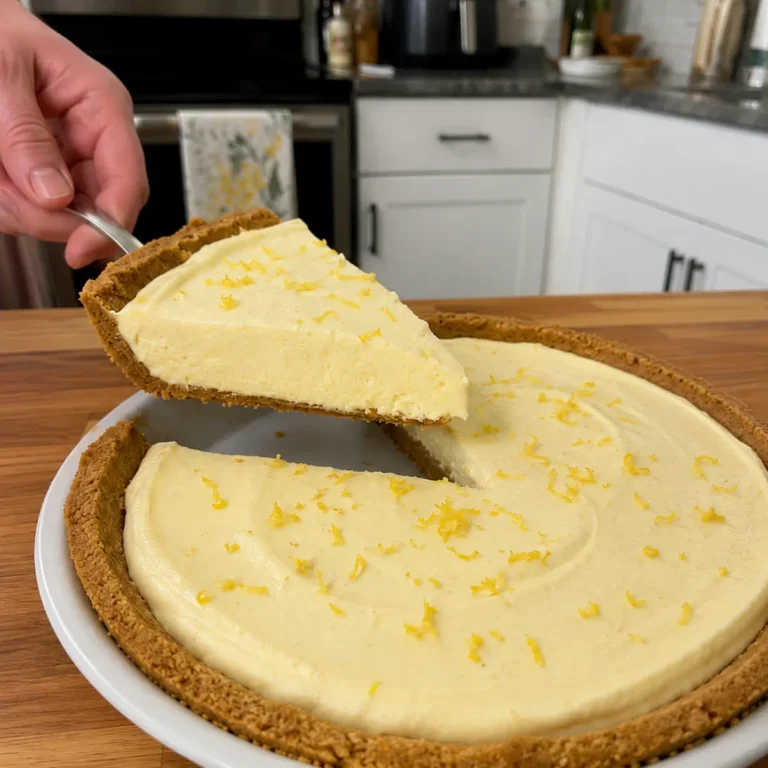
- Retrieve your chilled crust from the fridge. Spread the filling evenly across the crust, smoothing the top with a spatula for neat, defined layers.
- Cover the baking dish, then refrigerate for several hours (overnight is best) until the bars are firm and hold together when sliced.
Tips for Perfect No-Bake Peanut Butter Bars
No-Bake Peanut Butter Bars are forgiving, but every dessert benefits from a few pro tips to keep things smooth. Paying attention to texture and doneness cues makes all the difference:- Drain pineapple thoroughly—excess juice can make your bars runny and prevent a clean set.
- Soften your cream cheese to room temperature so it blends easily and creates a silky filling without lumps.
- Use a flat measuring cup or glass to pack the crust firmly; this keeps the crust intact when slicing.
- Allow bars to chill completely before attempting to cut. If you’re short on time, letting them set overnight will deliver the cleanest slices.
- If the filling seems too soft, pop it back in the fridge—extra chill usually solves the issue.
Watch for uneven spreading to keep your bars looking crisp, and always use a sharp knife dipped in hot water for the cleanest cuts after chilling.
Creative Variations and Serving Ideas
These bars can play well with plenty of flavors and toppings. For a twist on the classic No-Bake Peanut Butter Bars, try stirring mini chocolate chips or toasted coconut flakes into the filling for texture. Crushed nuts sprinkled over the top or a light drizzle of chocolate can amp up the visual appeal and flavor contrast.Pair these bars with a scoop of vanilla ice cream on warmer days, or serve them alongside a fresh fruit salad for a pop of color. Coffee or strong black tea naturally complements the creamy texture and sweetness. They’re easy to cut into small bites for serving at buffets, picnics, or lunchbox treats.
Keeping Your No-Bake Peanut Butter Bars Fresh
Once your No-Bake Peanut Butter Bars are set and sliced, storing them is a breeze. Place the bars in an airtight container and refrigerate. They’ll keep their texture and richness for several days, making them ideal for make-ahead treats. For longer storage, freeze individual bars between layers of wax paper and thaw them in the refrigerator before serving.If prepping for a party, you can assemble and chill the bars the night before, ensuring they’re perfectly set by the next day. Avoid leaving them at room temperature for too long, as the filling softens quickly—always serve them chilled for the best bite.
FAQs about No-Bake Peanut Butter Bars
Can I use a different crust for No-Bake Peanut Butter Bars?
Yes, you can substitute the graham cracker crumbs with crushed digestive biscuits or vanilla wafer cookies. Each type will offer a slightly different flavor and texture while still holding together perfectly.
How do I keep No-Bake Peanut Butter Bars from being too soft?
Make sure to drain any fruits thoroughly and chill the bars for several hours. For the firmest bite, let them set overnight in the refrigerator before slicing and serving.
Can No-Bake Peanut Butter Bars be made ahead of time?
Absolutely, these bars are ideal for making in advance. Once assembled, chill them in the fridge and store in an airtight container to maintain their texture and flavor for several days.
Do No-Bake Peanut Butter Bars freeze well?
Yes, you can freeze these bars for future treats. Cut the bars, separate them with wax paper, and store in a sealed container. Thaw in the refrigerator before enjoying.
The Finishing Touch: Bringing No-Bake Peanut Butter Bars to Your Table
With a chilled pan of No-Bake Peanut Butter Bars in your fridge, dessert never feels out of reach. Their creamy filling and tender, buttery crust deliver a melt-in-your-mouth treat every time you serve a square. Whether you’re hosting friends or sneaking a quiet midnight snack, these bars bring a cheerful note of comfort to the table—one bite at a time.Try These Next
If you love easy treats with peanut butter, these recipes will keep your snack game strong.
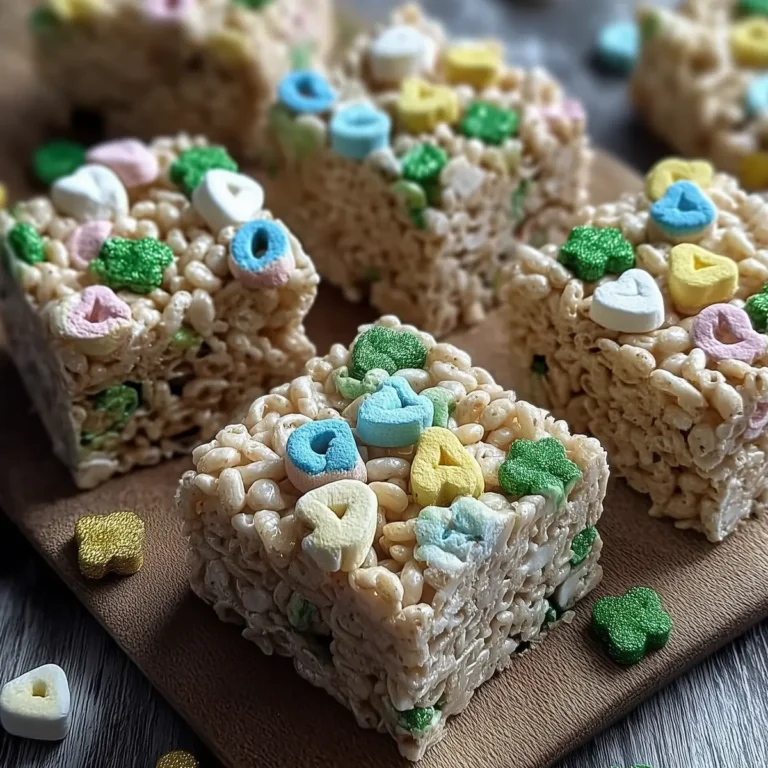
- St Patricks Day Lucky Charms Rice Crispy Treats 2 — sweet bars with a nostalgic, no-bake style cheer up your snack time.
- Smores Cookie Bars — a gooey dessert with marshmallow and chocolate, perfect for sharing after a casual meal.
- St Paddys Mint Cheesecake Cups — creamy and refreshing with a cool mint twist, these cups contrast nicely with peanut butter richness.
Recommended Equipment
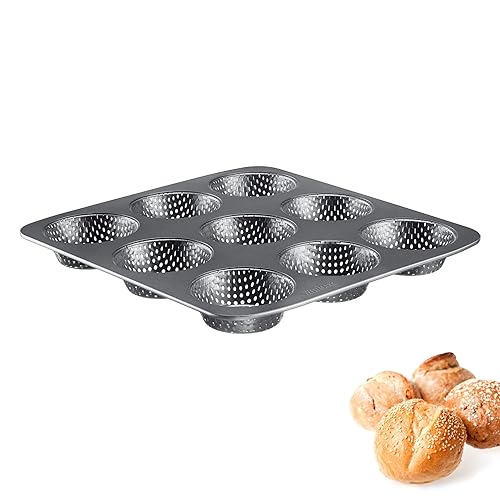


KitchenAid 5KSMMGA All-Metal Food Grinder Attachment
Grind nuts for peanut butter bars
View on Amazon* As an Amazon Associate, I earn from qualifying purchases. There is no extra cost to you.

No-Bake Pineapple Dream Dessert
Ingredients
Equipment
Method
- Prepare the crust mixture: In a medium mixing bowl, combine the graham cracker crumbs and granulated sugar. Pour the melted butter over the dry ingredients and stir until all crumbs are evenly coated. The mixture should resemble damp sand.
- Press the crust: Transfer the crumb mixture into an 8×8-inch baking dish. Spread evenly and press firmly into the bottom of the dish using the bottom of a flat measuring cup or sturdy glass. Refrigerate while preparing the filling.
- Drain the pineapple: Place the crushed pineapple in a fine-mesh strainer and press with the back of a spoon to remove as much juice as possible. Set aside.
- Whip the cream cheese base: Beat the softened cream cheese with a hand-held electric mixer on medium speed for about two minutes until creamy and smooth. Add the powdered sugar and beat for another minute until fully combined and lump-free.
- Incorporate the pineapple and whipped topping: Fold the drained crushed pineapple into the cream cheese mixture. Add the thawed whipped topping and gently fold until fully combined and no white streaks remain.
- Assemble the dessert: Remove the chilled crust from the refrigerator. Spread the pineapple filling evenly over the crust and smooth the top.
- Chill thoroughly: Cover the baking dish and refrigerate for at least four hours, preferably overnight, until the dessert is firm and slices hold their shape.