You know that slow, happy silence that happens when you pull something warm and sweet from the oven? That’s exactly the feeling behind these homemade Strawberry Nutella Poptarts. Flaky pastry, creamy chocolate-hazelnut, and jam—all in one bite. Growing up, poptarts were a treat in my lunchbox, but nothing compares to the scent of buttery dough and bubbling strawberry preserves filling your own kitchen.
Making Strawberry Nutella Poptarts from scratch doesn’t just bring nostalgia; it puts you in charge of the flavor, texture, and, of course, the shower of rainbow jimmies. Let’s dive into why you’ll want to make these again and again.
What Makes Strawberry Nutella Poptarts Irresistible?
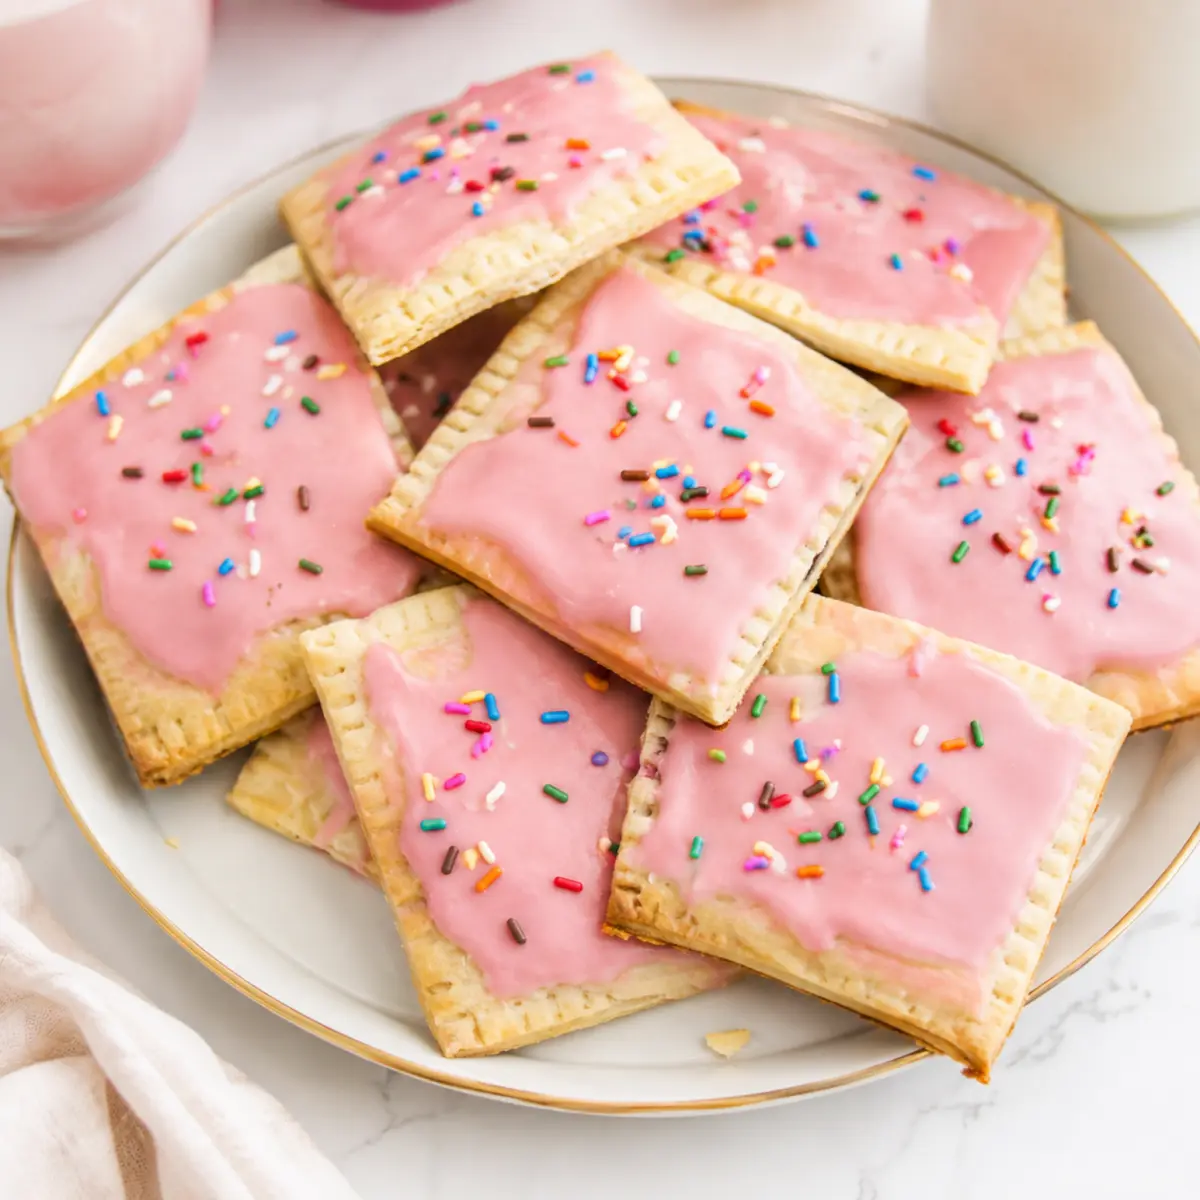
There’s a reason Strawberry Nutella Poptarts are the treat you’ll crave any time of year. The crisp, golden pastry is a dream for butter lovers, while the filling strikes that perfect harmony between fruity brightness and the deep creaminess of chocolate-hazelnut spread. Unlike their store-bought cousins, these homemade poptarts offer a flaky crust that shatters just enough at your first bite, revealing gooey layers inside. A blanket of sweet vanilla icing, tinted blush-pink if you wish, adds another dimension—thick and luscious, never plasticky or overly sweet.Plus, let’s not overlook their appearance. Those rainbow jimmies hint at all the joy packed into each pocket of pastry. These are made for celebrations, rainy Sunday mornings, or whenever you need a pick-me-up straight from the oven.
The Ingredients Behind Pastry Perfection
The components for Strawberry Nutella Poptarts are all about combining classic baking pantry staples with a few starring add-ins. Here’s a closer look at what goes into each layer:- flour – Forms the tender base of the dough and creates that flaky structure you want in every bite.
- Granulated sugar – Adds subtle sweetness and helps the crust brown nicely.
- Light brown sugar – Gives a hint of caramel-like depth to the pastry dough.
- Salt – Balances the sweetness and enhances all the other flavors.
- Unsalted butter (chilled, cut into pea-sized squares) – Delivers richness and that classic pastry flavor as it steams in the oven, creating crisp flaky layers.
- Coconut oil (or vegetable shortening, chilled) – Makes the dough even more tender and helps with flakiness.
- Ice cold water – Brings the dough together while keeping everything cold for optimal texture.
- Egg (for an eggwash) – Seals the edges and creates a beautiful glossy finish.
- Strawberry preserves – Adds the classic pop of fruity sweetness in every bite.
- Nutella – Creamy chocolate-hazelnut spread creates a luscious, indulgent layer alongside the preserves.
- Powdered sugar – The base for the icing, giving it a smooth and silky consistency.
- Heavy cream – Loosens and enriches the icing for that dreamy spreadable finish.
- Vanilla extract – Rounds out the icing’s flavor and adds a warm undertone.
- Red food coloring (optional) – Just a drop or two for a playful pink color in your icing.
- Rainbow jimmies – For a pop of color and crunchy, celebratory fun.
See the recipe card below for the full list of ingredients and measurements.
How to Make Strawberry Nutella Poptarts: Step-by-Step
Making homemade poptarts is all about keeping your dough cool and your fillings just generous enough. Here’s the process that will yield flaky, golden pastries bursting with flavor:- Pulse together flour, both sugars, and salt in a food processor until combined. Add chilled butter and coconut oil; pulse again until crumbly and the mixture resembles coarse sand—tiny bits of fat should still be visible throughout the flour.
- Dump the mixture into a large mixing bowl. Add ice cold water a tablespoon at a time, mixing with your hands until the dough just comes together. Work quickly to keep everything cold and stop as soon as the dough holds together—don’t overmix.
- Divide the dough in half and shape into two oval disks. Wrap each in plastic wrap and chill in the fridge for at least two hours or overnight for best results.
- When you’re ready to shape, lay plastic wrap on your work surface and dust it and your rolling pin with flour. Roll out one disk of dough into a large rectangle. The dough should be thin but not tearing; patch any cracks with a dab of water if needed.
- Using a ruler and pizza cutter, trim your dough to a neat rectangle and cut out equal-sized rectangles for the poptarts. Carefully transfer them to a lined baking sheet, using the wrap to help lift the delicate dough.
- Repeat with the second disk, then chill all rectangles on the baking sheet in the freezer to let them firm up for neat assembly.
- Preheat your oven until nice and hot. Prepare an eggwash by whisking an egg with a splash of water.
- Brush the eggwash on half of the rectangles (these will be the bases). Spoon strawberry preserves in the center of each one, then follow with a dollop of Nutella right on top.
- Place a second dough rectangle over each filled base, pressing down gently to help seal. Use a fork to crimp the edges all around—this also gives you that classic bakery look and keeps all the filling where it belongs.
- Brush the assembled poptarts with more eggwash for shine. Poke a few small holes in the tops using your fork to allow steam to escape during baking.
- Bake until the poptarts are golden and the edges are crisp. Let them cool completely on the tray; they’ll firm up as they rest.
- Meanwhile, make the icing: whisk powdered sugar, vanilla, and heavy cream together until thick yet spreadable. Add a little food coloring for a pink hue if you like. Once poptarts are fully cool, spread icing on each one and finish with rainbow jimmies while the icing is still tacky.
Troubleshooting, Tips, and Texture Cues
Homemade poptarts are simple, but a few details make all the difference between okay and “wow, you really made these?” Here’s how to nail the texture and avoid common pitfalls:- Keep ingredients cold for flaky pastry. Warm butter or oil leads to dense, chewy crust, not light layers.
- Work quickly when mixing and rolling dough. If it starts to soften, slide it into the freezer for a few minutes.
- If dough tears or cracks, patch with a dab of water and press gently—no need to start over.
- Be careful not to overfill; a thin layer of each filling is just right. Too much and it might ooze out during baking.
- Make clean edges for neat poptarts. A fork not only seals but adds texture and helps prevent leaking.
- Let them cool completely before icing. If they’re warm, the icing may slide off or become runny.
Variations, Pairings, and Ways to Serve These Poptarts
The classic strawberry-Nutella pairing is hard to beat, but you can riff on these poptarts in all kinds of ways:- Try raspberry, blackberry, or apricot preserves for a fruity twist.
- Swap Nutella for a different chocolate spread or even peanut butter for a nutty note.
- Top with different sprinkles or drizzle with a bit of melted white or dark chocolate for special occasions.
- Serve with a scoop of vanilla ice cream or a dollop of whipped cream for a full-on dessert.
- Add toasted nuts over the icing for crunch and flavor contrast.
- Pair with a mug of hot chocolate or strong coffee for cozy mornings.
Keeping Your Poptarts Fresh: Storage, Make-Ahead, and Reheating
Once baked and cooled, Strawberry Nutella Poptarts will keep well in an airtight container at room temperature for a day or two. If you want to store them longer, pop them in the fridge and they should stay fresh for several days.Want to make them ahead? You can shape and fill the raw poptarts, then freeze them (unbaked and uncovered on a tray), transferring to a container once solid. When ready to bake, let them thaw slightly, then bake straight from the freezer—just add a couple of extra minutes to the baking time.
For reheating, use a toaster oven or the oven itself. Microwaving can make the pastry soft, so stick with dry heat for that crisp texture.
FAQs about Strawberry Nutella Poptarts
Can I substitute the coconut oil in the pastry?
Yes, you can use vegetable shortening instead of coconut oil. Both options make the crust tender, so use what you prefer or have on hand.
How should I store leftover Strawberry Nutella Poptarts?
Store cooled poptarts in an airtight container at room temperature for up to two days, or refrigerate for longer freshness. Avoid stacking them while the icing is tacky.
Can these poptarts be made ahead or frozen?
Absolutely! Assemble the unbaked poptarts, freeze them on a tray, and bake from frozen as needed. They’re perfect for prepping in advance and enjoying fresh from the oven any time.
My poptart pastry ended up tough. What went wrong?
Tough dough usually means the fat got too warm or it was overworked. Keep all ingredients cold and mix gently for the flakiest layers.
Sweet Endings with Homemade Poptarts
Warm out of the oven, iced, and sparkling with rainbow jimmies—Strawberry Nutella Poptarts are proof that a little bit of kitchen effort turns an everyday treat into something totally extraordinary. The tender pastry gives way with a gentle snap, giving you that fresh-baked aroma and nostalgic taste all in one.Whether you’re sharing for brunch or savoring with a late-night tea, these homemade treats have a way of making any occasion sweeter.
What To Try Next
If you loved making sweet pastries, these treats are perfect for your next baking adventure.
- Homemade Chocolate Pop Tarts — share the pop tart concept with a rich chocolate twist.
- Strawberry Protein Muffins — keep the strawberry theme going with a healthy muffin option.
- Berry Turnovers — a flaky, fruity pastry that complements your poptart-making skills.
Recommended Equipment
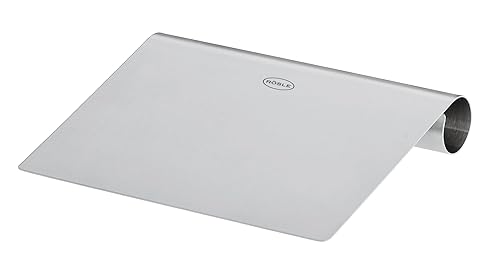
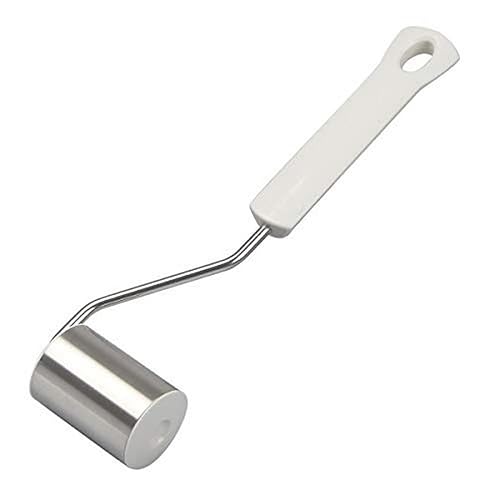
Dr. Oetker Stainless Baking Rolling Tool
Essential for rolling out dough for poptarts
View on Amazon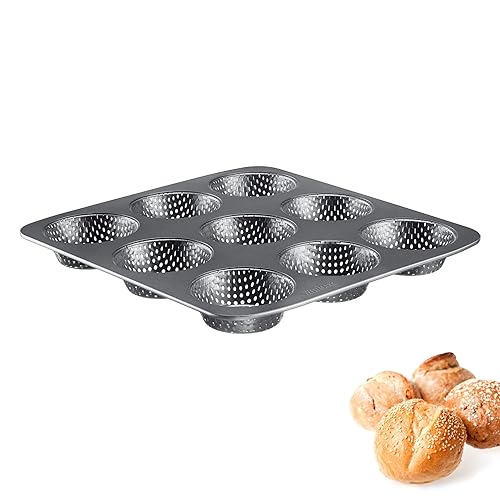
Westmark 32732260 Non-Stick Round Baking Pan
Ideal pan for baking crispy, golden poptarts
View on Amazon* As an Amazon Associate, I earn from qualifying purchases. There is no extra cost to you.
Ingredients
Equipment
Method
- In a food processor, pulse together the flour, sugars, and salt. Add in the chilled butter and coconut oil, and pulse again until the mixture resembles coarse crumbs.
- Pour into a large mixing bowl and slowly (1 tablespoon at a time) add in the ice water, mixing with your hands between each addition. Work fast as to not melt the butter and oil into the dough. Your goal is to keep everything as cold as possible! Stop adding water as soon as the dough comes together.
- Separate the dough into two oval disks and wrap in plastic wrap. Allow to chill in fridge for at least 2 hours, or overnight.
- Remove one of the doughs from the fridge. Place a large piece of saran wrap over a work surface, then sprinkle flour over it. Flour a rolling pin. Working quickly over your saran wrap, roll the dough out into a 10″x13″ rectangle. It will be difficult and the dough will be very thin, but you can do it! If your dough begins to break, use a drop of water to seal it back together again.
- Using a ruler and a pizza dough cutter, cut your 10″x13″ rectangle into a perfect 9″x12″ rectangle. Then, cut your rectangle into 9 equal pieces, each 3″x4″.
- Lift a corner of the saran wrap up off of your surface to help gently release the 3″x4″ rectangles from their place. Transfer to a large, parchment-lined baking sheet, leaving as little as 1/2 inch between each rectangle. Once all 9 rectangles are moved onto the baking sheet, place the sheet in the freezer while you repeat the rolling & cutting process with the second half of the dough (using a new piece of saran wrap, of course!).
- Once all of your dough is cut, preheat your oven to 350°F.
- Remove the baking sheet from the freezer. Whisk an egg with 1 tablespoon of water, creating an eggwash. Brush each of your 9 poptart bases with the wash. This will help the dough to stick together!
- Get out the preserves & nutella. Spoon around 2 teaspoons of preserves into the center of each poptart base. No need to spread it around. Spoon the same amount of nutella on top.
- Place the remaining dough over the base & filling of the poptart, like a blanket. Press down slightly with your fingers to help seal the dough together. Then, using a fork, create indentations around the entire poptart.
- Brush the remaining eggwash over the poptarts, then use your fork to create small airholes on the top. Bake for 30 minutes, then allow to cool completely.
- While the poptarts are baking, make your icing! Whisk together the powdered sugar with vanilla extract and heavy cream, adding 1 tablespoon of cream at a time. You’re looking for a thick but spreadable consistency (it shouldn’t look grainy at all). Add the food coloring, if using. Once the poptarts are cooled completely, spread the icing over the poptarts, then sprinkle with jimmies!