It always feels like a tiny victory when bakery treats come out of your own oven. The smell alone is enough to make anyone linger in the kitchen just a little longer, especially with Mini Cheese Danish—those charming, flaky parcels filled with cream cheese goodness. If you’ve ever wanted to surprise someone at brunch or just treat yourself on a slow morning, this is your recipe.
There’s something memorable about the first bite: crisp, golden pastry giving way to a smooth, lightly sweetened filling. Mini Cheese Danish strikes a perfect balance—not too heavy for breakfast, yet rich enough to serve as dessert. Best of all, they look far more intricate than they really are. Let’s dive into what makes these little pastries tick.
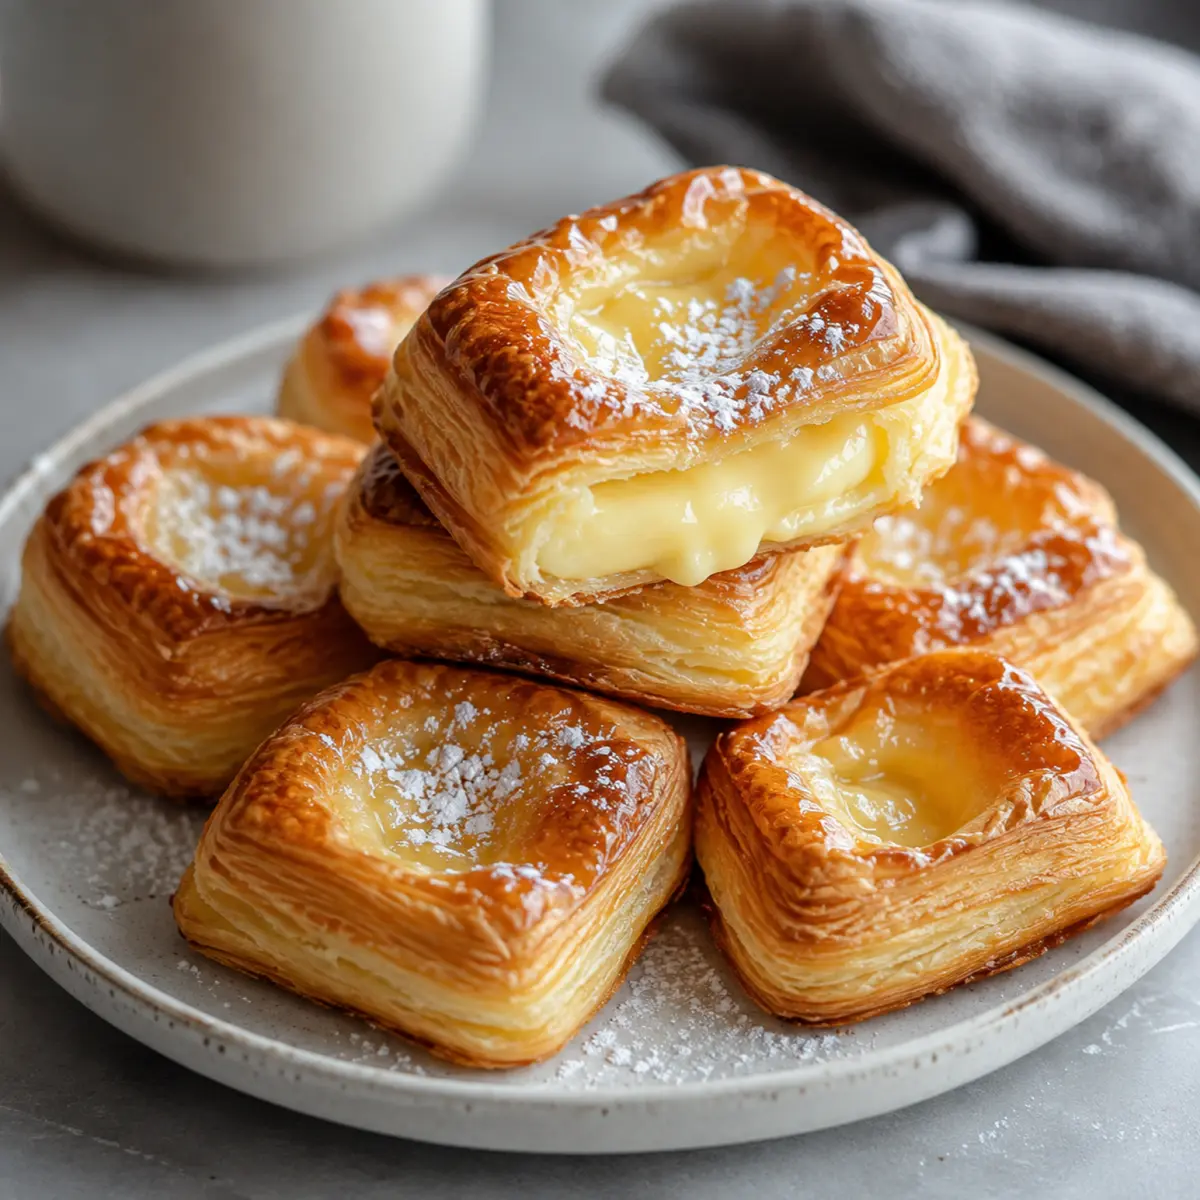
Flaky Mini Cheese Danish at Home: Irresistible Layers and Creamy Filling
What sets Mini Cheese Danish apart from simple pastries is the way each bite combines texture, richness, and just enough sweetness. The layers of crisp, golden pastry yield with a gentle crunch, giving way to a velvety cream cheese center brightened by vanilla and a touch of lemon. These little danish are ideal for family brunch tables, special holiday breakfasts, or any time you want a bakery-style indulgence without actually leaving your kitchen.Using store-bought puff pastry, there’s no complex dough to tackle and no kneading to worry about. Assembly is quick, the baking time short—and your reward is a tray full of glossy, bakery-worthy danishes with minimal fuss. They’re perfect served warm, finished with a drizzle of homemade glaze that sets into a delicate sheen.
Inside the Ingredients: Mini Cheese Danish Secrets
Mini Cheese Danish are all about balancing simplicity and flavor. Here’s what you need and why it matters:- puff pastry – The shortcut to flaky layers, buttery texture, and a golden finish. Thaw before using for easy cutting.
- Cream Cheese – Provides the classic tang, creaminess, and smooth filling you want. Soften it for a silky blend.
- Granulated Sugar – Sweetens the filling just enough; you can use a substitute if needed for reduced sugar.
- Vanilla Extract – Delivers warm, fragrant flavor—pure extract makes a difference here.
- Lemon Juice – Adds freshness and balances the richness. Optional but recommended.
- Egg – For the egg wash, giving the pastry edges that bakery shine. Substitute with milk if you like.
- Powdered Sugar – Essential for the smooth, sweet glaze drizzled on top. No direct alternatives here.
- Milk – Loosens the glaze; use dairy or a plant-based option if desired.
See the recipe card below for the full list of ingredients and measurements.
Step-by-Step Mini Cheese Danish Method
Making Mini Cheese Danish at home is as satisfying as eating them. Here’s the straightforward process to achieve bakery results:- Preheat your oven to 200°C and line a baking sheet with parchment paper—a crucial step for crisp, non-stick bottoms.
- Unfold the thawed puff pastry on a lightly floured surface. Cut it into even squares, aiming for about 3 x 3 inches each so you get perfect bite-sized pieces.
- In a mixing bowl, blend softened cream cheese, granulated sugar, vanilla extract, and lemon juice. Mix until the filling is ultra-smooth and creamy, with no lumps.
- Spoon a generous dollop—about a tablespoon—of the cream cheese mixture into the center of each pastry square. Don’t spread all the way to the edges: you want a visible “well” of filling.
- Gently fold the corners of each square toward the center for the classic danish look, or leave them open-faced for a rustic effect. Both ways bake beautifully.
- Brush the exposed pastry edges with beaten egg for a golden, shiny finish. This small touch transforms their appearance as they bake.
- Arrange all the pastries on the prepared tray, leaving space between them. Bake until puffed and deeply golden on top and the bottoms feel crisp if you gently lift one with a spatula.
- Transfer the danish to a wire rack and let them cool slightly. This prevents sogginess and allows them to set perfectly before glazing.
- For the glaze, whisk together powdered sugar and milk until smooth and pourable—no lumps. Drizzle generously over the warm pastries; it will set gently as they finish cooling.
- Serve your Mini Cheese Danish slightly warm for the best contrast between the crisp pastry, creamy filling, and sweet glaze. Pair with coffee or tea and enjoy right away.
Mini Danish Success: Tips, Texture Fixes, and Mistakes to Avoid
Mini Cheese Danish feel fancy but aren’t fussy to make if you keep a few things in mind. One of the most important tips: work with cold puff pastry and softened cream cheese for the best texture. If the pastry gets too warm, it can stick or lose its signature “puff” in the oven.- Don’t overload the filling—too much will spill out and create soggy patches.
- Make sure the edges are brushed thoroughly with egg to ensure deep golden color and flaky layers.
- Bake on the middle rack for even heat and watch for the pastry edges to turn deep golden brown as your doneness cue.
- If you find your bottoms getting too dark, double up the baking sheet or move to a higher oven rack for the remainder of baking.
- Cool on a wire rack so no steam gets trapped under the pastry, which keeps them crisp.
Variations, Pairings, and Serving: Mini Cheese Danish Your Way
Mini Cheese Danish welcome creativity. While classic cream cheese filling is the star, you can layer on thin-sliced strawberries, raspberries, or a dollop of your favorite fruit jam before baking for a burst of fruit flavor. A touch of zest in the filling will brighten the taste even more.Pair these pastries with a simple fruit salad, hot coffee, or a pot of tea for a complete breakfast or brunch spread. For dessert, they’re lovely served with fresh berries and a dusting of extra powdered sugar. Want to turn them into a treat for guests? Arrange on a platter and let everyone marvel at your baking skills—no one needs to know how easy they actually were to make.
Storing, Reheating, and Making Ahead: Mini Cheese Danish
Mini Cheese Danish are best enjoyed fresh, but leftovers keep surprisingly well. Store cooled danishes in an airtight container at room temperature if finishing within a day. For longer storage, refrigerate. To revive that freshly-baked flake, reheat briefly in a low oven until warmed through—the pastry will crisp right back up.While it’s best to glaze after baking, you can assemble the unbaked danish, cover, and chill for a few hours before baking, making mornings a breeze. Freezing isn’t ideal for finished danishes, as the texture of the filling can change, but baked unglazed pastries freeze fairly well. Thaw and finish with glaze before serving.
FAQs about Mini Cheese Danish
Can I make Mini Cheese Danish ahead of time?
Yes, you can assemble the danish and chill them in the fridge before baking. This makes busy mornings or brunch prep much easier. Just add a couple of extra minutes to your bake time if baking straight from the fridge.
What if I don’t have puff pastry?
Puff pastry is essential for the classic flaky texture, but you could use crescent roll dough in a pinch. The result will be softer and less layered, but still tasty.
How do I keep Mini Cheese Danish crispy after baking?
Let the pastries cool on a wire rack so steam escapes and the bottoms don’t get soggy. Reheat in a low oven to restore crispness if needed.
Can I add fruit to my Mini Cheese Danish?
Absolutely! Add a spoonful of strawberry, raspberry jam, or even thin fresh fruit slices before baking for flavor variation. Avoid too much moisture to keep the pastry crisp.
Mini Cheese Danish: The Best Way to Brighten Breakfast
Golden, flaky, and filled with a sweet cloud of cream cheese, Mini Cheese Danish have a way of making breakfast or brunch feel special. Whether you keep them classic or add a fruity spin, they deliver bakery-style comfort fresh from your own oven.Serve warm and listen for that gentle pastry crunch—the best sign that you’ve nailed the recipe.
What To Try Next
If you enjoyed baking Mini Cheese Danishes, these recipes offer tasty sweets and comforting flavors to try next.
- Strawberry Nutella Poptarts — also a delightful pastry with a creamy, sweet filling.
- Red Velvet Cake With Cream Cheese Frosting — perfect for celebrations and enjoying rich cream cheese flavors.
- Pumpkin Cheesecake Parfaits — offers a creamy texture and seasonal fall vibes to complement sweet treats.
Recommended Equipment
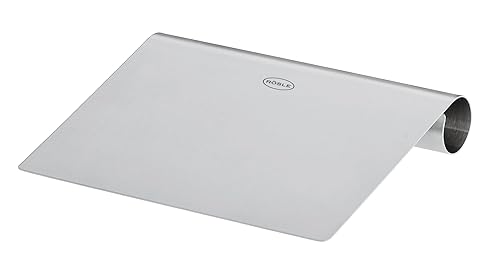
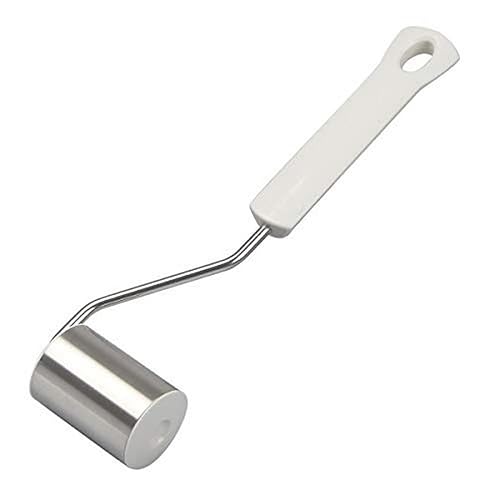

* As an Amazon Associate, I earn from qualifying purchases. There is no extra cost to you.

Delicious Mini Cheese Danish: Easy Flaky Bliss at Home
Ingredients
Equipment
Method
- Preheat your oven to 400°F (200°C) and line a baking sheet with parchment paper.
- Unfold the thawed puff pastry on a lightly floured surface and cut it into 3x3 inch squares.
- In a mixing bowl, combine the softened cream cheese, granulated sugar, vanilla extract, and lemon juice. Mix until smooth.
- Spoon about 1 tablespoon of the cream cheese mixture into the center of each pastry square.
- Fold the corners of each square toward the center or leave them open-faced.
- Brush the edges of each pastry with the beaten egg for a shiny finish.
- Place the pastries on the lined baking sheet and bake for 15-18 minutes until golden brown.
- Let the Mini Cheese Danish cool slightly on a wire rack.
- Prepare the glaze by whisking together powdered sugar and milk until smooth, then drizzle over the danish.
- Serve warm for the ultimate treat alongside your favorite coffee or tea.